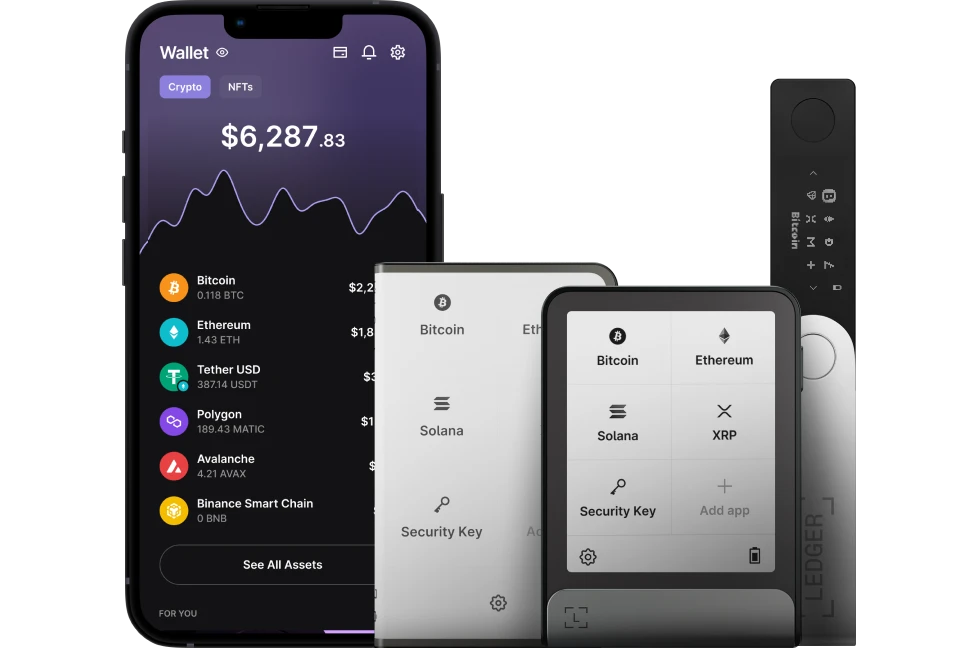
Managing ERC-20 tokens with Ledger Live allows you to securely store, track, send, and receive these Ethereum-based tokens using your Ledger hardware wallet (Nano S Plus, Nano X, Flex, or Stax).

Ledger Live natively supports a growing list of ERC-20 tokens, while others can be managed by connecting your Ledger to external wallets like MetaMask or MyEtherWallet (MEW).
Please download the last update of Ledger Live Application:
1. Ledger Live for Windows 10/11
2. Ledger Live for MAC
3. Ledger Live for Android
Below is a comprehensive guide on how to manage ERC-20 tokens with Ledger Live:
What Are ERC-20 Tokens?
- Definition: ERC-20 tokens are fungible tokens built on the Ethereum blockchain, adhering to a standard smart contract protocol (e.g., USDT, USDC, LINK, UNI).
- Storage: They reside on Ethereum addresses, requiring ETH for gas fees to transfer or interact with them.
- Ledger Support: Your Ledger secures the private keys for your Ethereum address, and Ledger Live manages token interactions.
What You’ll Need
- A Ledger hardware wallet (initialized with a recovery phrase and PIN).
- Ledger Live installed on your computer (Windows 10+, macOS 11+, Linux) or mobile (iOS 13+, Android 8+), updated to the latest version (e.g., 2.81.0 or newer).
- Your Ledger connected via USB (all models) or Bluetooth (Nano X).
- The Ethereum app installed on your Ledger via My Ledger.
- ETH in your wallet to pay for gas fees.
Step-by-Step Guide to Managing ERC-20 Tokens
Step 1: Set Up an Ethereum Account
- Open Ledger Live:
- Launch on desktop or mobile.
- Connect Your Ledger:
- USB or Bluetooth (Nano X)—unlock with your PIN.
- Add an Ethereum Account:
- Go to Accounts > Add Account.
- Select Ethereum (ETH).
- Install the Ethereum app on your Ledger (My Ledger > Install) if not already present—approve on-device.
- Sync the account—name it (e.g., “ETH Main”) and click Add to Portfolio.
- Ensure the account has some ETH for gas (e.g., 0.01 ETH).
Step 2: Check for Native ERC-20 Token Support
- Ledger Live natively supports popular ERC-20 tokens like:
- Tether (USDT)
- USD Coin (USDC)
- Chainlink (LINK)
- Uniswap (UNI)
- Maker (MKR)
- And more (over 1,250 ERC-20 tokens as of late 2023—updated regularly).
- How to Check:
- In Accounts, select your Ethereum account.
- Scroll to the Tokens section—if your tokens (e.g., 100 USDT) are held at that address, they’ll appear automatically after syncing.
Step 3: Add Unsupported ERC-20 Tokens (If Needed)
- If your token isn’t natively supported (e.g., a niche token like SHIB in early days):
- Go to Add Account:
- Accounts > Add Account > Ethereum > Advanced.
- Manual Token Addition:
- Search for the token by name or paste its contract address (find on etherscan.io or the token’s official site—e.g., USDT: 0xdAC17F958D2ee523a2206206994597C13D831ec7).
- If listed, select it and sync—Ledger Live adds it under your Ethereum account.
- Note: Not all tokens can be added manually—unsupported ones require external wallets (see Step 7).
- Go to Add Account:
Step 4: View Your ERC-20 Token Balances
- In Portfolio, your total Ethereum account balance includes ETH and ERC-20 tokens (e.g., 0.5 ETH + 100 USDT).
- In Accounts > Ethereum Account > Tokens, see individual token balances—e.g., “USDC: 50,” “LINK: 10.”
- Verify on etherscan.io by entering your Ethereum address (from Receive) to confirm blockchain data matches.
Step 5: Receive ERC-20 Tokens
- Generate Address:
- Click Receive, select your Ethereum account.
- Ledger Live displays your Ethereum address (e.g., 0x123…).
- Verify on Ledger:
- Open the Ethereum app on your Ledger, approve “Display Address”—ensure it matches Ledger Live.
- Send Tokens:
- Share this address with the sender (e.g., an exchange like Binance)—they deposit the ERC-20 token (e.g., 200 UNI).
- Confirm Receipt:
- Tokens appear in Accounts > Ethereum > Tokens after blockchain confirmation (1–5 minutes).
Step 6: Send ERC-20 Tokens
- Initiate Transfer:
- Click Send, select your Ethereum account.
- Choose the token (e.g., “USDT”) from the dropdown.
- Enter:
- Recipient address (e.g., 0x456…).
- Amount (e.g., 50 USDT).
- Adjust gas fees if needed (e.g., “Standard”).
- Verify on Ledger:
- Connect your Ledger, open the Ethereum app.
- Review on-device:
- “Send to: 0x456…”
- “Amount: 50 USDT”
- “Max Fees: 0.001 ETH”
- Approve with buttons (Nano S/X) or tap “Accept” (Flex/Stax).
- Broadcast:
- Ledger Live sends the transaction—track in History.
Step 7: Manage Unsupported Tokens with External Wallets
- For tokens not in Ledger Live (e.g., rare DeFi tokens):
- Install MetaMask (browser extension) or MyEtherWallet (web).
- Connect Ledger:
- In MetaMask: Connect Hardware Wallet > Ledger, unlock your device.
- In MEW: Access Wallet > Ledger, select your address.
- Add Token:
- Input the token’s contract address (e.g., from CoinGecko)—MetaMask/MEW displays the balance.
- Send/Receive:
- Sign transactions via your Ledger—approve on-device as with Ledger Live.
Security Best Practices
- Verify Addresses: Always confirm send/receive addresses on your Ledger’s screen—prevents phishing or malware swaps (see “Verifying Transactions”).
- Never Share Seed: Your 24-word phrase stays offline—don’t enter it anywhere except your Ledger during restoration (see “Why Never Share Your Seed”).
- Gas Funds: Keep ETH in your account—ERC-20 transfers fail without it (e.g., 0.005–0.02 ETH for typical fees).
- Update Software: Use the latest Ledger Live and Ethereum app (My Ledger > Firmware) for compatibility and security.
- Spam Tokens: Ignore unsolicited tokens—scams may appear in your wallet; don’t interact unless verified.
Example: Managing USDT
- Setup: Add “Ethereum 1” in Ledger Live, sync—100 USDT appears under Tokens.
- Receive: Share 0x123… (verified on Nano X), get 50 more USDT from Coinbase.
- Send: Transfer 75 USDT to 0x456…, approve on-device—balance updates to 75 USDT.
Troubleshooting
- Tokens Not Showing: Resync (Accounts > Edit > Clear Cache) or add manually with the contract address.
- Insufficient Gas: Top up ETH—check gas prices on etherscan.io.
- Storage Full: Uninstall unused apps (My Ledger) to fit the Ethereum app (Nano S Plus: ~1.5 MB limit).
Conclusion
Managing ERC-20 tokens with Ledger Live is seamless for supported tokens—add an Ethereum account, view balances, and transact with Ledger’s offline security. For unsupported tokens, MetaMask or MEW extends your reach, still leveraging your Ledger’s protection. With ETH for gas and on-device verification, your tokens (USDT, LINK, etc.) stay safe and organized.