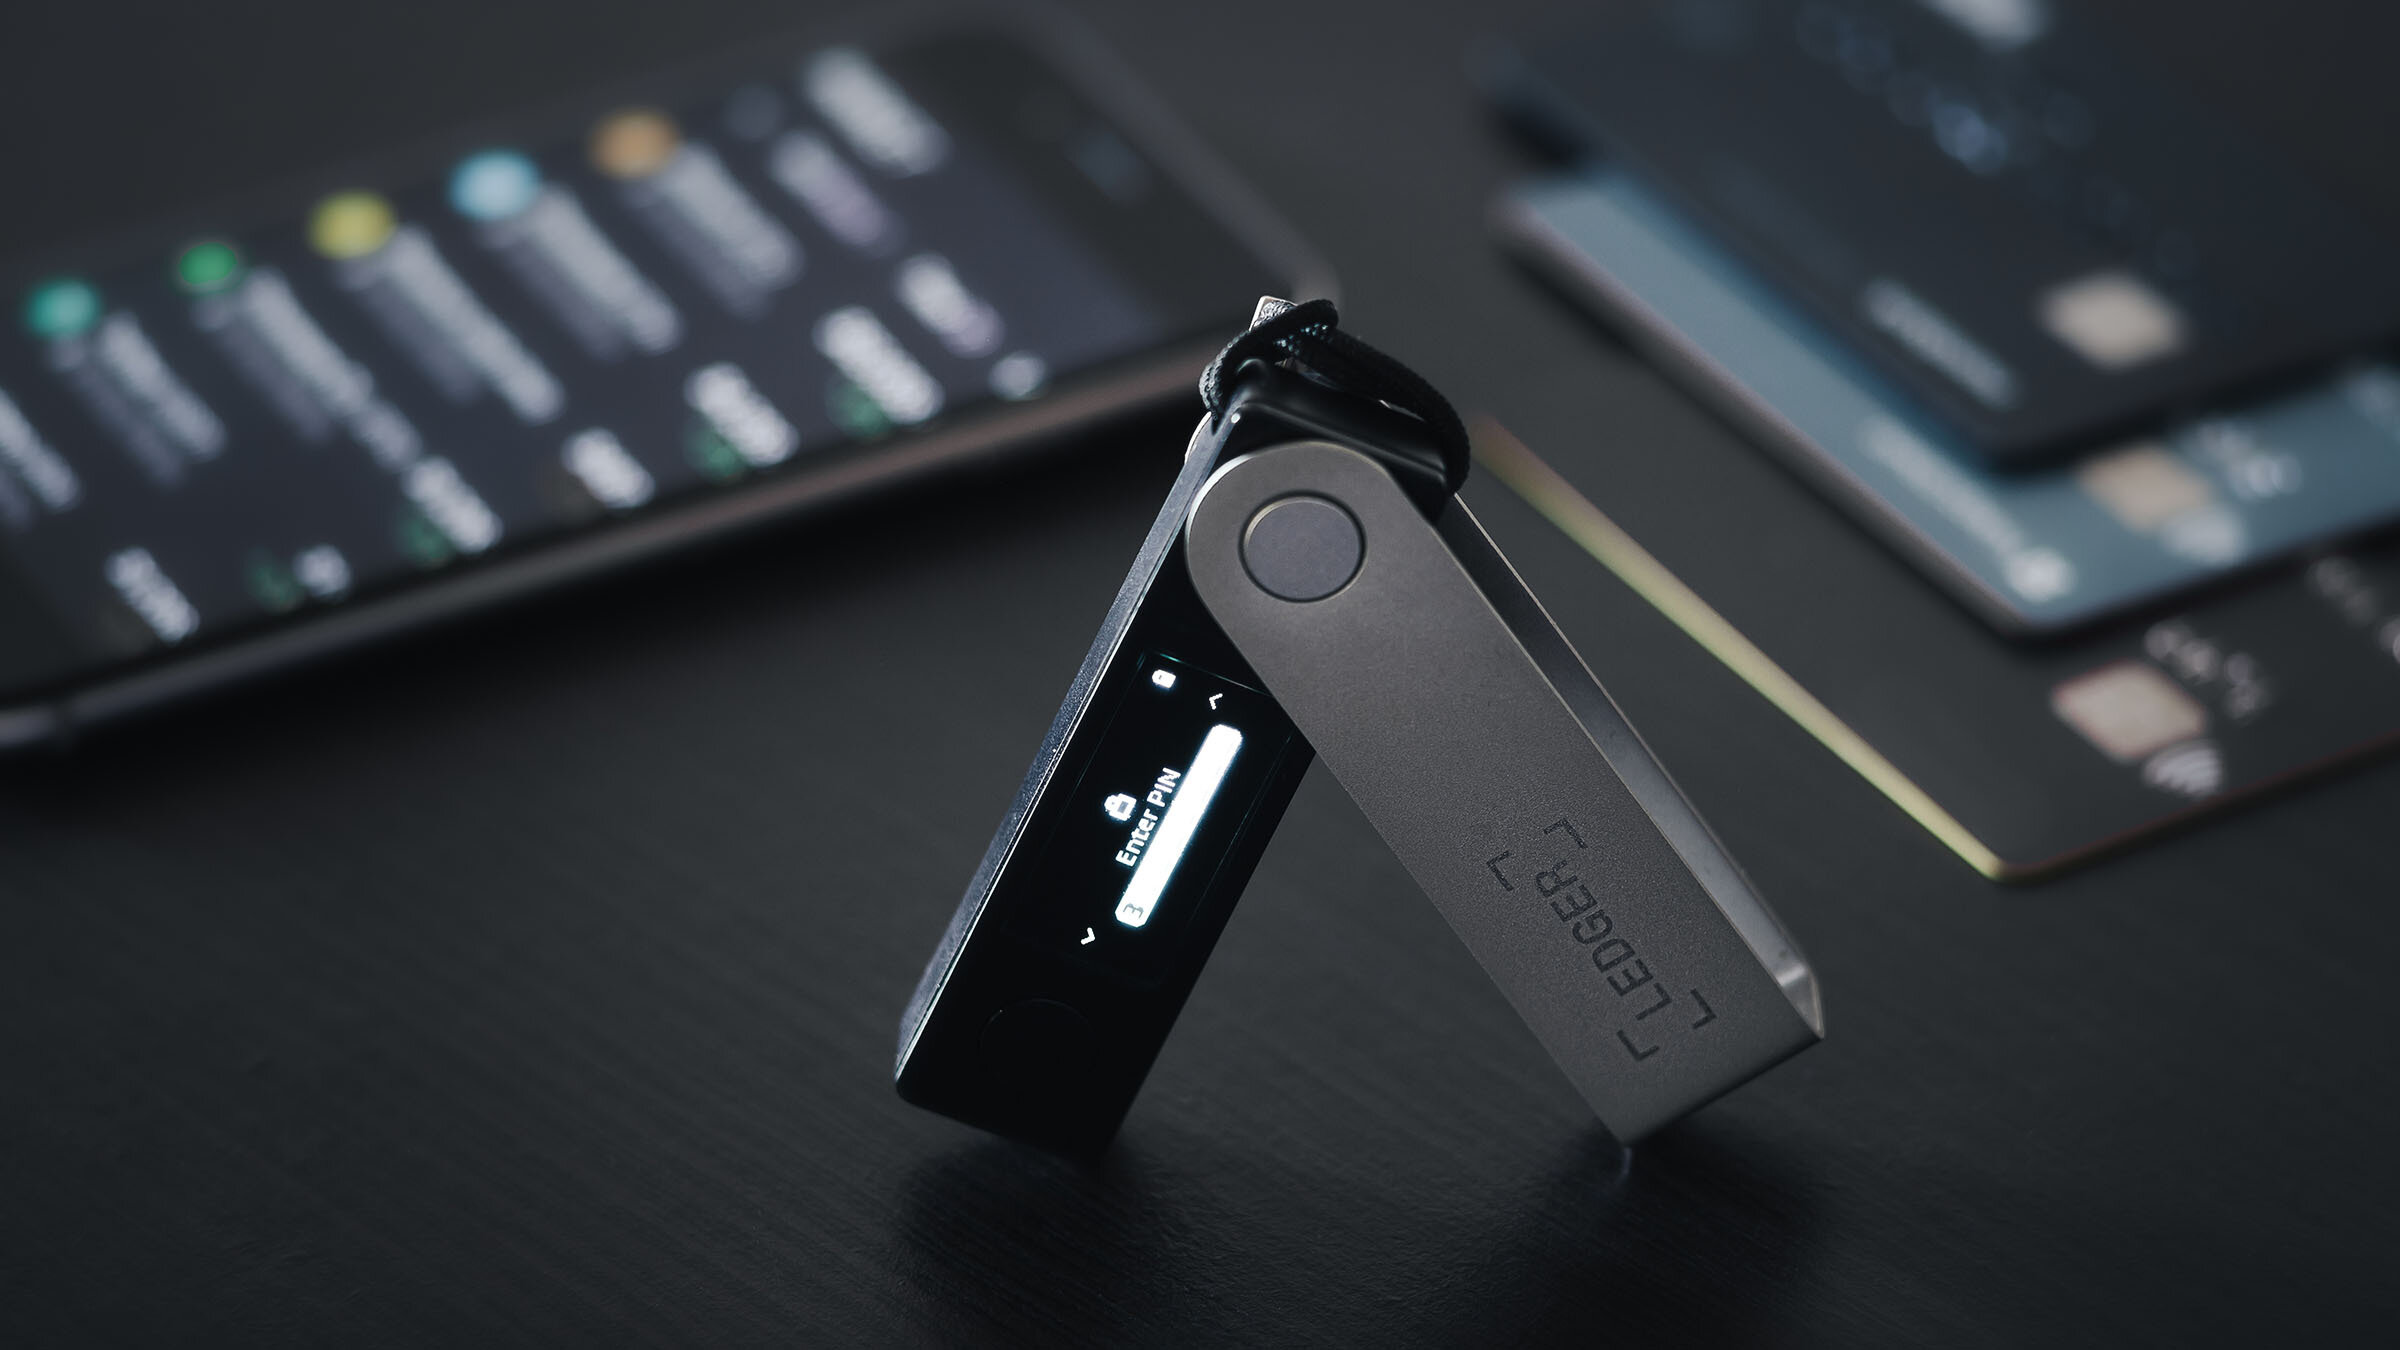
The guide below provides step-by-step instructions on how to store XRP on Ledger Live.
Please download the last update of Ledger Live Application:
1. Ledger Live for Windows 10/11
2. Ledger Live for MAC
3. Ledger Live for Android
Step #1: Set Up A Ledger Device
- Choose from the different Ledger devices available like Stax, S, Nano or X and initiate the set up process by creating a Personal Identity Number or PIN.
- During the set up of your Ledger device, a 24-word recovery phrase will be displayed. You should carefully jot down this 24-word recovery phrase and store the written down phrase in a safe and secure place. This will serve as your backup key whenever needed.
Step #2: Install the Ledger Live App
- Start by downloading Ledger Live for free from the
- Next, install the Ledger Live app either on a mobile device or on your personal computer.
Step #3: Connect Your Chosen Ledger Device
- To connect your chosen Ledger device to your mobile device or personal computer, you first need to launch the Ledger Live app.
- Next, you can connect your preferred Ledger device to either your personal computer or mobile device making use of a USB cable or if you are using Nano X, you can connect through Bluetooth.
- You then proceed to unlock the Ledger device by inputting your PIN.
Step 4: Install XRP App
- Launch the Ledger Live app, click or tap the Manager tab.
- Scroll to the app catalog then search for the XRP app.

- Click or tap the Install button beside the XRP app to install the XRP app on your preferred Ledger device.
Step #5: Add XRP Account
- When on the Ledger Live app, scroll to and click or tap on Accounts tab.
- Next, click or tap on Add Account.

- From the drop-down menu, select XRP then click or tap on the Continue button.
- Launch the XRP app once you are prompted to do so on your Ledger device.
- Your XRP account will then be automatically synchronized with the Ripple blockchain by Ledger Live.
- Give a name to your XRP account before clicking or tapping on the Add Account button.
Step #6: Receive XRP
- On Ledger Live, scroll to the Accounts tab to choose your respective XRP account.
- Click or tap on the Receive button.
- Next, on your Ledger device you will be prompted to launch the XRP app. Do as instructed.
- Copy out the XRP address shown directly in the Ledger Live app.
- Confirm that the address displayed on your Ledger device corresponds with that on Ledger Live.
- Proceed to share the address with an XRP sender. Also, note that the withdrawal of XRP is possible from any exchange.
Step #7: Ratify the Transaction
- You will be able to see the XRP that was sent to you on your Ledger Live account once you have passed through several network confirmations.
- Now your XRP is safely and securely stored on your preferred Ledger device.
Notes:
- The reserve requirement for Ripple in your account in order to activate it is 10 XRP.
- The 10 XRP reserve requirement helps to maintain your account and can not be withdrawn.
- Make sure you double-check every address and your 24-word recovery phrase should not be shared with anybody.
