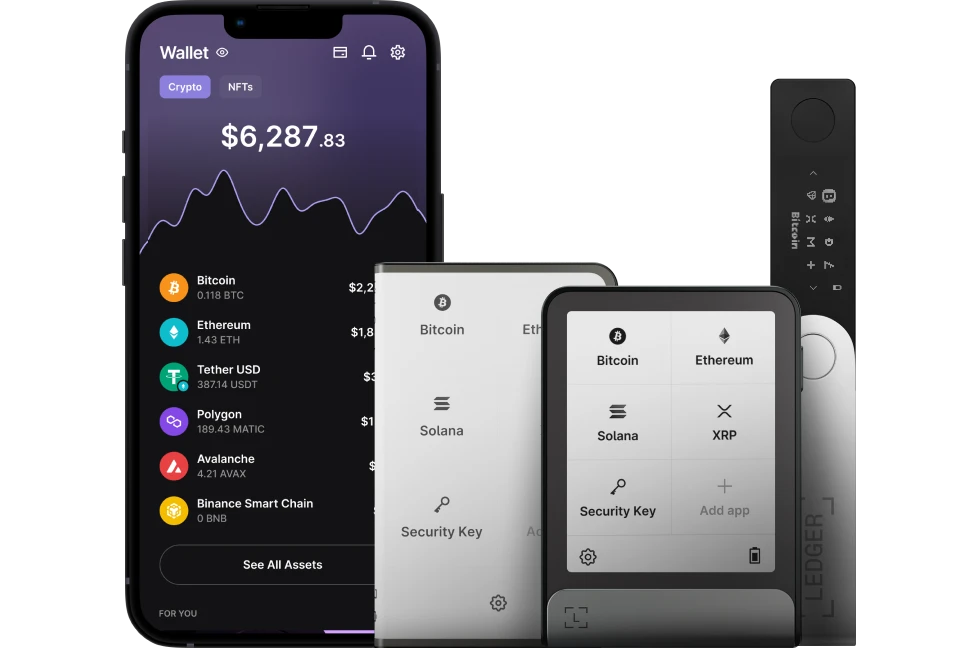
Integrating Ledger Live with tax software like Koinly allows you to streamline the process of calculating and reporting your cryptocurrency taxes by leveraging the transaction data stored in your Ledger hardware wallet (Nano S Plus, Nano X, Flex, or Stax).

Ledger Live does not natively generate comprehensive tax reports or directly integrate with tax software through an in-app feature for most users. However, it provides robust tools to export your transaction history, which can then be imported into tax platforms like Koinly to accurately track gains, losses, and income.
Please download the last update of Ledger Live Application:
1. Ledger Live for Windows 10/11
2. Ledger Live for MAC
3. Ledger Live for Android
Below, I’ll walk you through how to integrate Ledger Live with Koinly (or similar software) securely and efficiently.
Why Integrate Ledger Live with Koinly?
- Comprehensive Reporting: Ledger Live tracks transactions within its ecosystem (e.g., sends, receives, swaps), but Koinly consolidates this with data from exchanges, other wallets, and DeFi activities for a full tax picture.
- Tax Compliance: Calculates capital gains/losses and income (e.g., staking rewards) compliant with tax authorities like the IRS, HMRC, or ATO.
- Security: Your Ledger’s private keys remain offline—only public transaction data is shared with Koinly.
Step-by-Step Guide to Integration
Step 1: Set Up Your Ledger Live Account
- Install Ledger Live:
- Download the latest version (e.g., 2.81.0 or newer) from ledger.com/ledger-live and install it on your computer (Windows 10+, macOS 11+, Linux) or mobile device (iOS 13+, Android 8+).
- Connect your Ledger via USB (all models) or Bluetooth (Nano X), unlock with your PIN.
- Add Accounts:
- Go to Accounts > Add Account, select the cryptocurrencies you’ve used (e.g., Bitcoin, Ethereum, Solana).
- Install the respective apps on your Ledger via My Ledger (e.g., Bitcoin app)—approve on-device.
- Sync each account—name them clearly (e.g., “BTC Main,” “ETH Staking”).
Step 2: Export Transaction History from Ledger Live
Ledger Live allows you to export your operation history as a CSV file, which Koinly can import.
- Navigate to Accounts:
- In Ledger Live, click Accounts in the sidebar.
- Select Export Option:
- On desktop:
- Click the Settings gear icon (top-right), then Accounts.
- Under “Operation History,” click Save or Export.
- On mobile:
- Tap Settings (bottom-right), then Accounts, and look for an export button (varies by version—may require desktop for full export).
- On desktop:
- Choose Accounts:
- Select the accounts you want to export (e.g., “BTC Main,” “ETH Staking”).
- Click Save, choose a folder (e.g., “Desktop/Ledger_Taxes_2025.csv”), and export.
- Verify Data:
- Open the CSV in a spreadsheet (e.g., Excel)—it includes date, type (send/receive), amount, and transaction ID. Note: It won’t include cost basis or external wallet transfers—Koinly handles that.
Step 3: Import Data into Koinly
- Sign Up for Koinly:
- Go to koinly.io, create an account (free tier available for tracking; paid plans for tax reports—e.g., $49–$279/year depending on transaction volume).
- Add Ledger Wallet:
- In Koinly, click Wallets (left menu), then Add Wallet.
- Search “Ledger” or select “Manual CSV Import” (Ledger Live doesn’t offer direct API sync due to its offline nature).
- Upload CSV:
- Click Import from File, upload your Ledger Live CSV (e.g., “Ledger_Taxes_2025.csv”).
- Koinly auto-detects the format—map columns if prompted (e.g., “Date,” “Amount,” “Type”).
- Click Import—Koinly processes transactions (e.g., sends, receives, swaps).
- Add Public Addresses (Optional):
- For unsupported transactions (e.g., DeFi, external wallets):
- In Ledger Live, go to Receive, copy your public address (e.g., 0x123… for ETH).
- In Koinly, add as a “Blockchain” wallet (e.g., Ethereum), paste the address—Koinly scans the blockchain for additional activity.
- For unsupported transactions (e.g., DeFi, external wallets):
Step 4: Review and Sync Transactions
- Check for Errors:
- In Koinly, go to Transactions—look for warnings (e.g., “Missing Cost Basis” for transfers from exchanges).
- Correct manually: Mark transfers between your own wallets (e.g., Coinbase to Ledger) as “Transfer” to avoid taxing them.
- Sync Other Platforms:
- Add exchanges (e.g., Binance, Coinbase) via API or CSV—Koinly merges these with Ledger data for a complete history.
- Verify Staking/Income:
- Staking rewards (e.g., 0.05 SOL) from Earn in Ledger Live should appear—tag as “Staking” in Koinly for income reporting.
Step 5: Generate Tax Reports
- Go to Tax Reports:
- In Koinly, click Tax Reports (top menu).
- Select your tax year (e.g., 2024) and country (e.g., USA, UK, Canada).
- Customize Settings:
- Choose a cost basis method (e.g., FIFO, LIFO)—Koinly defaults to FIFO, compliant with most tax authorities.
- Include income (e.g., staking rewards) and losses (e.g., tax loss harvesting).
- Download Reports:
- Free preview shows gains/losses—upgrade to a paid plan to download:
- USA: IRS Form 8949, Schedule D.
- UK: HMRC Capital Gains Summary.
- Canada: Schedule 3.
- Export as PDF/CSV or integrate with TurboTax if supported.
- Free preview shows gains/losses—upgrade to a paid plan to download:
Step 6: Verify with Ledger Live
- Cross-check balances and transactions:
- In Ledger Live, go to Portfolio—compare totals (e.g., 1 BTC, 2 ETH) with Koinly’s summary.
- Use History to match key transactions—ensures no discrepancies.
Security Best Practices
- Never Share Seed: Your 24-word recovery phrase stays on your Ledger—don’t enter it into Koinly or anywhere else (see “Why Never Share Your Seed”).
- Verify Software: Download Ledger Live from ledger.com/ledger-live and Koinly from koinly.io—avoid phishing sites (see “Avoiding Phishing Scams”).
- Check Transactions: Confirm sends/receives on your Ledger’s screen—Koinly only uses public data (see “Verifying Transactions”).
- Secure CSV: Encrypt or store your exported CSV offline (e.g., USB drive)—delete from shared devices after import.
- Update: Keep Ledger Live, coin apps, and firmware current (My Ledger > Firmware).
Limitations
- No Direct API: Ledger Live doesn’t offer an API for real-time sync—CSV exports or public address imports are required, unlike exchanges.
- Manual Steps: Unsupported altcoins or DeFi transactions need blockchain address imports—adds complexity.
- Cost: Koinly’s free tier tracks but doesn’t export reports—paid plans start at $49/year (up to 100 transactions).
Example
- Scenario: You swapped 0.5 BTC for ETH and staked 2 ETH in Ledger Live in 2024.
- Steps:
- Export BTC and ETH transaction history from Ledger Live as “2024_Taxes.csv”.
- Import into Koinly—add your exchange CSV (e.g., Binance) for BTC purchase data.
- Tag staking rewards (e.g., 0.008 ETH) as “Staking” income.
- Generate a Form 8949—shows BTC sale gain and ETH staking income.
- Result: Tax report ready, verified against Ledger Live’s Portfolio.
Conclusion
Integrating Ledger Live with Koinly involves exporting your transaction history as a CSV from Ledger Live and importing it into Koinly—or using public addresses for blockchain scanning—then generating tax reports. Your Ledger’s offline security ensures safety, while Koinly handles the tax math across all your crypto activity. It’s a manual but effective process—perfect for staying compliant without compromising your keys.