As of January 2025, Virtuals Protocol (VIRTUAL) is an ERC-20 token on the Ethereum blockchain.
While Ledger Live supports Ethereum and its ERC-20 tokens, not all tokens are displayed by default.
To securely store and manage your VIRTUAL tokens using Ledger Live, follow these steps:
Please download the last update of Ledger Live Application:
1. Ledger Live for Windows 10/11
2. Ledger Live for MAC
3. Ledger Live for Android
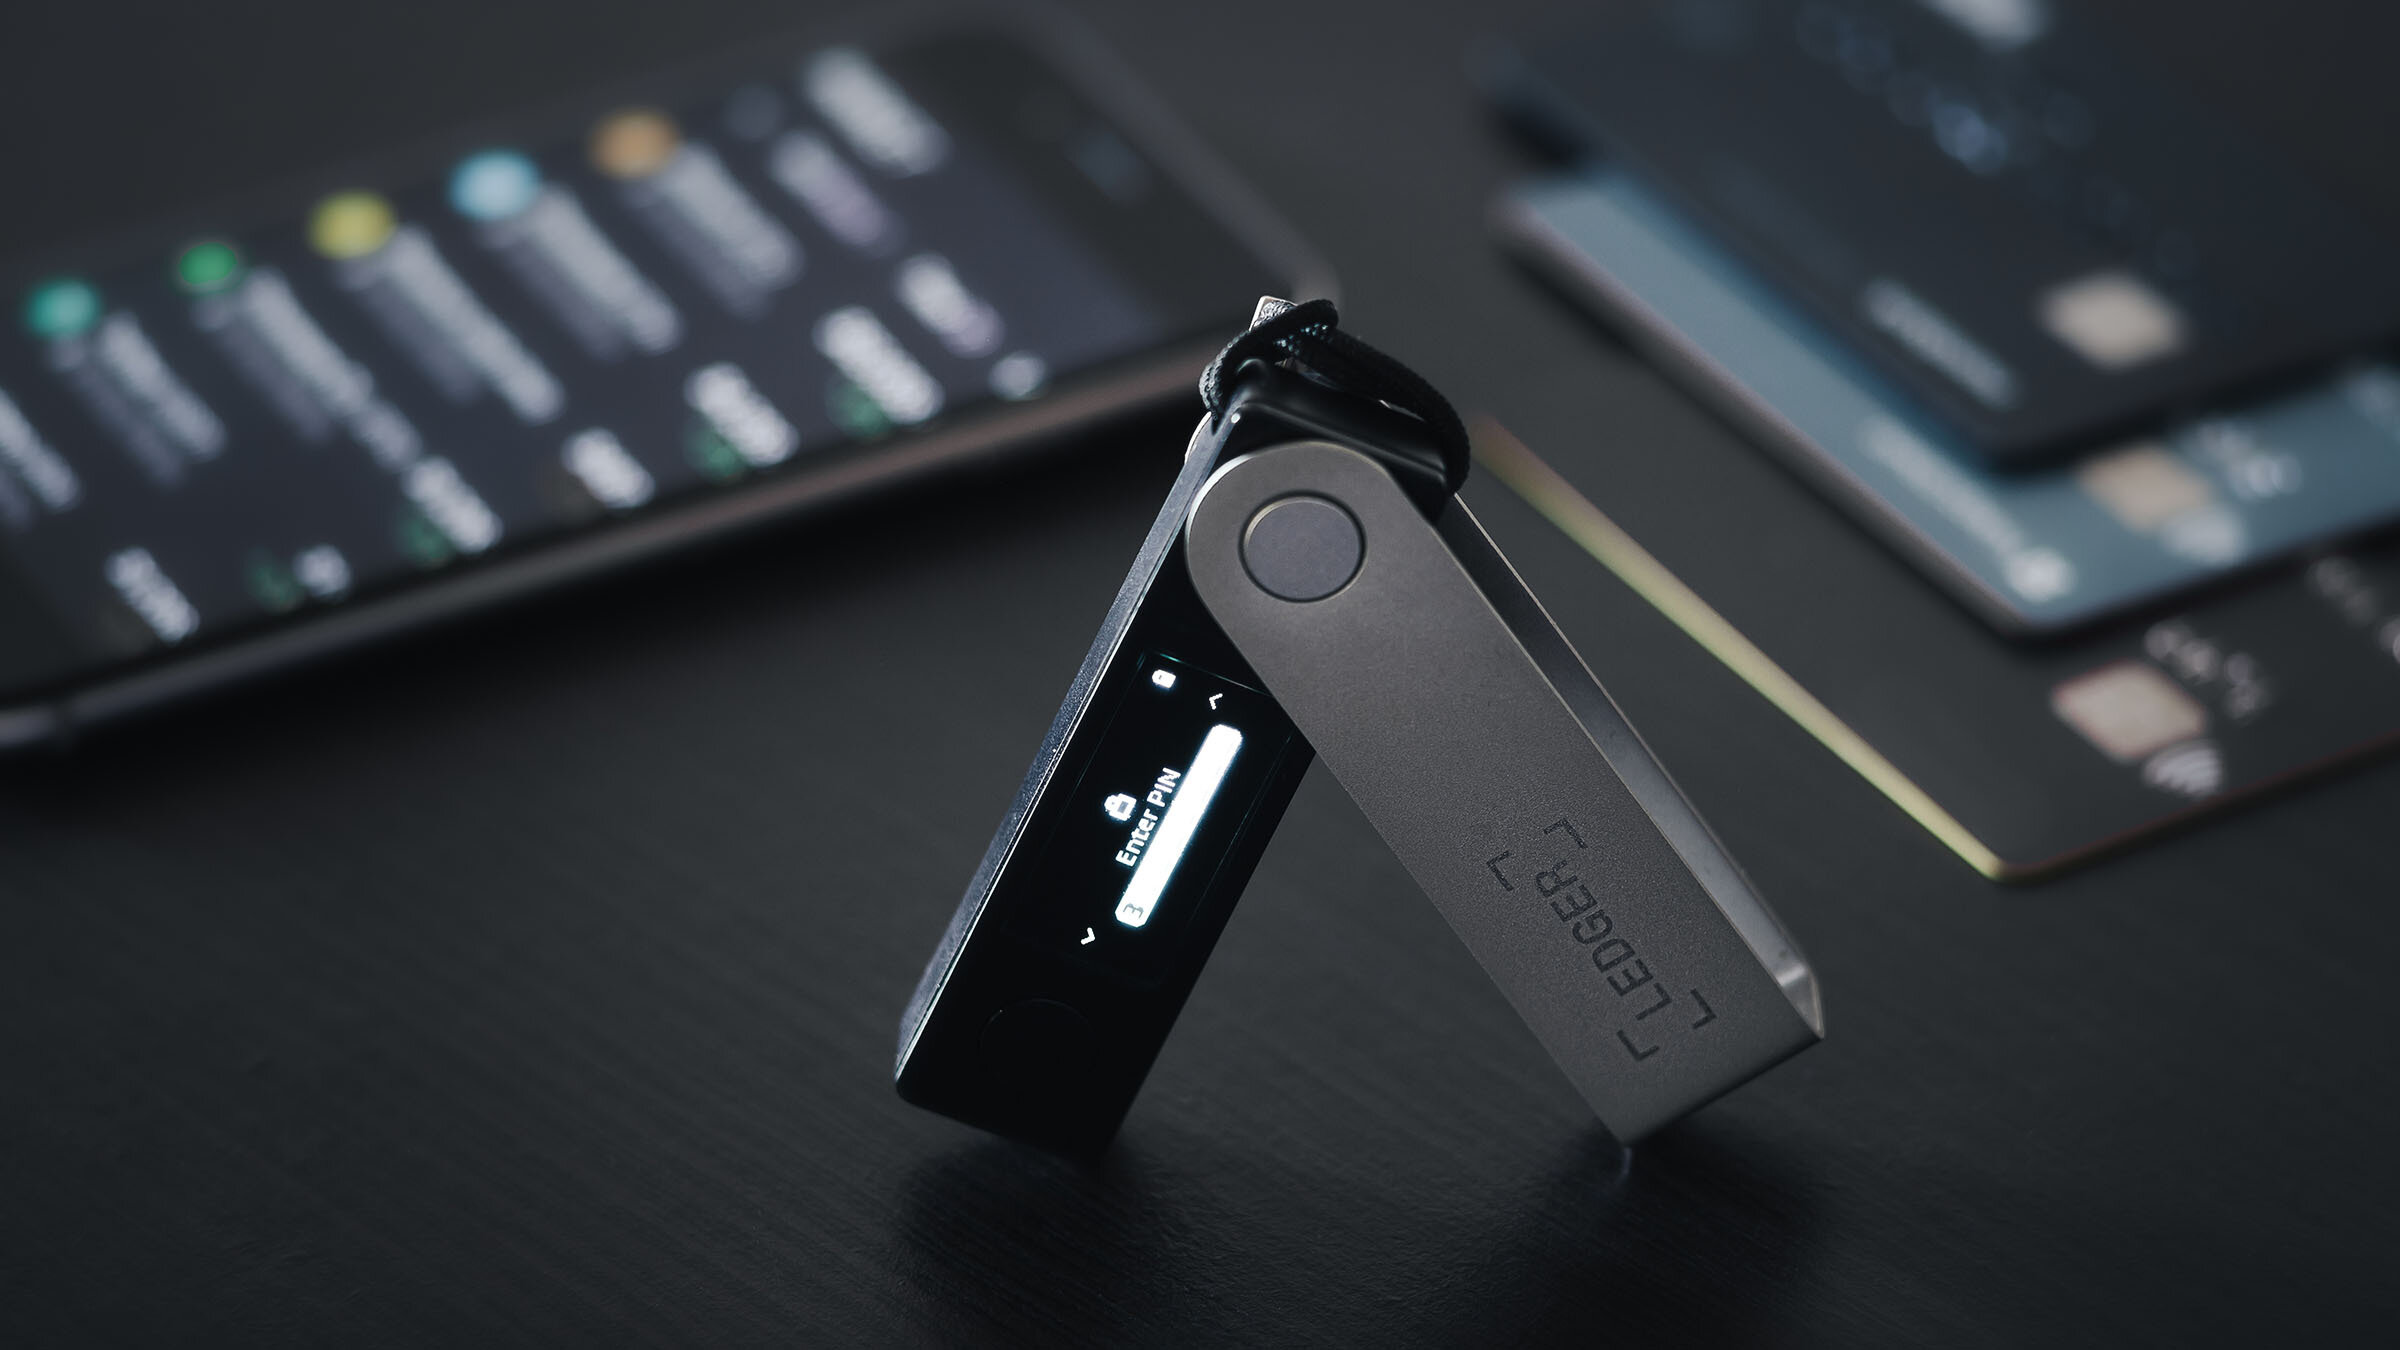
Step #1: Set Up Your Ledger Device
- Connect your Ledger hardware wallet (e.g. Stax, Nano S Plus or Nano X) to your computer or smartphone and ensure your device’s firmware is updated.
Step #2: Install Ledger Live
- Complete the initial setup by downloading and installing Ledger Live from the official Ledger website.
Step #3: Install the Ethereum App
- Open Ledger Live, scroll to the Manager tab, select the Ethereum (ETH) app, and click or tap on the Install button next to the app icon.
Step #4: Add an Ethereum Account
- In Ledger Live, go to the Accounts tab, click or tap on Add Account, select Ethereum, and follow on-screen instructions.
Step #5: Transfer VIRTUAL Tokens
- Open your Ethereum account, click or tap the Receive button.
- Copy your Ethereum address, and use it to transfer VIRTUAL tokens from an exchange or another wallet.
Step #6: View Your VIRTUAL Token Balance
- Scroll to your Ethereum account, and if VIRTUAL tokens don’t appear, manually add them by searching or pasting the contract address.
Important Tips:
- Manually add tokens using their contract address if they don’t display automatically.
- Confirm transaction details on your Ledger device before proceeding with transfers.
- Always check Ledger’s official supported assets page for updates on token support.