Storing VET (VeChain) on Ledger Live is not difficult.
Please download the last update of Ledger Live Application:
1. Ledger Live for Windows 10/11
2. Ledger Live for MAC
3. Ledger Live for Android
Here’s a step-by-step guide for you to follow:
Step #1: Set Up Your Ledger Device
- Connect Ledger hardware wallet (stax, Nano X or Nano S Plus) to a computer or smartphone.
- Make sure the device’s firmware is upgraded to the latest version.
Step #2: Install Ledger Live
- Download Ledger Live from the official Ledger website.
- Start Ledger Live by following on-screen instructions.
Step #3: Install VeChain App
- Open Ledger Live and scroll to My Ledger tab.
- Search for the VeChain app in the app catalog section.

- Click or tap on the Install button to add the VeChain app to the device.
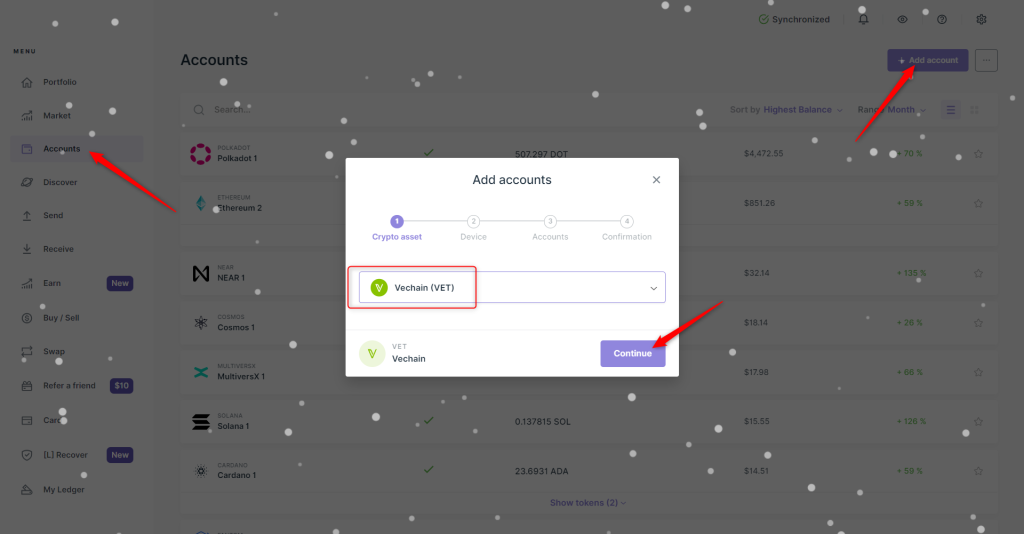
Step #4: Add VeChain Account
- Open VeChain app on Ledger.
- In Ledger Live, go to Accounts then click or tap on Add Account and select VeChain.
- Follow on-screen instructions to add a VET account.
Step #5: Receive VET
- In the VeChain account, click or tap on the Receive option.
- Copy displayed wallet address.
- Use address to transfer VET from exchanges or other wallets to Ledger devices.
Tips for Security:
- Ensure you check wallet addresses before transferring funds.
- Secure recovery phrase by keeping it safe offline.
- Always update Ledger Live and device regularly.
Your VET on Ledger Live is set to be safely stored and managed.