You can use your Ledger device to store USDC (USD Coin) stablecoin on Ledger Live.
Here’s a step-by-step guide showing how to store USDC on Ledger Live.
Please download the last update of Ledger Live Application:
1. Ledger Live for Windows 10/11
2. Ledger Live for MAC
3. Ledger Live for Android
Step #1: Initiate the Set Up of Your Respective Ledger Device
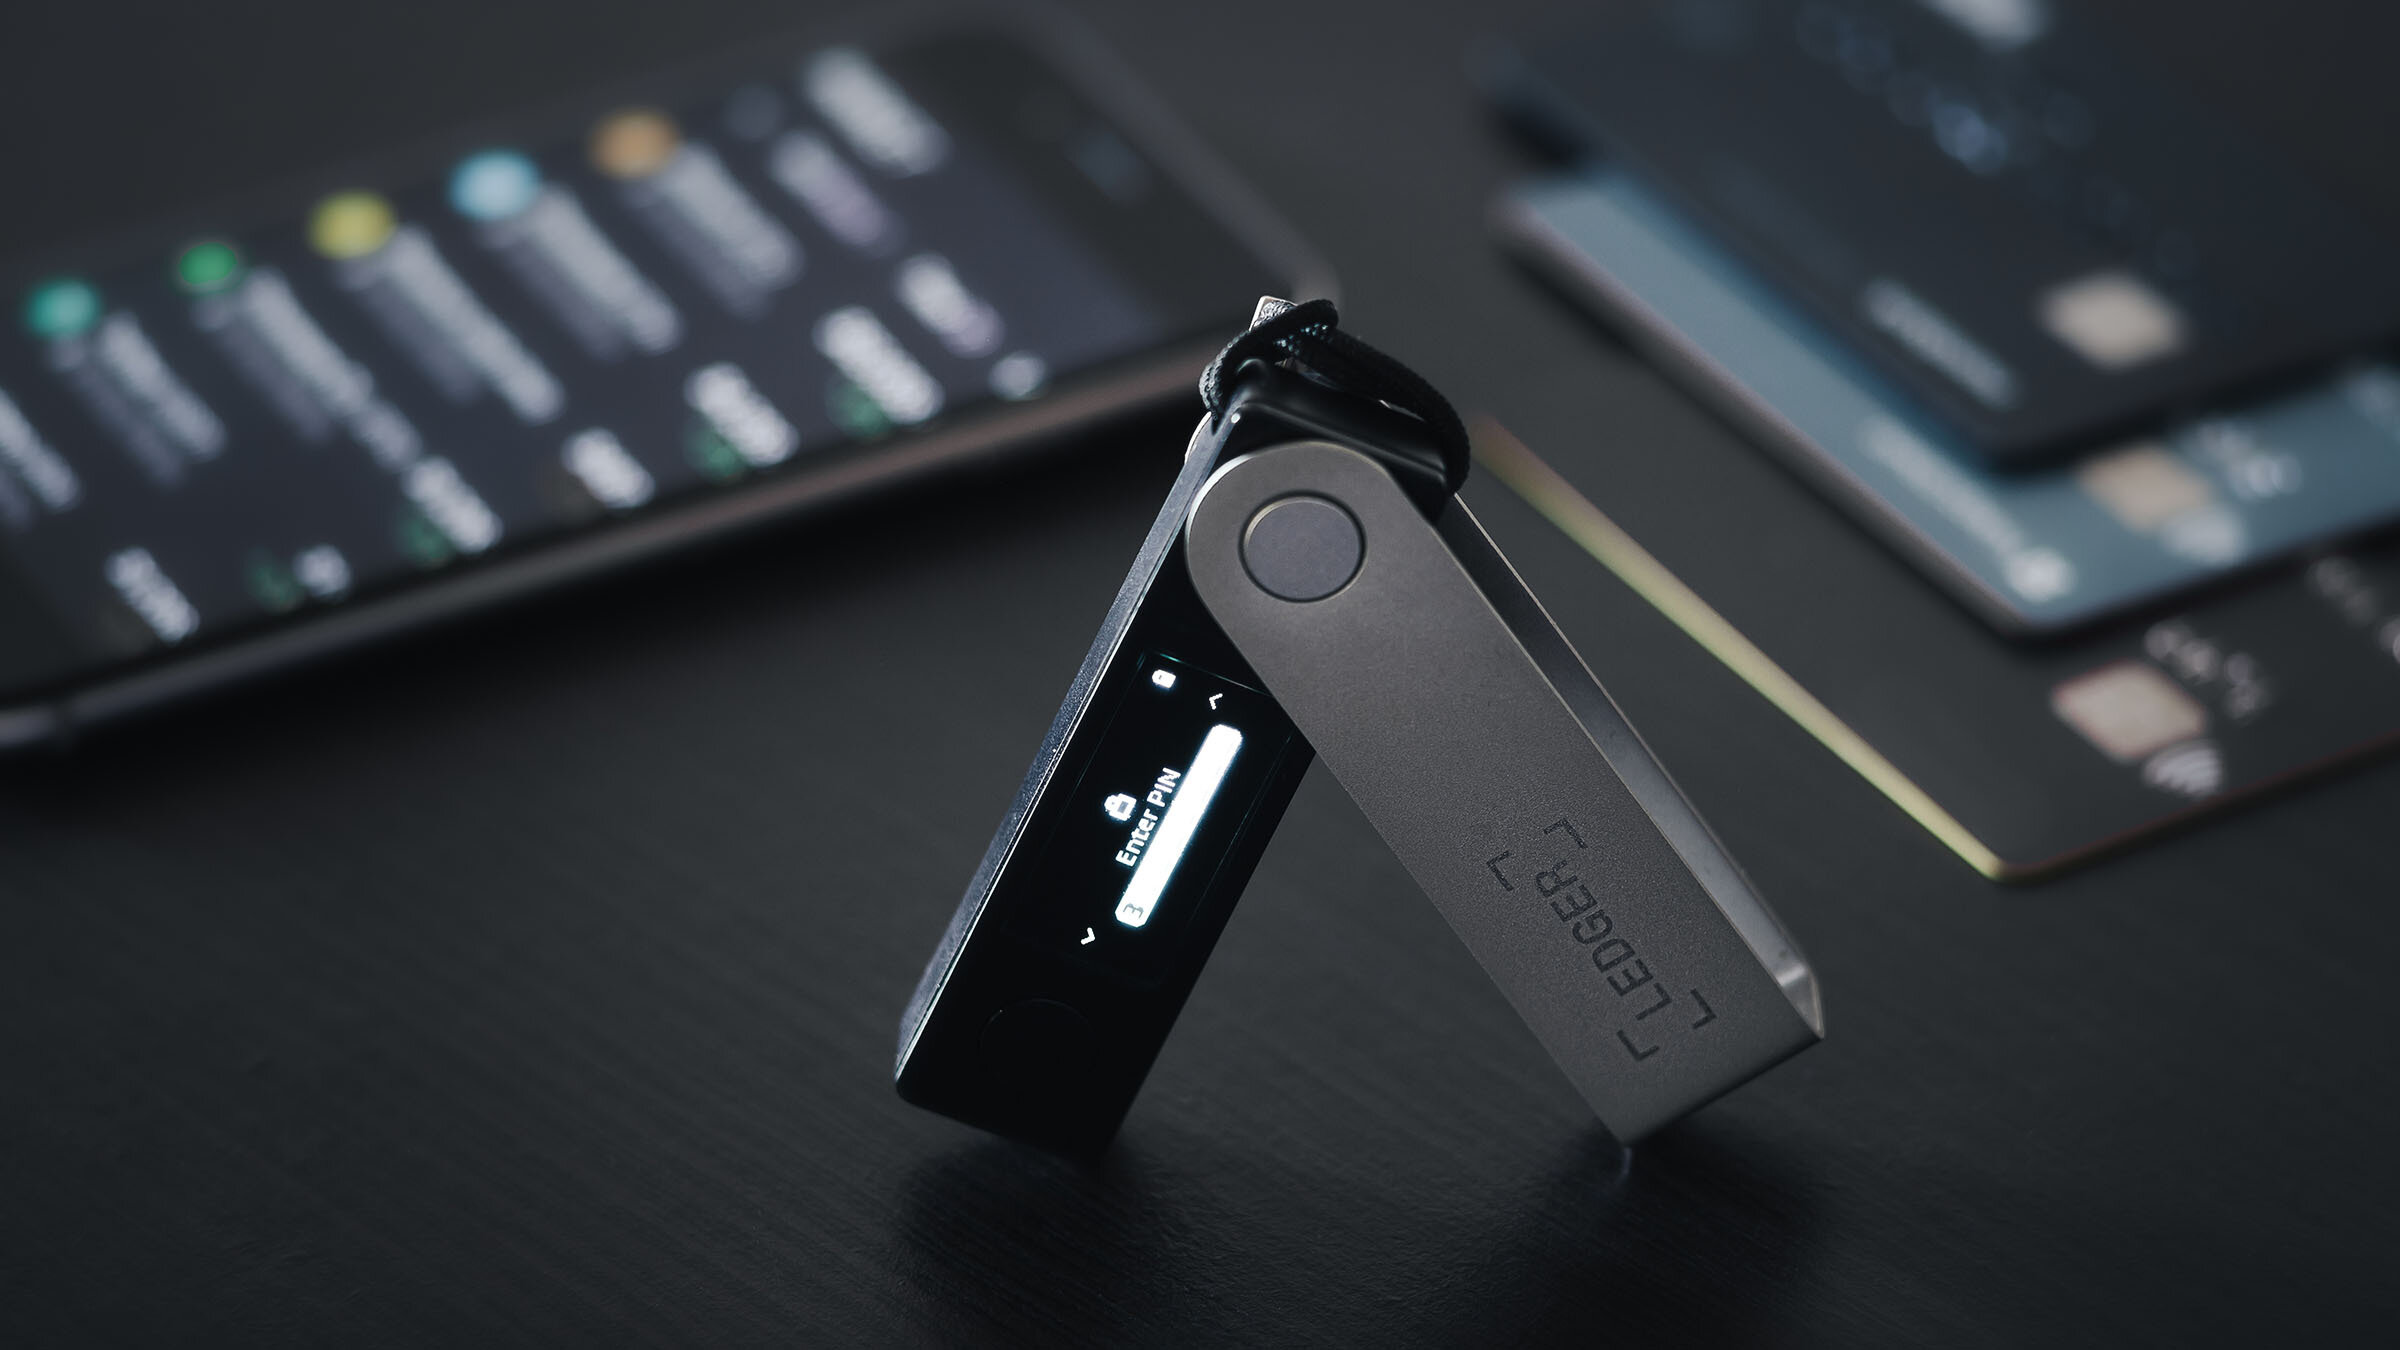
- You can set up your respective Ledger device (Stax, Nano S or Nano X) today through the creation of a secure PIN.
- Scribble down your 24-word recovery phrase and keep it safe as a reliable backup key for future reference.
Step #2: Download and Install the Ledger Live App
- Download the Ledger Live app from Ledger’s official website.
- Install the Ledger Live app on either your personal computer or mobile device.
Step #3: Install Blockchain App
You can find the USDC token on a large number of blockchains. It is up to you to select the blockchain you are familiar with. For example, Polygon, Solana, or ERC-20 USDC.
- Launch Ledger Live and scroll to the Manager tab section.
- Have your Ledger device connect3d to either your mobile device or computer.
- Conduct a search for the matching blockchain app. For example, Polygon, Solana or Ethereum.
- Click or tap the Install button to add the blockchain app to your respective Ledger device.
Step #4: Proceed to Add a Blockchain Account
- On the Ledger Live app, scroll to the Accounts tab.
- Click or tap on the Add Account option.
- Choose the blockchain with your stored USDC. For example, ERC-20 USDC or Ethereum.
- Follow the prompt and launch the matching app on your respective Ledger device.
- Your account will be automatically synchronized with the blockchain by the Ledger Live app.
- Provide a name for your account before clicking or tapping the Add Account button.
Step #5: Proceed to Receive USDC
- Scroll to the Accounts tab in the Ledger Live app and choose the added account.
- Click or tap on the Receive button.
- When prompted, launch the matching blockchain app on your respective Ledger device. For example, Ethereum for ERC-20 USDC.
- Copy out the wallet address that is shown in the Ledger Live app.
- Confirm that the wallet address in your respective Ledger device corresponds with the wallet address displayed in the Ledger Live app.
- You can now share the wallet address with the person sending USDC or you can withdraw USDC from any exchange using the wallet address.
Step #6: Ratify the Transaction
- The USDC that is sent out to your wallet address will show up in your Ledger Live account once some network confirmation protocols are successfully fulfilled.
- Now your USDC is securely and safely stored on your respective Ledger device.

Notes:
- Sending out USDC will require the payment of gas fees. The gas fees will have to be paid in the blockchain’s native token. For example, SOL gas fees for Solana, MATIC gas fees for Polygon, or ETH gas fees for Ethereum.
- Make sure you have sufficient native token available in your wallet for any future transactions.
- Before you transfer USDC, you should double-check to make sure the wallet address is in order.
- Do not share your 24-word recovery phrase backup key with any individual.