As of January 2025, FET token is compatible with both the Ethereum (ERC-20) and Binance Smart Chain (BEP-20) networks.
To safely store your FET tokens using your Ledger hardware wallet, follow this straightforward guide:
Please download the last update of Ledger Live Application:
1. Ledger Live for Windows 10/11
2. Ledger Live for MAC
3. Ledger Live for Android
Step #1: Set Up Ledger Device
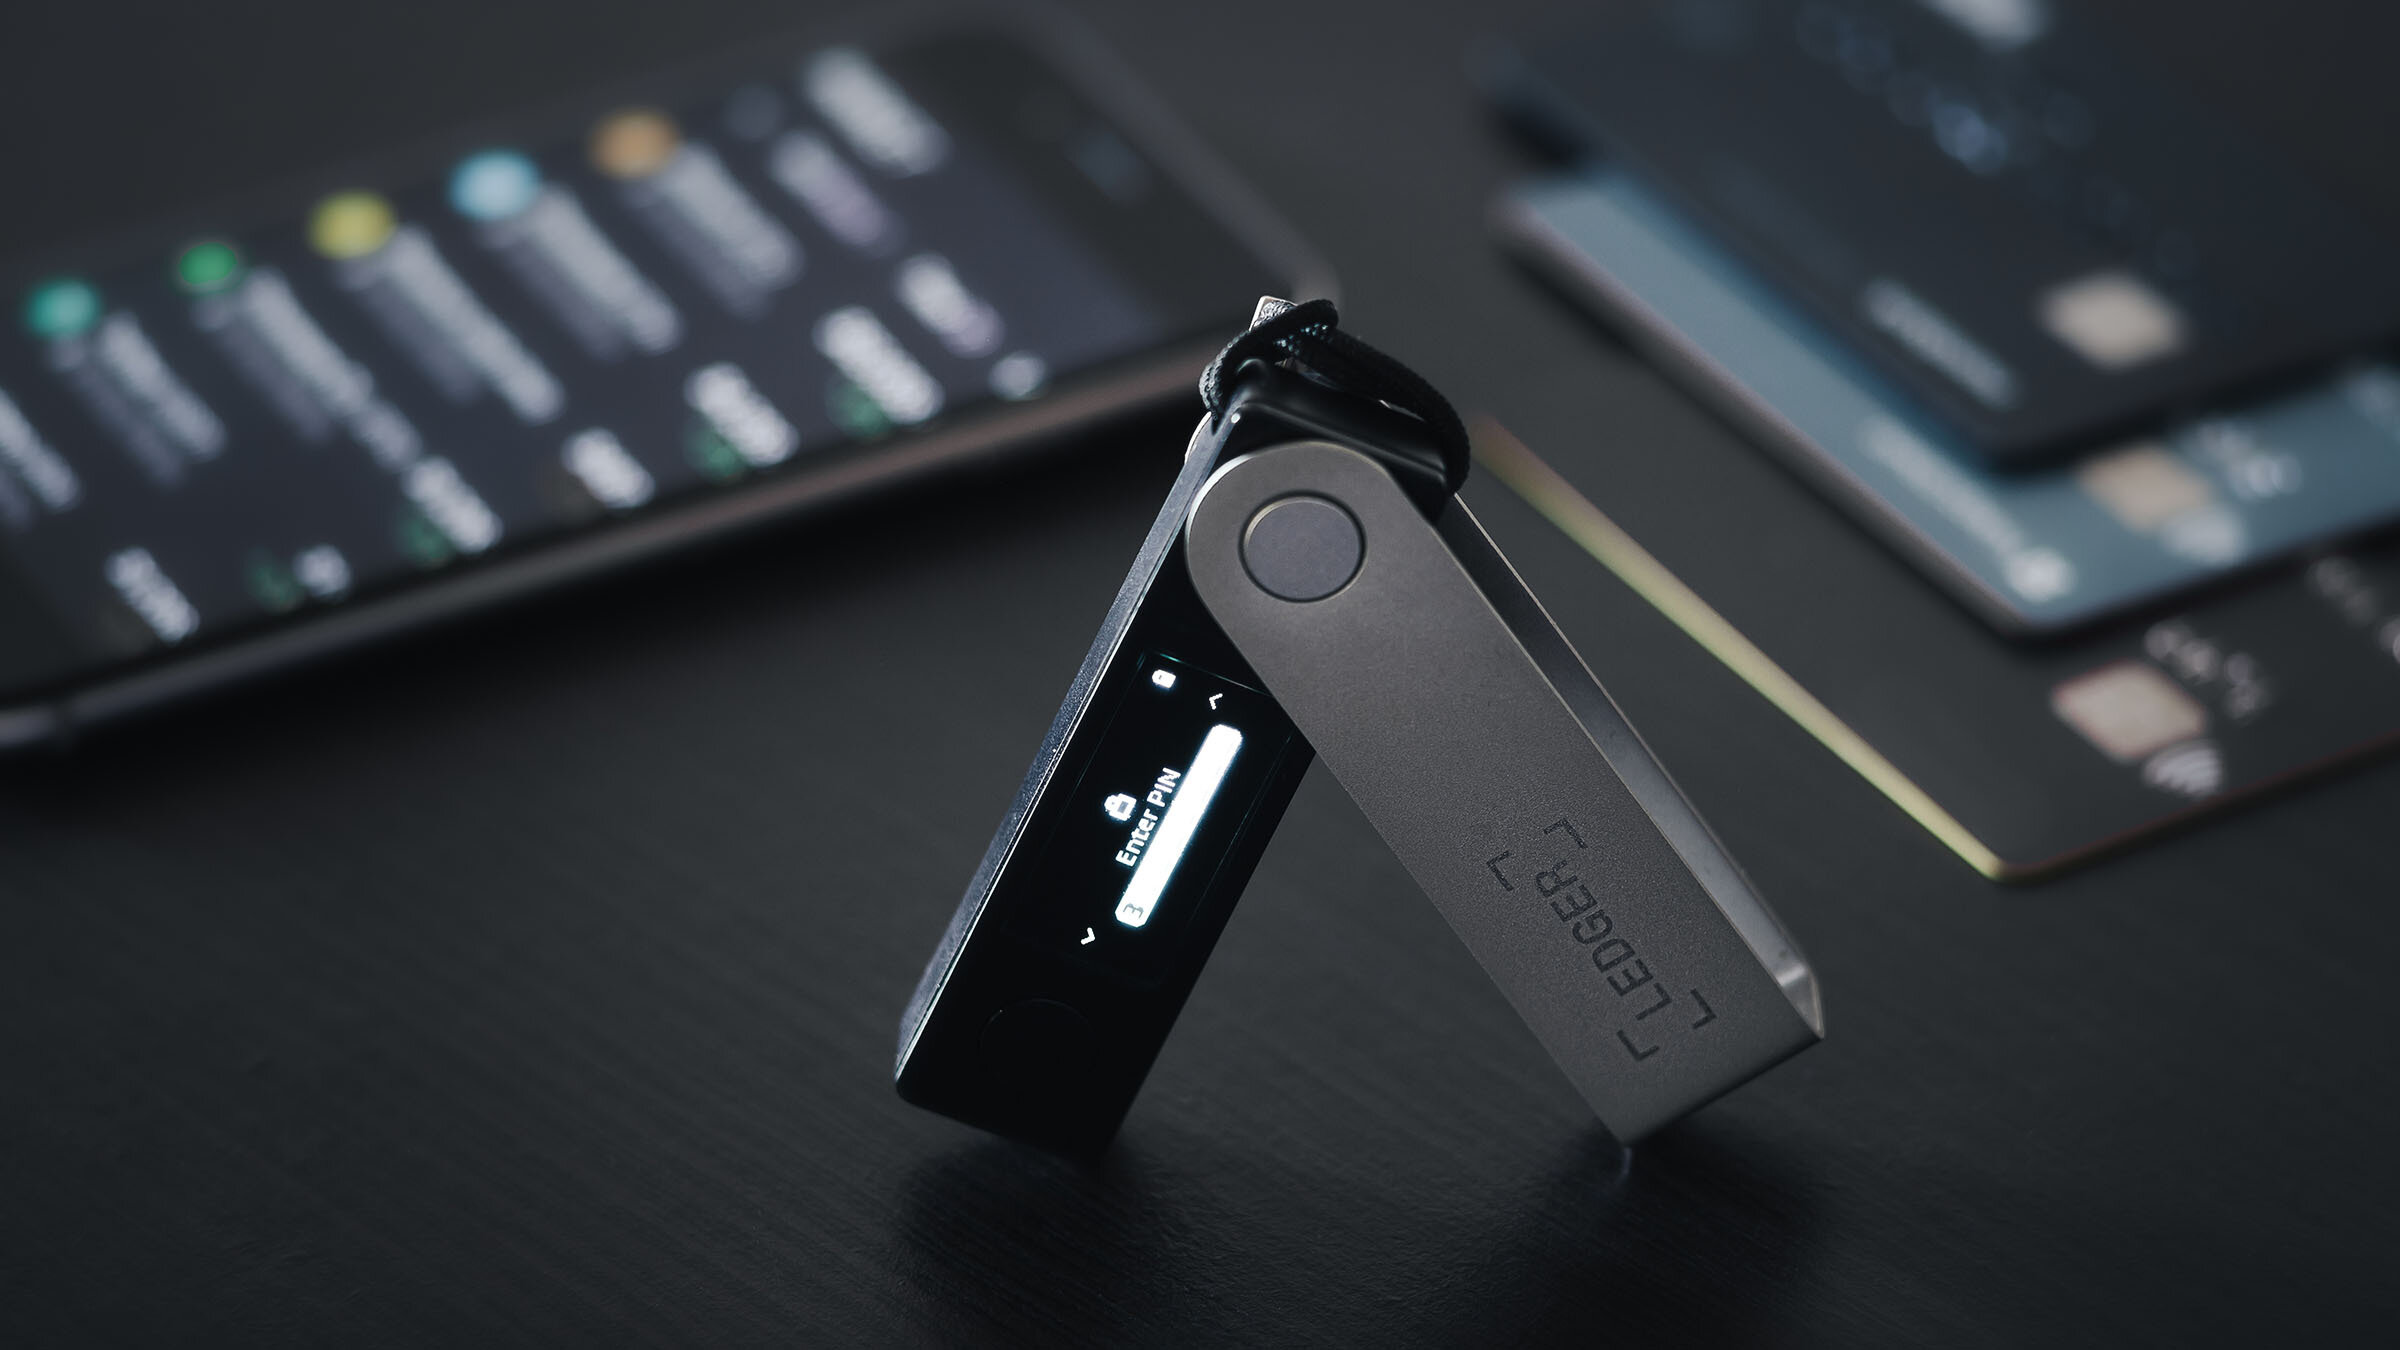
- Connect Ledger hardware wallet (e.g. Stax, Nano S Plus or Nano X) to a computer or smartphone device.
- Ensure device’s firmware is up-to-date.
Step #2: Install Ledger Live
- Download and install Ledger Live from the official Ledger website.
- Open Ledger Live and set up the device if not already done.
Step #3: Install Ethereum and Binance Smart Chain Apps
- In Ledger Live, navigate to the Manager tab.
- Search for and install Ethereum and Binance Smart Chain apps.
- Ensure the Ledger device is unlocked during installation.
Step #4: Add Ethereum and Binance Smart Chain Accounts
- Go to the Accounts tab in Ledger Live.
- Click or tap on the Add Account tab then select Ethereum, and follow prompts.
- Repeat process for Binance Smart Chain.
Step #5: Receive FET Tokens
- Open Ethereum or Binance Smart Chain account in Ledger Live, depending on token location.
- Click or tap on the Receive button and copy the wallet address.
- Use address to transfer FET tokens from an exchange or another wallet.
Important Considerations:
- Network Compatibility: Ensure sending FET tokens to the correct network (ERC-20 or BEP-20) corresponding to account in Ledger Live.
- Transaction Verification: Always verify transaction details on Ledger devices before confirming.
- Security:
Keep the recovery phrase secure and never share it with anyone.
By following these steps, you can securely store and manage your FET tokens using your Ledger hardware wallet.