
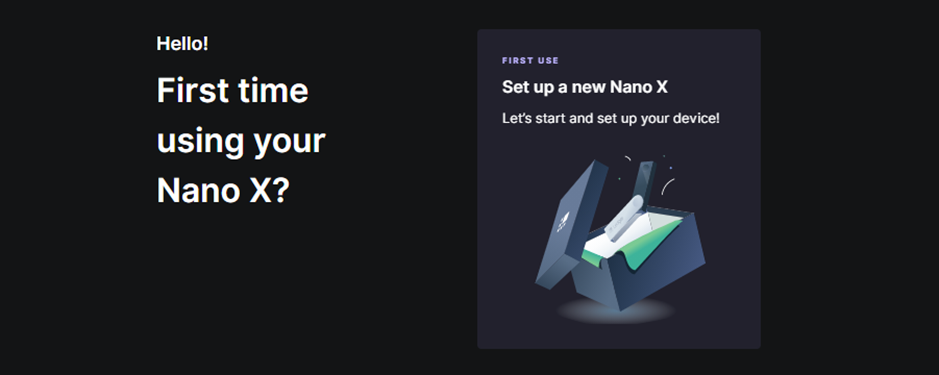
Setting up Ledger Live for the first time is an essential step to managing your cryptocurrencies securely with a Ledger hardware wallet (such as the Nano S Plus, Nano X, Flex, or Stax).
This guide assumes you’ve already installed Ledger Live on your computer or mobile device (see my previous response for installation steps) and are starting fresh with a new Ledger device.
Below is a detailed, step-by-step process for setting up Ledger Live for the first time as of February 21, 2025.
Please download the last update of Ledger Live Application:
1. Ledger Live for Windows 10/11
2. Ledger Live for MAC
3. Ledger Live for Android
What You’ll Need
- A Ledger hardware wallet (unboxed and charged if applicable, e.g., Nano X via Bluetooth).
- A computer (Windows 10+, macOS 11+) or mobile device (iOS 13+, Android 8+) with Ledger Live installed.
- The USB cable provided with your Ledger (or Bluetooth for Nano X).
- A pen and paper (or a secure backup tool like Ledger’s Cryptosteel) to record your recovery phrase.
- A stable internet connection.
Step-by-Step Guide to Setting Up Ledger Live for the First Time
Step 1: Launch Ledger Live
- Desktop: Open Ledger Live from your Start menu (Windows), Applications folder (Mac), or desktop shortcut.
- Mobile: Tap the Ledger Live app icon on your iOS or Android device.
- Upon first launch, you’ll see a welcome screen. Click or tap Get Started.
Step 2: Choose Your Setup Option
- You’ll be presented with three options:
- Initialize a New Device – For setting up a brand-new Ledger wallet (most common for first-time users).
- Restore a Device – For recovering an existing wallet using a 24-word recovery phrase.
- Use a Device Already Set Up – For pairing an initialized Ledger with this instance of Ledger Live.
- Select Initialize a New Device and click Continue.
Step 3: Connect Your Ledger Device
- USB Connection (Nano S Plus, Flex, Stax, or Nano X):
- Plug your Ledger into your computer using the provided USB cable.
- Ensure the device powers on and displays the Ledger logo.
- Bluetooth Connection (Nano X only):
- On your mobile device, enable Bluetooth.
- Press the buttons on your Nano X to wake it up and navigate to the dashboard.
- Ledger Live will detect the device. If it doesn’t:
- Desktop: Try a different USB port/cable or install USB drivers (Windows).
- Mobile: Ensure Bluetooth permissions are granted and the Nano X is in pairing mode.
Step 4: Set Up Your Ledger Device
- Ledger Live will guide you through initializing your hardware wallet directly on the device’s screen:
- Welcome Screen: Press both buttons (or follow on-screen prompts for Stax’s touchscreen) to begin.
- Set a PIN:
- Choose a PIN (4–8 digits for Nano S/X, 6–12 for Flex/Stax).
- Confirm it by re-entering it on the device.
- This PIN unlocks your device each time you use it—don’t share it or forget it (three wrong attempts reset the device).
- Generate and Record Your Recovery Phrase:
- Your Ledger will generate a unique 24-word recovery phrase (also called a seed phrase).
- Write down each word in order (1–24) on the recovery sheet provided in the box or another secure medium.
- Use the device’s buttons (or touchscreen) to scroll through and confirm each word.
- Important: This phrase is your only backup to recover your funds if the device is lost, stolen, or reset. Store it offline, never digitally, and keep it private.
- Confirm Your Recovery Phrase:
- The device will ask you to verify a few words (e.g., “Enter word #5”).
- Match the words from your written list to confirm you’ve recorded them correctly.
Step 5: Complete Device Initialization
- Once the recovery phrase is confirmed, your Ledger device will finish setup:
- Nano S/X: Displays the dashboard (“Welcome” or app menu).
- Flex/Stax: Shows a home screen with navigation options.
- Ledger Live will recognize the device as initialized and prompt you to proceed.
Step 6: Perform a Genuine Check
- In Ledger Live, click Check My Device (or similar) to verify its authenticity:
- The app communicates with Ledger’s servers to confirm your device isn’t counterfeit.
- If successful, you’ll see a “Your device is genuine” message. If it fails, contact Ledger Support immediately.
Step 7: Install Firmware Updates (If Prompted)
- Ledger Live may detect that your device needs a firmware update for security or compatibility:
- Go to the Manager tab in Ledger Live.
- Follow prompts to install the latest firmware (e.g., unlock your device with your PIN and approve the update).
- Keep your recovery phrase handy as a precaution, though it’s not typically needed unless the device resets.
Step 8: Add Cryptocurrency Accounts
- In Ledger Live, navigate to the Accounts tab:
- Click Add Account.
- Select a cryptocurrency (e.g., Bitcoin, Ethereum, Solana) from the dropdown list.
- Ledger Live will prompt you to install the corresponding app on your device:
- Confirm the installation on your Ledger (e.g., “Allow Ledger Manager”).
- Wait for the app to download and install (storage limits apply—Nano S Plus has less space than Nano X).
- Once installed, Ledger Live scans the blockchain to sync your account and display your balance (initial sync may take a few minutes).
- Repeat for each cryptocurrency you want to manage.
Step 9: Explore Ledger Live Features
- With your device set up and accounts added, you’re ready to use Ledger Live:
- Portfolio: View your total balance and asset breakdown.
- Send/Receive: Transfer crypto by connecting your Ledger to confirm transactions.
- Buy/Sell/Swap: Purchase crypto via partners like MoonPay or swap coins.
- Stake: Earn rewards on supported coins (e.g., ADA, ETH) under the Earn tab.
- NFTs: Manage Ethereum/Polygon NFTs in the NFT section.
Step 10: Secure Your Setup
- Store Your Recovery Phrase: Keep it in a safe, offline location (e.g., a fireproof safe or metal backup). Never store it on your computer or phone.
- Set a Password (Optional): In Ledger Live, go to Settings > General and enable a password to lock the app.
- Test Recovery (Optional): Restore your phrase on a spare device or reset your Ledger to ensure it works—do this only if you’re confident.
Tips and Troubleshooting
- Device Not Detected?
- Ensure it’s unlocked with your PIN and not in sleep mode.
- Try a different USB cable/port or re-pair Bluetooth (Nano X).
- Slow Syncing? Initial blockchain scans can take time—be patient or check your internet connection.
- Storage Full? Uninstall unused coin apps via the Manager tab to free space, then reinstall as needed.
- Lost Phrase? Without it, your funds are unrecoverable if the device fails—prioritize its safety.
Conclusion
Setting up Ledger Live for the first time typically takes 15–30 minutes, depending on firmware updates and account additions. Once complete, you’ll have a secure, non-custodial platform to manage over 500 natively supported cryptocurrencies (and 5,500+ with third-party wallets), all backed by your Ledger’s offline private key storage.