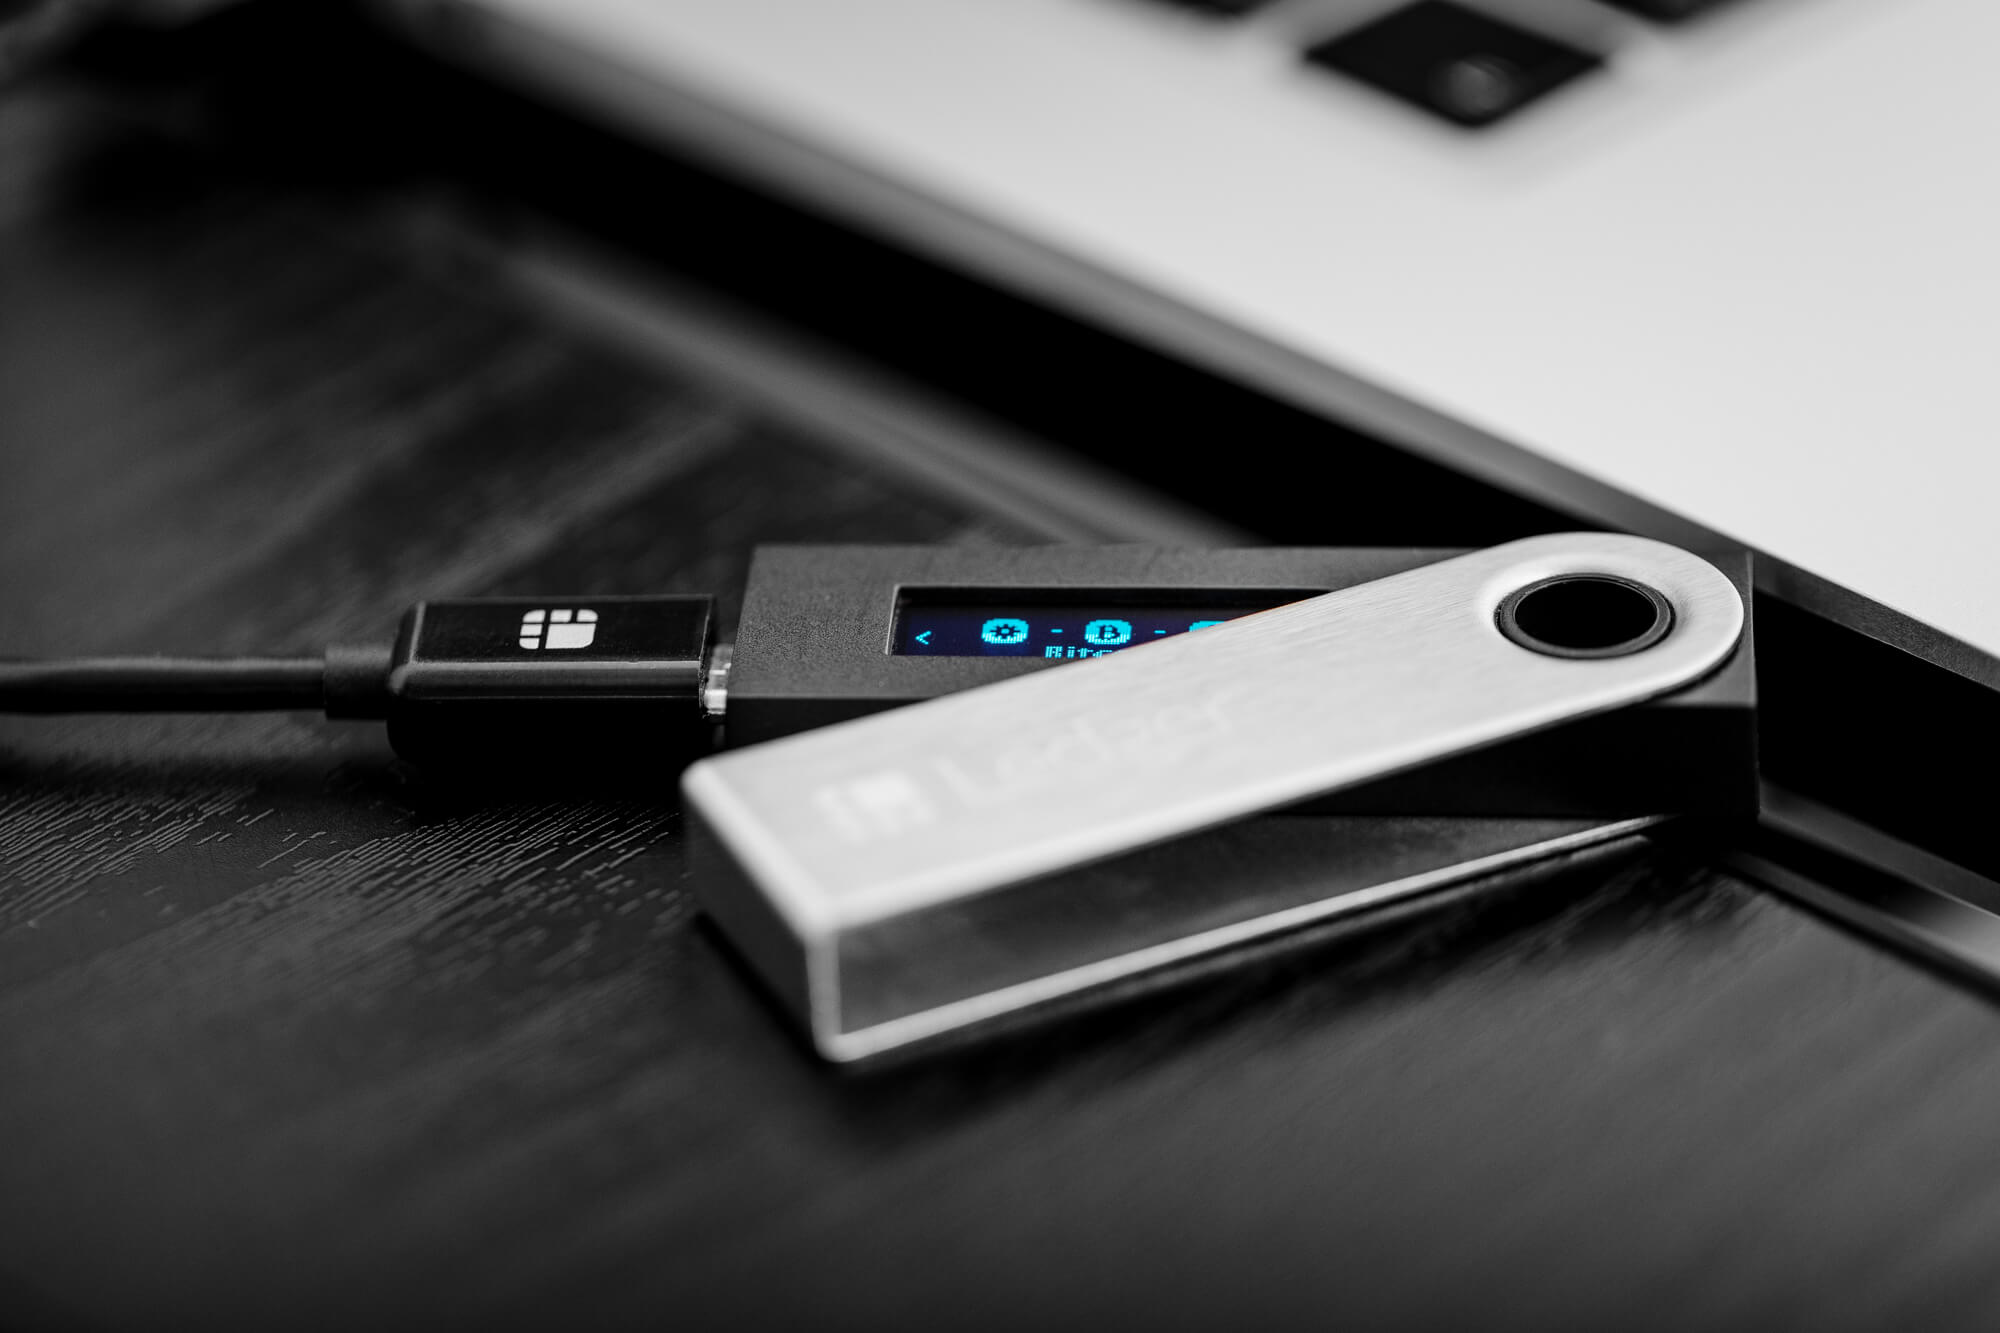
The Ledger hardware wallets are a very secure way of storing the private keys used to spend your coins. Installing the Ravencoin app on your ledger device will allow you to manage your Ravencoin.

Please download the last update of Ledger Live Application:
1. Ledger Live for Windows 10/11
2. Ledger Live for MAC
3. Ledger Live for Android
Before you begin
- Download and install Ledger Live.
- Set up your Ledger device.
- Update to the latest Ledger firmware if needed.
- Install the latest Bitcoin app on your device, as the Ravencoin app requires it.
Installing the Ravencoin app on the Ledger device
- Connect and unlock your device.
- Open Ledger Live and select Manager from the menu.
- If prompted, allow the manager on your device.
- Find the Ravencoin app in the app catalog.
- Click the install button for the Ravencoin app.
- An installation window will appear. If you receive a dialog stating “app required”, it means you need to install or upgrade to the latest Bitcoin app first.
- Close the installation window and ledger live after the installation is confirmed.
Installing the Electrum-Ravencoin wallet
Download the Electrum-Ravencoin wallet to manage your Ravencoin with a ledger device.
When setting up the Electrum-Ravencoin wallet for the first time follow these steps:
- You will need to connect your ledger device to your computer, unlock it, and enter the Ravencoin app before proceeding.
- Ensure ledger-live is closed and open Electrum-Ravencoin.
- On the first screen, you’ll be presented with a text box that has the name of the wallet file that will be created on your computer. It will have a name of default_wallet. You can either rename this or leave it as is and click next.
- On the second screen, you’ll be presented with three options: Standard wallet, Multi-signature wallet, and Import Ravencoin addresses or private keys. Choose the Standard Wallet option and click next.
- On the third screen you’ll see four options: Create a new seed, I already have a seed, Use a master key, and Use a hardware device. Select Use a Hardware Device and click Next.
- The program will scan to see if a hardware device is available. If so, you should see the option to select an unnamed ledger [ledger, initialized]. Click next.
- You will be asked to choose the type of address in your wallet, there is only one option so you can leave that alone. In the text box below it will show the correct derivation path. Click next.
- The next screen will ask if you want to encrypt the wallet file. This file contains metadata and a master public key to watch the addresses you manage using the application. Private keys are never shared with the application or computer and remain on the device. If you encrypt the wallet file, you will need to have the device connected and the Ravencoin app open to use the wallet. If you don’t encrypt the wallet file, you’ll be able to open it without the device but the device will still be required when you send coins or verify a receiving address.
- The wallet is now set up.
When using the Electrum-Ravencoin wallet after initial setup:
- If you encrypted your wallet file, you’ll need to connect your Ledger device and open the Ravencoin app.
- In the Electrum-Ravencoin wallet select the wallet file you want to open and click next.
- The wallet will open and you can send and receive RVN.
Using the Electrum-Ravencoin wallet
When the wallet opens you will see five options across the top: File, Wallet, View, Tools, and Help. You will also see three tabs labeled History, Send, and Receive. When the wallet is open your account balance will be shown in the bottom left-hand corner of the wallet application. This will be visible no matter what tab you have open. The History tab will show the History of transactions using your accounts, the Send tab will allow you to create and broadcast transactions to the Ravencoin blockchain, and the Receive tab will allow you to choose and verify a receiving address for incoming RVN.
Using the Electrum-Ravencoin wallet to receive RVN
- Click the Receive tab.
- The wallet will choose a receiving address automatically which will be displayed in a text box labeled “Receiving address”. You can use a previously used address if you would like but this doesn’t offer optimal privacy.
- To verify the receiving address on your device, click the eye icon on the right-hand side of the “Receiving address” text box.
- A little text box with the words “showing address” will appear.
- Verify the receiving address on your Ledger device by clicking the right button a few times to verify the full address and then select to approve or reject the address.
- Enter the requested amount of RVN to receive and click Save.
- Provide the receiving address to the person who will be sending you RVN.
Using the Electrum-Ravencoin wallet to send RVN
- Click the Send Tab.
- Paste the recipient’s address into the “Pay to” text box.
- Enter an optional description for your own records.
- Enter the amount of RVN you wish to send into the “Amount” text box.
- Click the Preview button to preview the transaction before sending it to the Ledger device.
- Click the Send button.
- A small window will appear telling you the amount to be sent and the mining fee for the transaction.
- Click Yes to proceed.
- Review and confirm the transaction details on your device. You may have to wait a few seconds for the details to appear.
- Click the right button a few times to verify the amount and recipient address and then select to approve or reject the transaction.
