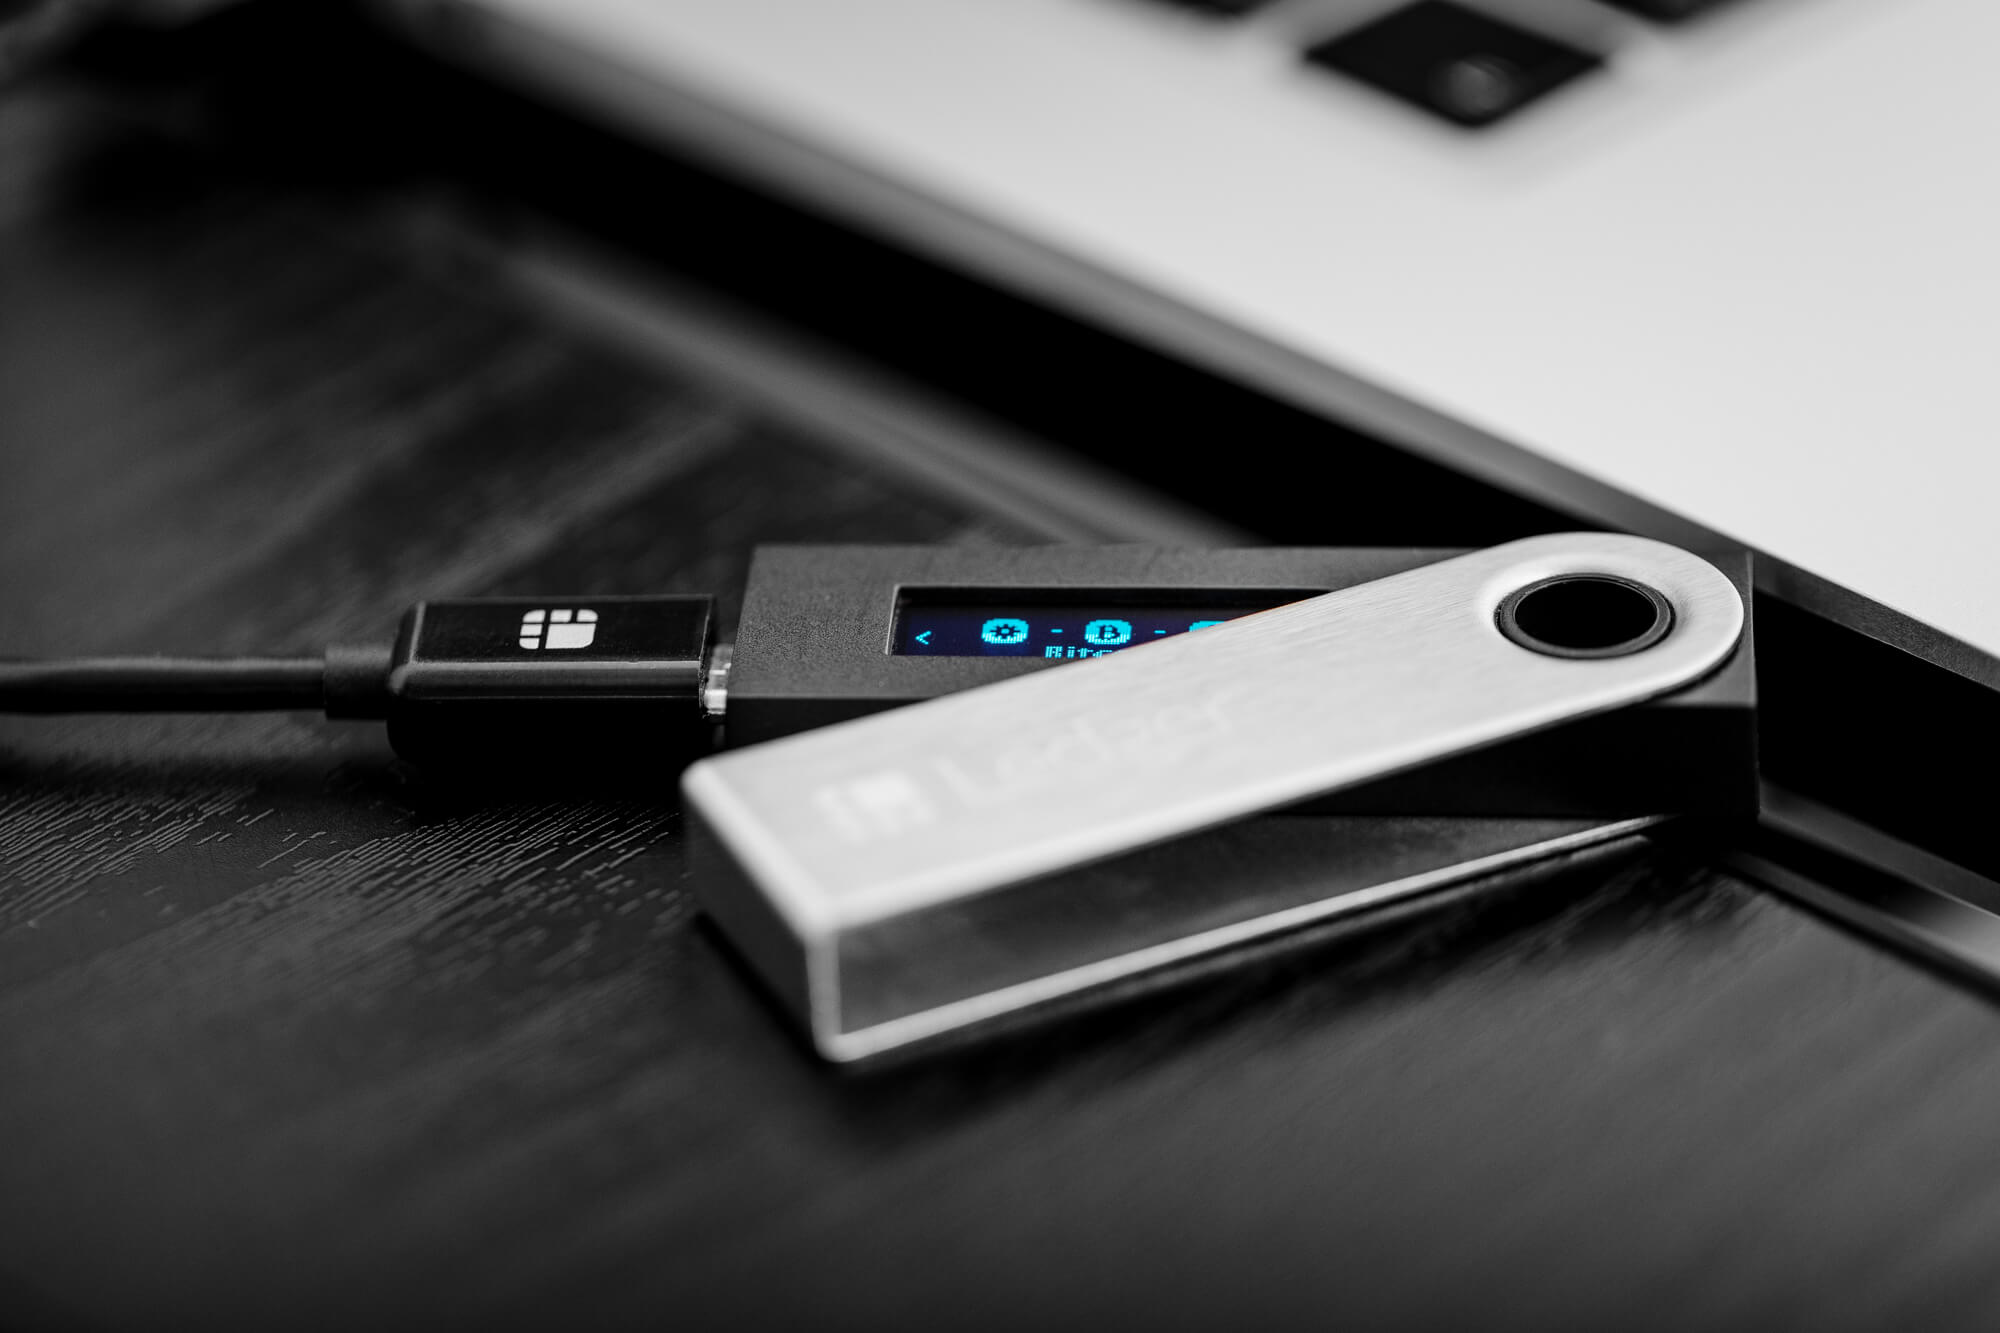
Hive is different than most blockchains. It has two native assets: HIVE and HBD (Hive Backed Dollar) and usernames instead of public addresses. Those accounts have different keys associated with different roles (owner, active, posting, and memo). Every role can contain different keys. To ultimately protect your Hive account it is recommended to replace your Owner key with the one derived from your device – this will protect you from leaking your private key by mistake.
This article guide will show you how to manage HIVE on Hive Wallet with a ledger device.

Please download the last update of Ledger Live Application:
1. Ledger Live for Windows 10/11
2. Ledger Live for MAC
3. Ledger Live for Android
Before you start:
Before you start, make sure you have
- Initialized Ledger Device with the newest firmware
- Hive application installed on your device
Install Hive App
- Open the Manager in the Ledger Live application
- Connect and unlock your Ledger Device
- If asked, follow the onscreen instructions and Allow Ledger Manager.
- Find Hive in the app catalog.
- Click the Install button and wait for application to be successfully installed
- Close Ledger Live

Account discovery – how to find accounts associated with your device
Hive Ledger Wallet will automatically discover all accounts associated with your device every time you will try using it. The process is very simple, you just need to authorize access to your device.
- Connect your device, unlock, and openthe Hive application.
- Full access with Ledger Nano S/X card
- Make sure you have your Ledger unlocked and Hive application opened. Click “Connect” .
- Select your device from a drop-down. This popup may not appear later on if you connect and authorize your device.
- Wait for the wallet to discover accounts associated with your device (if any). This might take a few seconds.
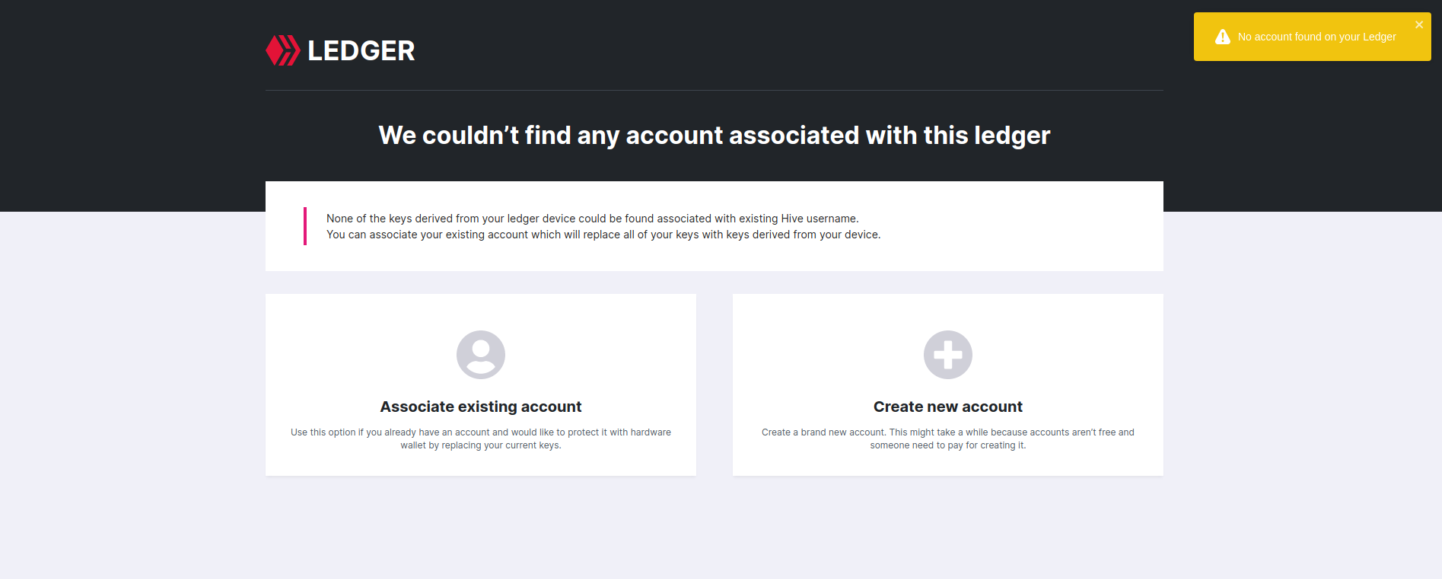
- If you use Hive Ledger Wallet for the first time, you will see another screen, with the information that no account associated with your device was found. In such case you need to associate your account as descrived below.


How to associate your account with Ledger device
If you already have your Hive username, you can use your Ledger device to ultimately protect it by changing all your keys to the ones derived from your device.
In the example below, we will associate an existing account called test.ledger with the device. You will need the current owner’s private key in Hive-supported WIF format.
- Connect your device, unlock, and openthe Hive application.
- Click Associate existing account card to start the process.
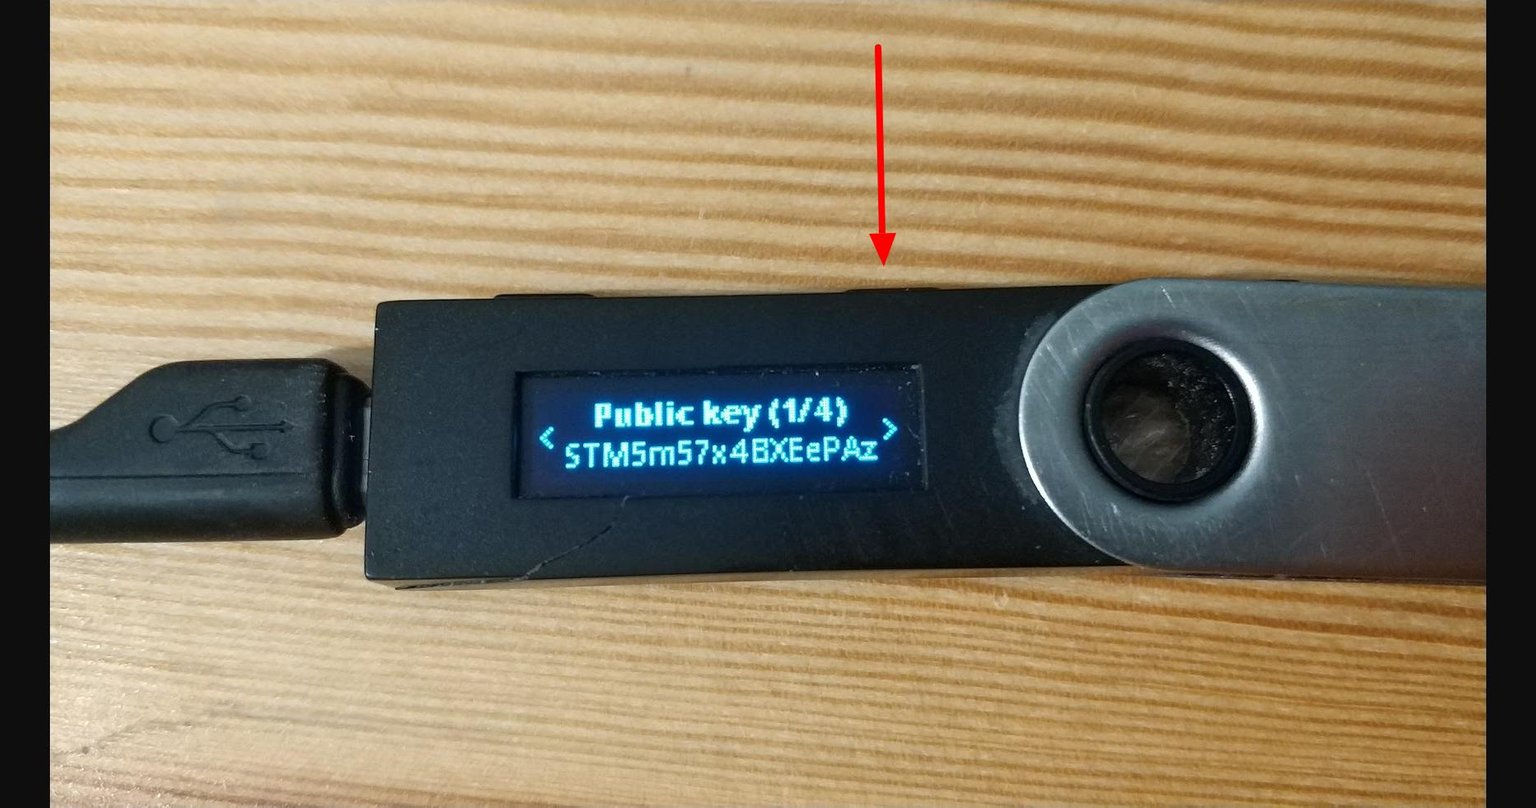
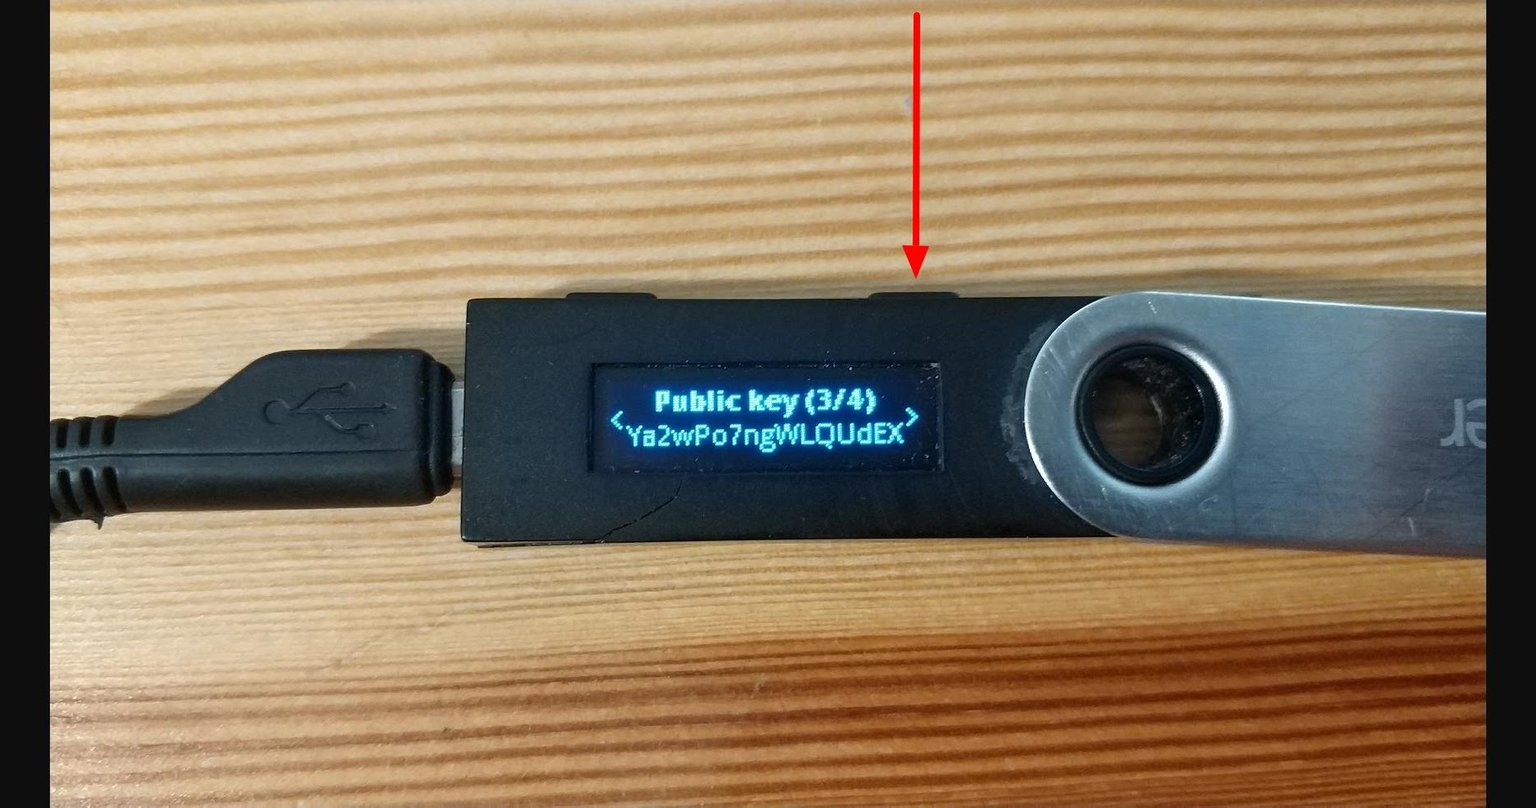
- Click Request new key to find new, unused public key that could be used to replace your current owner key.
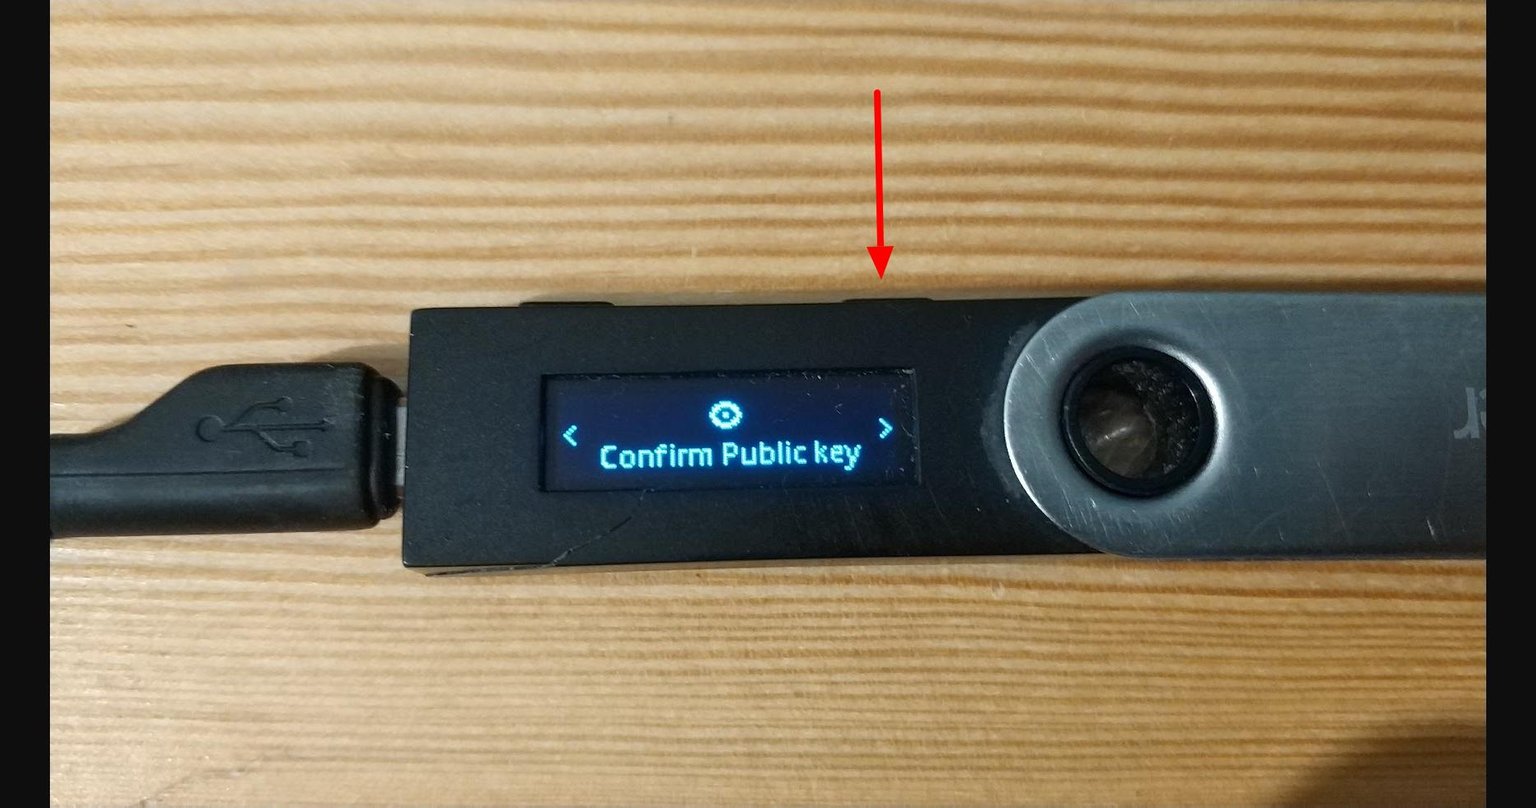
- Confirm the key on your device. Navigate using the left and right buttons to inspect the key. Make sure it’s the same as in your terminal
- Confirm the public key by pressing both buttons on the “Approve” screen.
- Click continue to start the second step.
- Fill in your username and current private owner key in WIF format.
- Click “Continue” to start the last step
- Select all the key roles you want to replace. If you want to create a cold storage wallet, we recommend replacing all the roles. If you want to keep social abilities (voting, commenting etc), unselect Posting key.
- Click Update account. Your account will be updated with new keys and you will be automatically logged in to the wallet.


How to transfer HIVE or HBD to another account
You can send liquid tokens (HIVE or HBD) withing 3 seconds to any other existing Hive account.
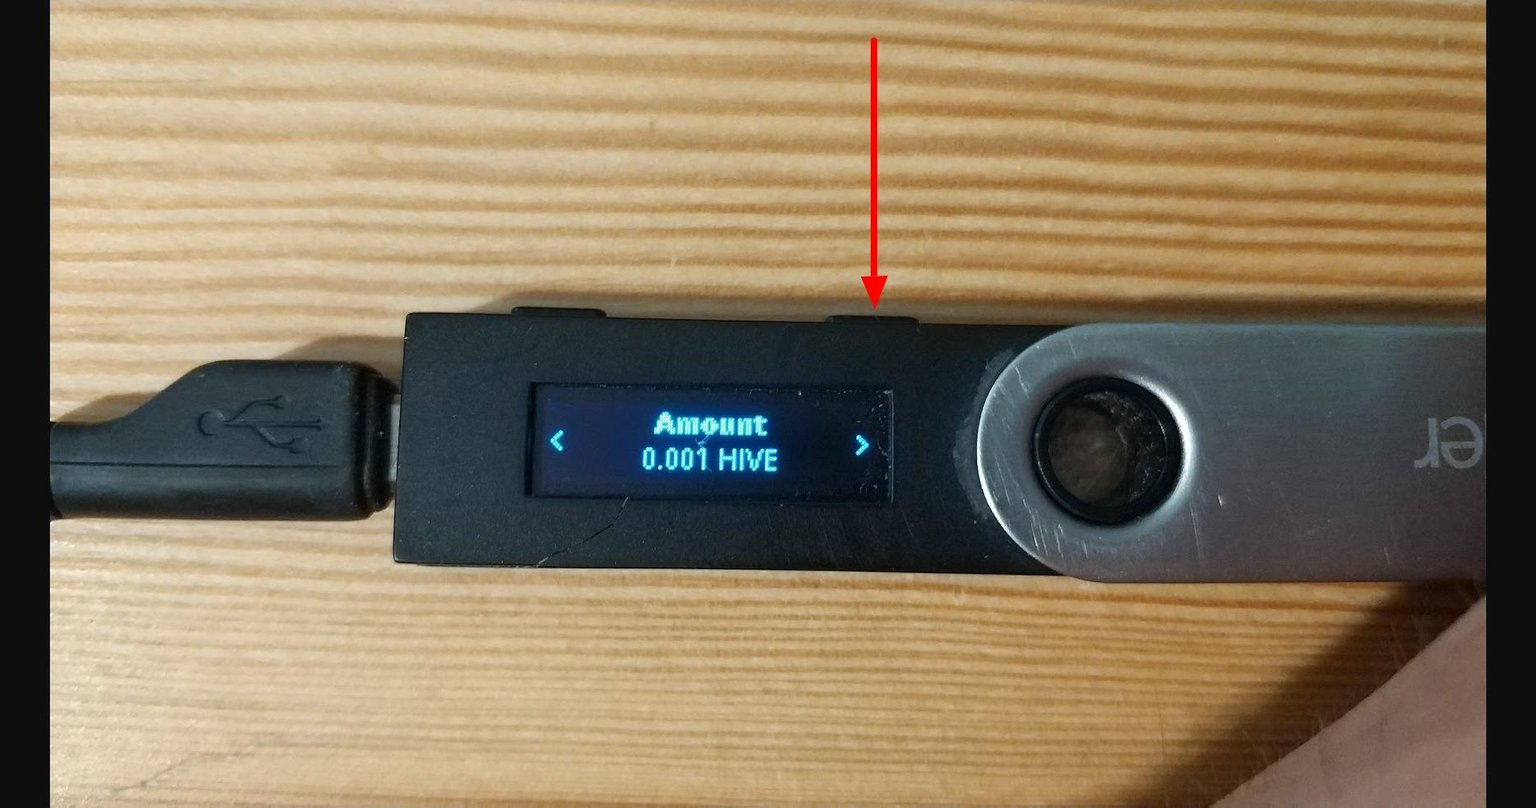
To send 0.001 HIVE from engrave.cold to engrave account:
- Connect your device, unlock, and openthe Hive application.
- Open Hive Ledger Wallet and proceed with the Account discovery procedure described above. You should be able to see your dashboard
- Make sure you activate the account from which you want to transfer funds.
- Visit Balance tab
- Fill “Transfer” form with the receiver username, asset, and amount. You can skipthe “Memo” field as it is optional and serves as a transfer description.
- Click “Send” button to open confirmation modal.
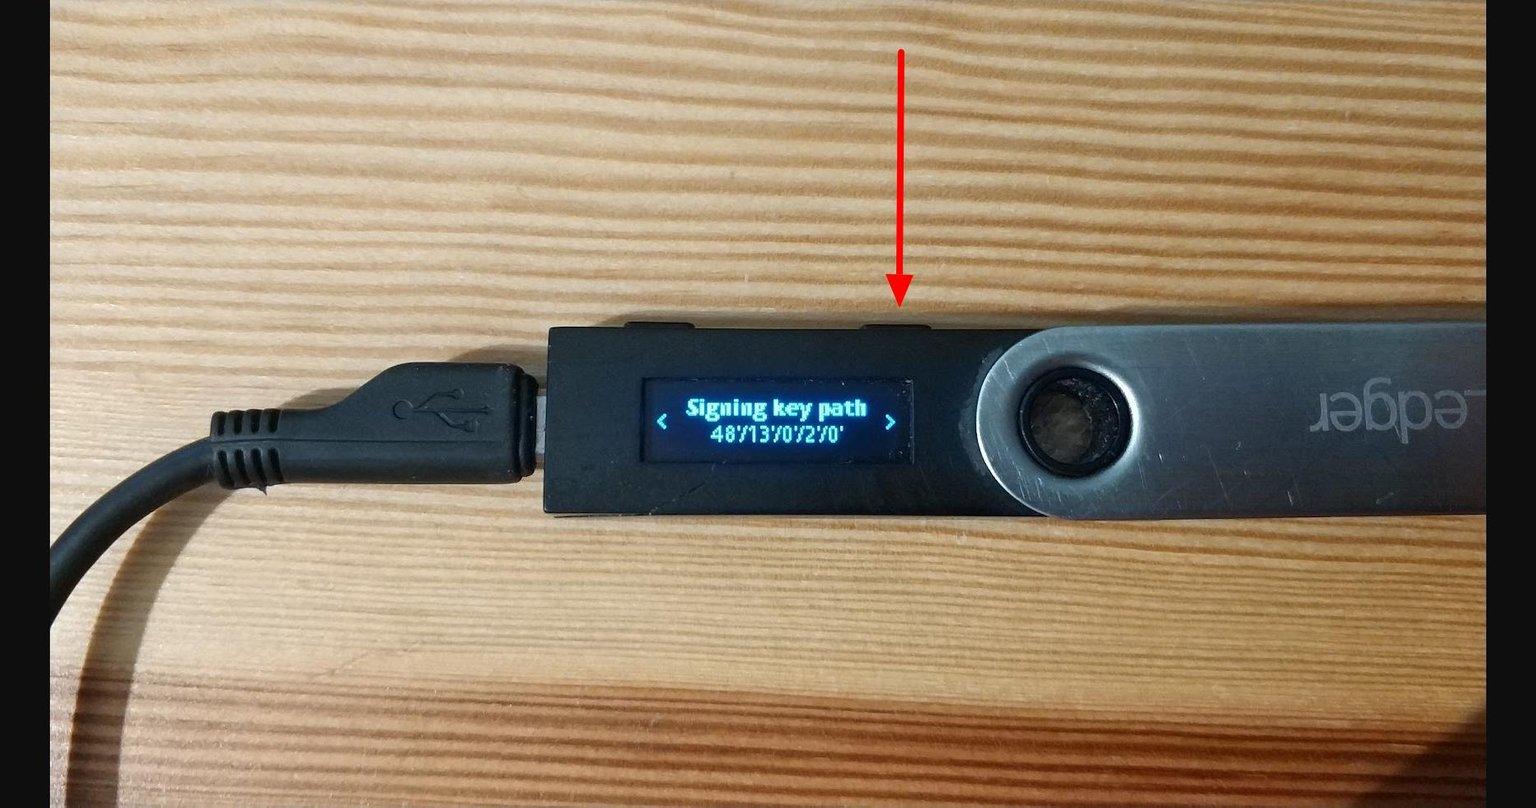
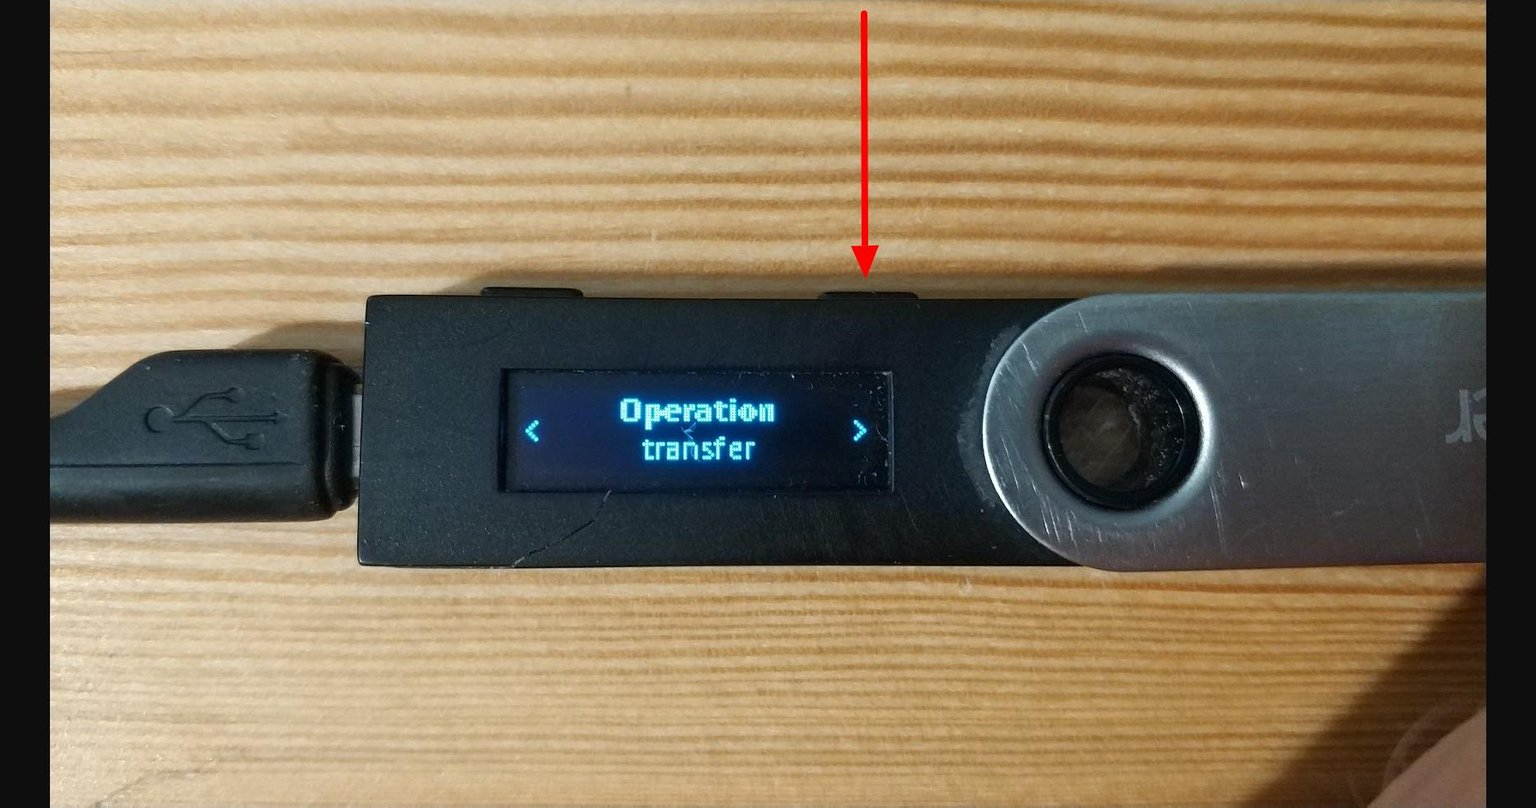
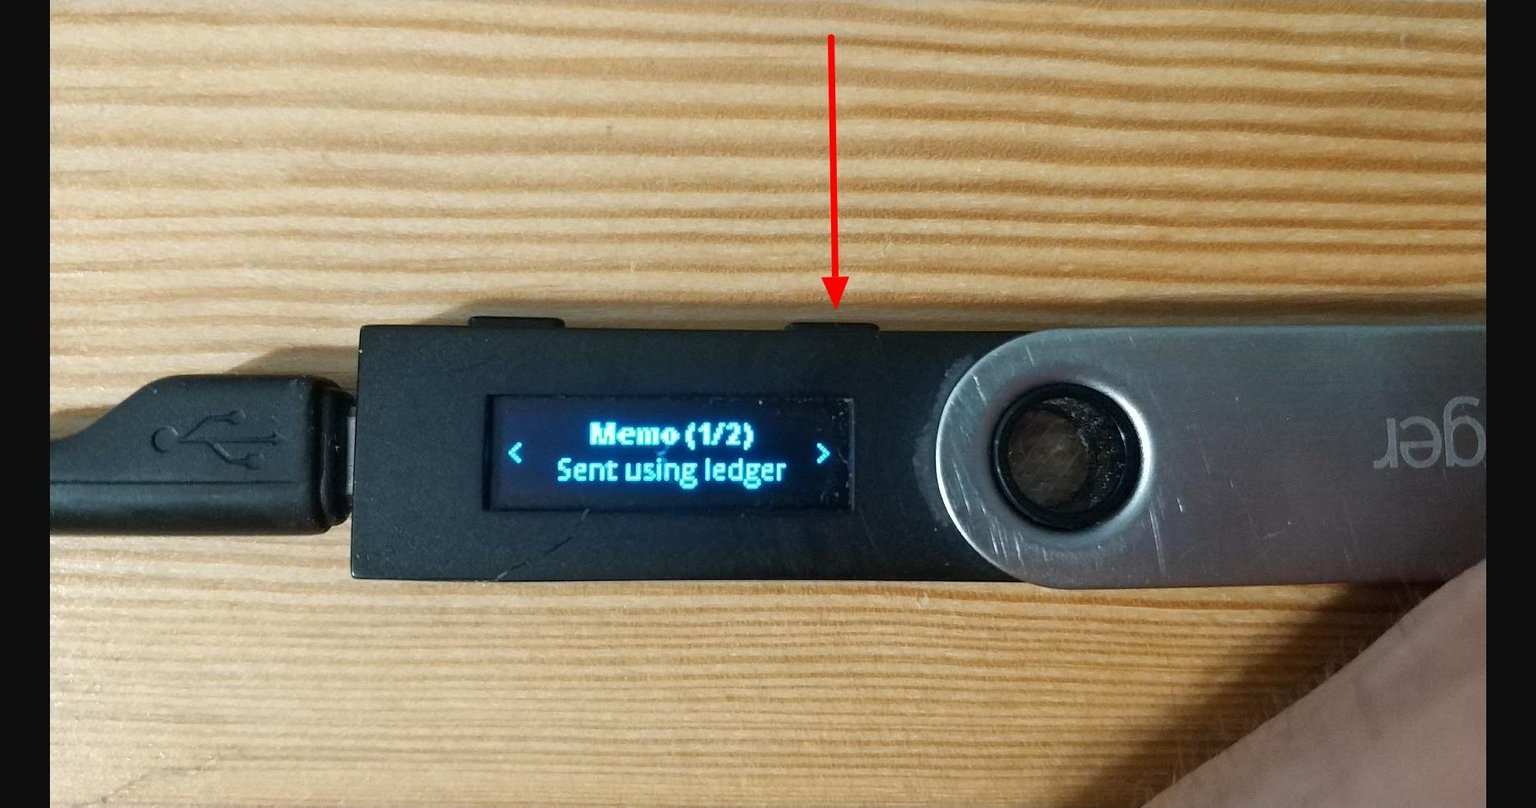
- Click “Sign with Ledger”, and validate and accept the transaction on your device.
- Use the left and right buttons to verify transactions on your hardware wallet.
- Accept the transaction by pressing both buttons on “Approve” screen.
- Wait for a few seconds until your transaction is broadcasted and confirmed by the blockchain.


Now you have successfully set up your ledger device with Hive Wallet.