Adding Core DAO to Ledger wallet is a straightforward process that allows you to manage your Core tokens securely alongside other cryptocurrencies. Follow the steps below to integrate Core DAO into your Ledger account.

This article will help you create your first Core Dao with your Ledger wallet and metamask.
Please download the last update of Ledger Live Application:
1. Ledger Live for Windows 10/11
2. Ledger Live for MAC
3. Ledger Live for Android
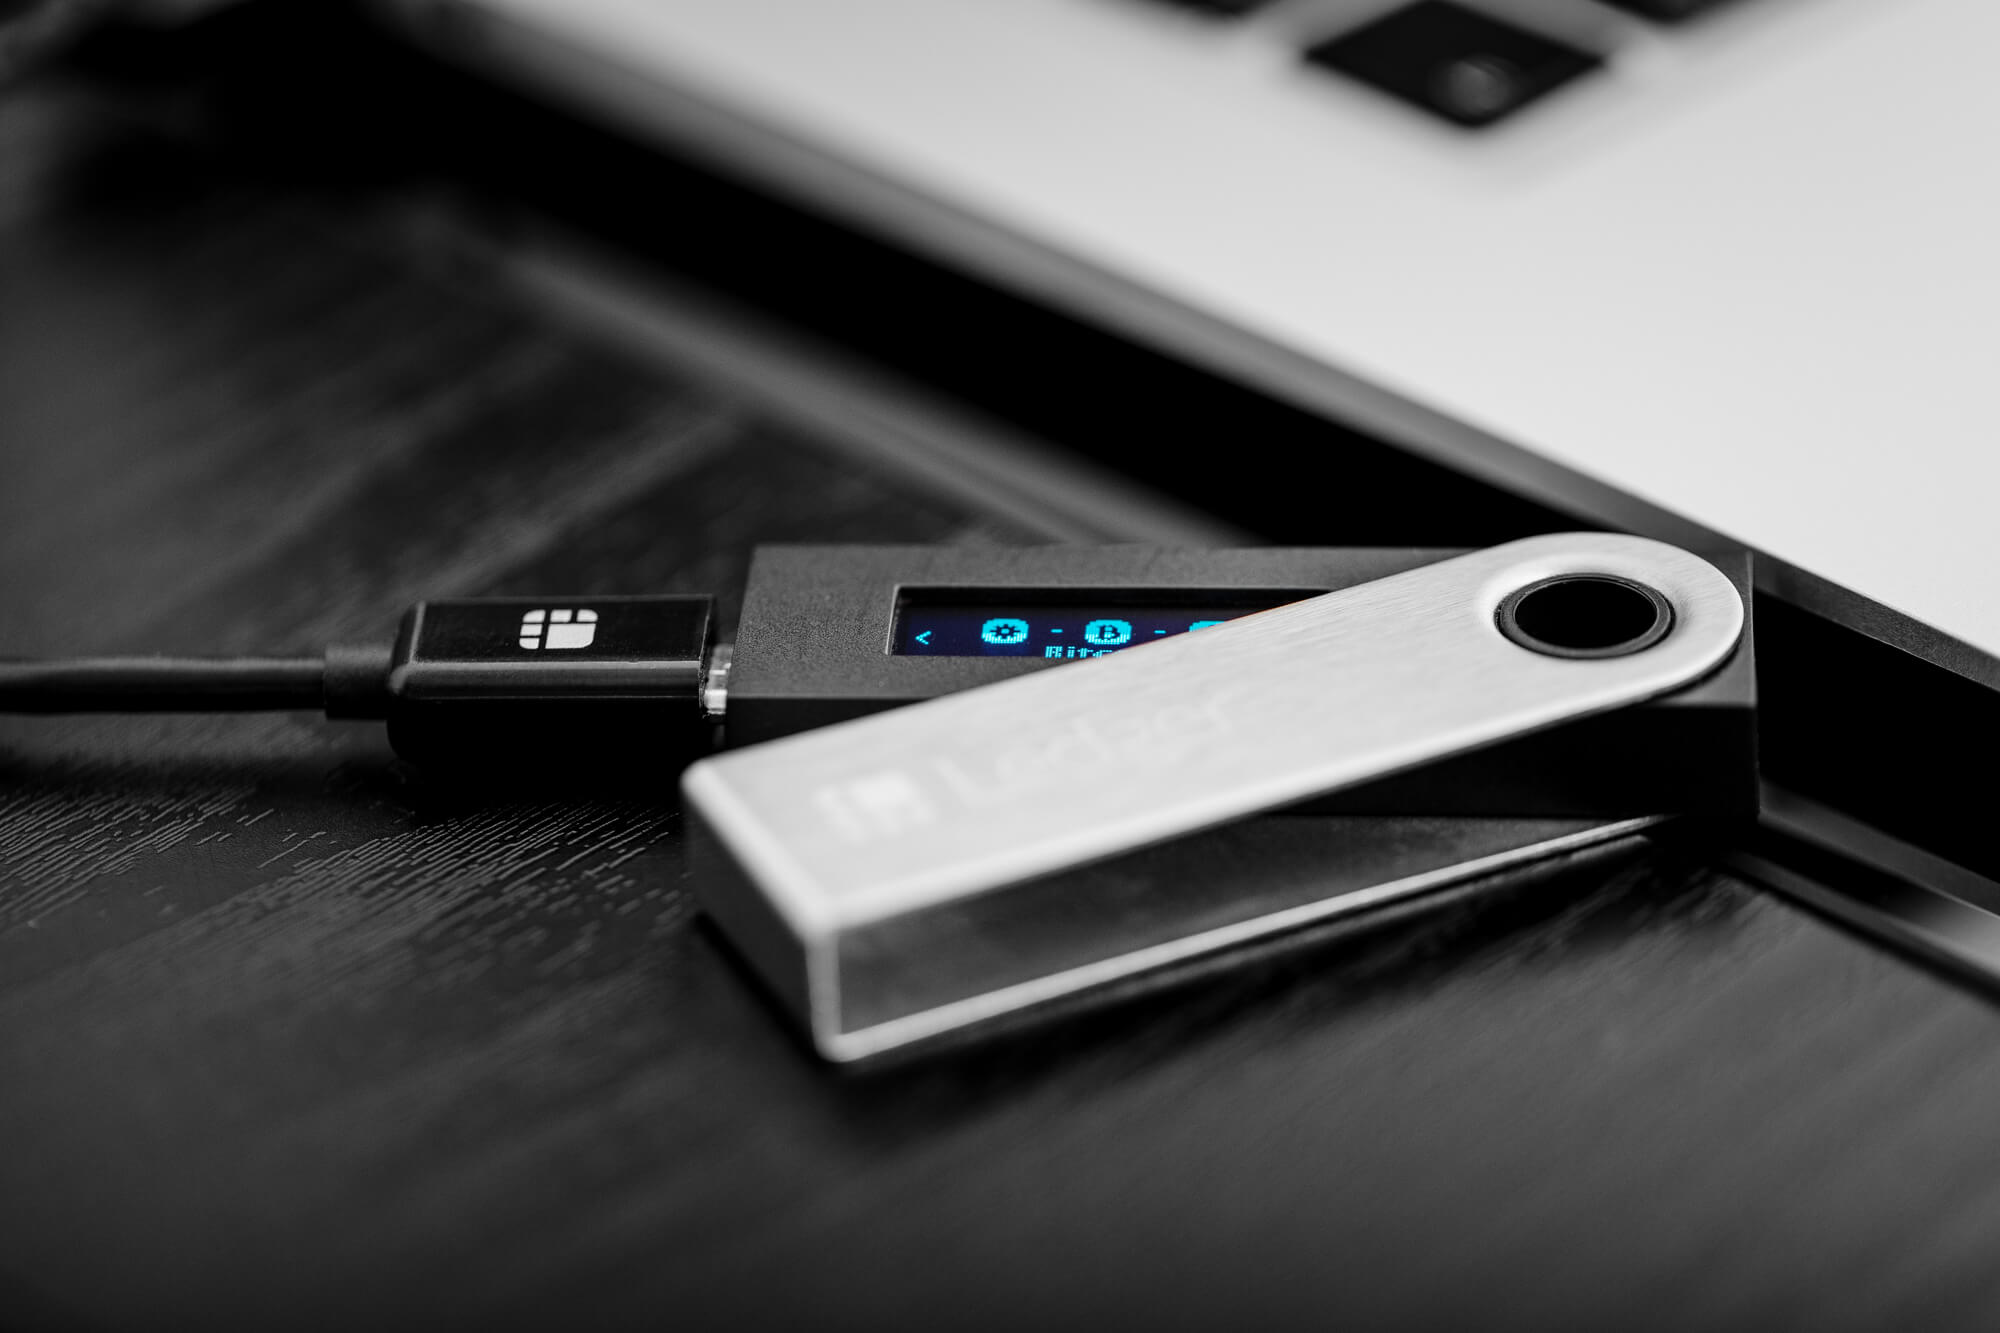
Connect your ledger device to metamask

Make sure your MetaMask app is updated to the latest version.
- Click on your account in the drop down section at the top
- Select “Add account or hardware wallet” and click “Add hardware wallet” to continue
- Select “Ledger” and unlock your Ledger Nano X. Make sure bluetooth is enabled.
- Once detected, select your Nano X and continue to pair. Note: Only the first Ledger account from the list will be synced with MetaMask Mobile.
- Confirm code pair.
All done. When initiating a transaction on Mobile, you will need to confirm by pressing the two buttons on your Ledger to execute.
Note: Adding a hardware wallet can help mitigate some of the risks associated with custodying your private key as they are stored offline—never exposed to the internet—protecting your assets from remote attacks.
Connecting your ledger metamask account to Core Mainnet
There are multiple ways to add Core Mainnet configurations to your MetaMask Wallet, we have listed the most trusted and tested ways below.
Adding Network Manually
- Click on the network selector button (the downward facing arrow next to the current network). This will display a list of networks to which you’re already connected.

- Click ‘Add network’ at the bottom of the network list

- A new browser tab will then open, displaying various fields to fill out:

Fill in the following network information and click save to add the network.
- Network Name: Core Blockchain
- New RPC URL: https://rpc.ankr.com/core
- Chain ID: 1116 (Note: 0x45c is the same as 1116. The new version of MetaMask converts chain ID to hexadecimal format).
- Currency Symbol: CORE
- Block Explorer URL: https://scan.coredao.org
- After performing the above steps, you will be able to see the Core network the next time you access the network selector.
Adding the Core network via Chainlist.org
- Go to chainlist.org and search for ‘Core’

- Double check to make sure to choose the right network. Please check the details in the below snapshots — Chain ID, Currency etc. to ensure you will add the correct one.

- Click the ‘Add to MetaMask’ button.

- Approve the action in your MetaMask by clicking the ‘Approve’ button.

The Core network is now added to your MetaMask.
Adding the Core network via the Core Explorer
- Go to https://scan.coredao.org/ and scroll all the way down on the page

- Click the ‘Add Core Network’ button

- Approve in your MetaMask

- After performing the above steps, you will be able to see Core network the next time you access the network selector.
Adding the Core network to MetaMask mobile wallet:
- Tap on the three lines in the top-left corner:

- Select ‘Settings’:

- Select Networks:

- Tap on ‘Add Network’:

- Fill in the Custom RPC Network details and click save to add the network.
- Network Name: Core Blockchain
- New RPC URL: https://rpc.ankr.com/core
- Chain ID: 1116 (Note: 0x45c is the same as 1116. The new version of MetaMask converts chain ID to hexadecimal format).
- Currency Symbol: CORE
- Block Explorer URL: https://scan.coredao.org
- After performing the above steps, you will be able to see the Core network the next time you access the network selector.