Adding Apecoin (APE) to Ledger Live is a straightforward process that enables you to manage your APE tokens securely on your Ledger hardware wallet. Follow these step-by-step instructions to get started.

This article will help you create your first Apecoin (APE) with your Ledger wallet.
Please download the last update of Ledger Live Application:
1. Ledger Live for Windows 10/11
2. Ledger Live for MAC
3. Ledger Live for Android
Before you start
- Download and install the latest version of Ledger Live.
- Ensure your Ledger Nano S / Nano S Plus / Nano X runs the latest OS version.
Step 1: Install Ledger Live
1. “Download Ledger Live”: If you haven’t done so already, visit the official Ledger website and download Ledger Live for your operating system (Windows, macOS, or Linux).
2. “Install the Application”: Follow the installation prompts to set up Ledger Live on your device.
Step 2: Set Up Your Ledger Device
1. “Connect Your Ledger Device”: Use the USB cable to connect your Ledger wallet to your computer.
2. “Open Ledger Live”: Launch the application.
3. “Unlock Your Device”: Enter your PIN to access your Ledger wallet.
Step 3: Update Ledger Live and Firmware
1. “Check for Updates”: Make sure that Ledger Live and your device’s firmware are up to date. Click on ‘Settings’ in Ledger Live and look for ‘Check for updates’.
2. “Follow Prompts”: If updates are available, follow the prompts to complete the installation.
Step 4: Add Apecoin (APE) as a New Account
1. “Go to Accounts”: In Ledger Live, navigate to the ‘Accounts’ section.
2. “Add Account”: Click on ‘Add account’.
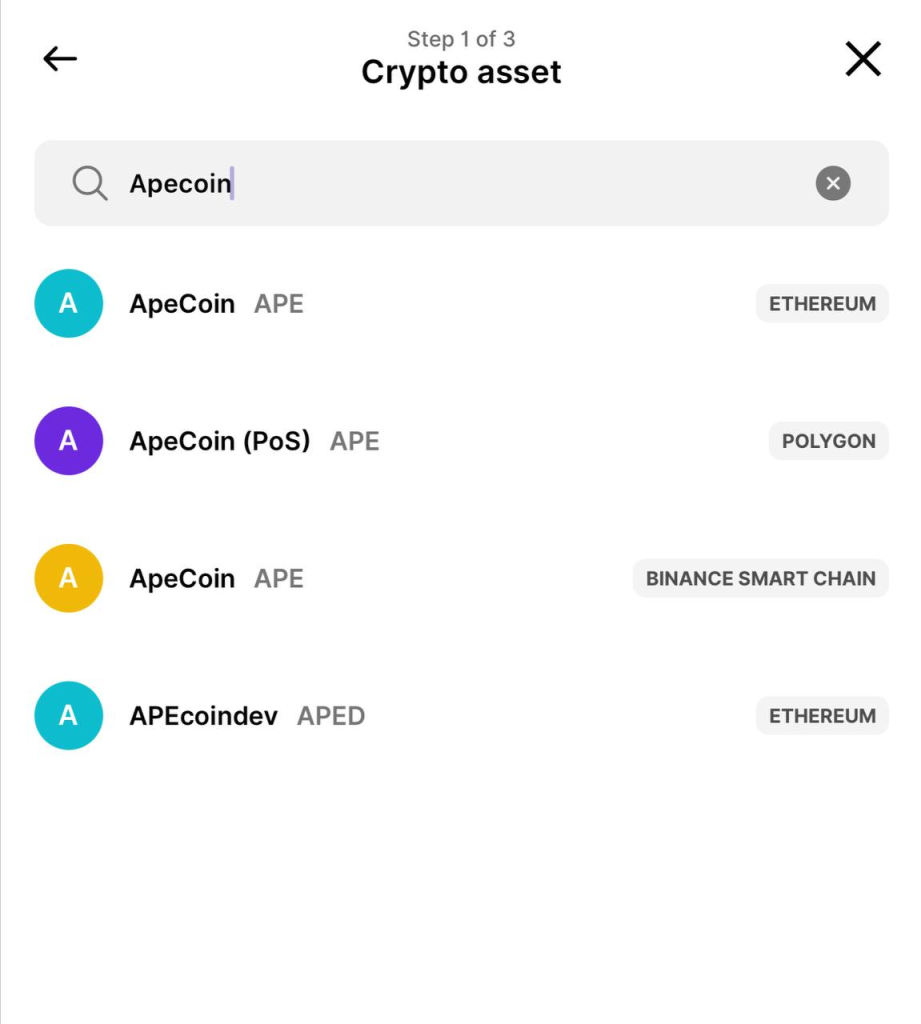
3. “Select Apecoin (APE)”: Search for Apecoin in the list of cryptocurrencies and select it.
4. “Synchronize Ledger Live”: Click on ‘Continue’ to allow Ledger Live to scan your device for existing APE accounts or to create a new account.
Step 5: Install Apecoin App on Your Ledger Device
1. “Open Manager”: Go to the ‘Manager’ section in Ledger Live.
2. “Search for Apecoin”: In the App catalog, find the Apecoin app.
3. “Install”: Click on ‘Install’ to add the Apecoin app to your Ledger device. You may need to give your device permission for the installation.
Step 6: Manage Your Apecoin (APE)
1. “Navigate to the Accounts Section”: Once the Apecoin app is installed, return to the ‘Accounts’ section in Ledger Live.
2. “View Your Balance”: Click on your Apecoin account to view your balance and transactions.
3. “Receive or Send Apecoin”: Use the ‘Receive’ or ‘Send’ options to manage your Apecoin as needed.
Important Tips
- Always ensure your Ledger device is secured with a strong PIN and recovery phrase.
- Regularly update both the Ledger Live application and your device’s firmware to keep your assets secure.
- Consider enabling two-factor authentication for added security.
By following these steps, you will successfully add Apecoin (APE) to Ledger Live and can confidently manage your digital assets. If you have any questions or run into issues during the process, don’t hesitate to consult the Ledger support.