If you want to manage an EOS account with your Ledger device, this article will help you create your first Ledger EOS account.

While EOS accounts are not supported in Ledger Live yet, you can manage them with the help of a third-party wallet.
Please download the last update of Ledger Live Application:
1. Ledger Live for Windows 10/11
2. Ledger Live for MAC
3. Ledger Live for Android
Before you start
- Set up Ledger Live with your Ledger device.
- Update the firmware of your Ledger Nano S / Nano S Plus / Nano X.
Install the EOS app
If you don’t have the EOS app installed on your Ledger device. Here’s how you can do it.
- Open the Ledger Live app
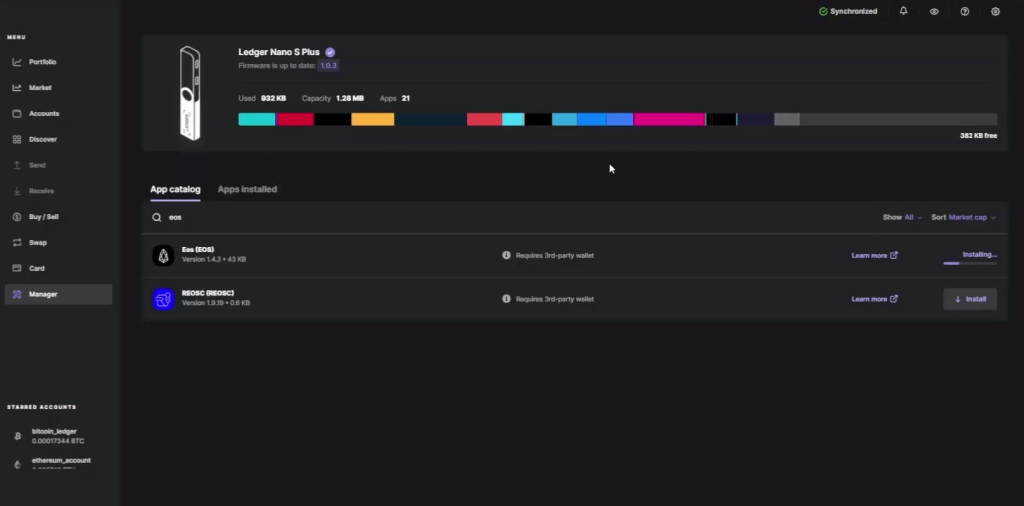
- Go to My Ledger in Ledger Live.
- Connect and unlock your Ledger device. If asked, allow My Ledger to access your device.
- Find EOS in the app catalog in Ledger Live.
- Click the Install button of the app next to it.
- Wait for the installation process to complete.
- Now you’ve successfully installed the EOS app on your Ledger device.
Create a Ledger EOS account with third-party apps
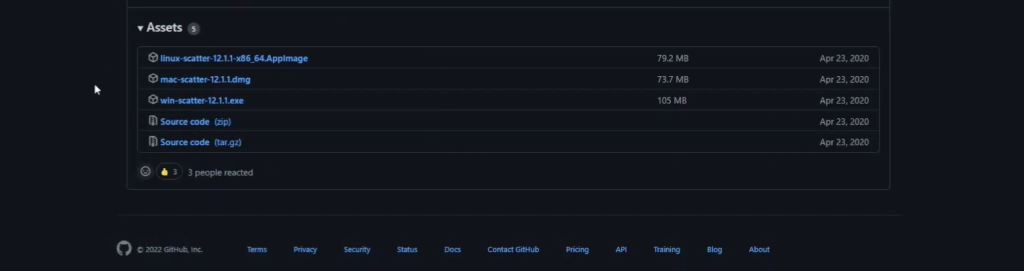
- Go to the Scatter EOS GitHub page. Download and install Scatter EOS on your computer.
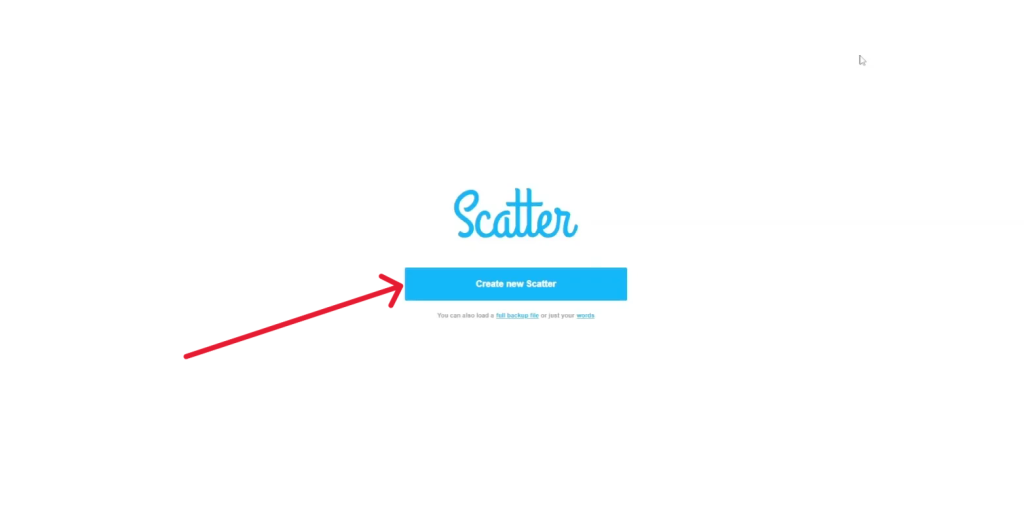
- Once you’ve installed the app. Open Scatter EOS and click on Create new Scatter.
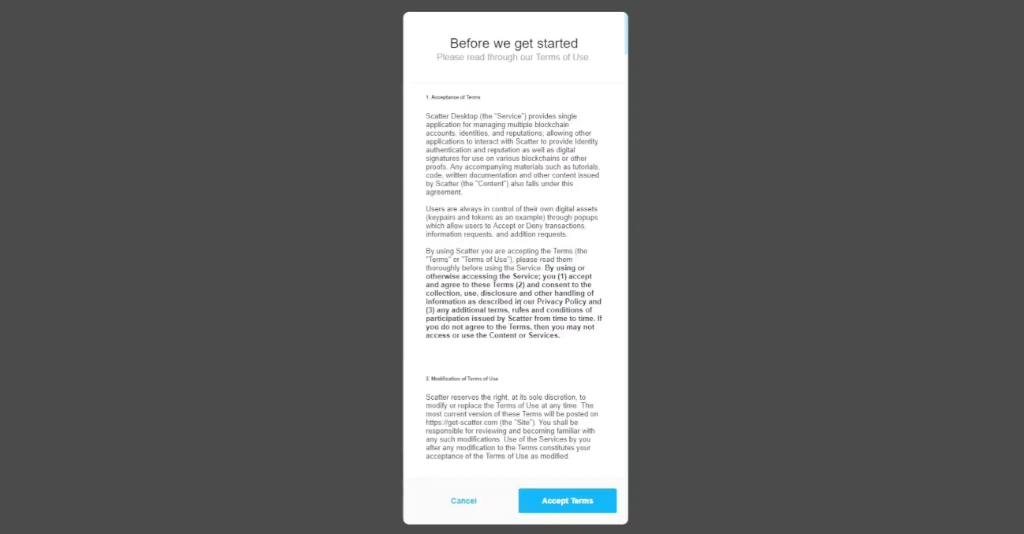
- Accept the terms and conditions, create and confirm your password then click Continue.
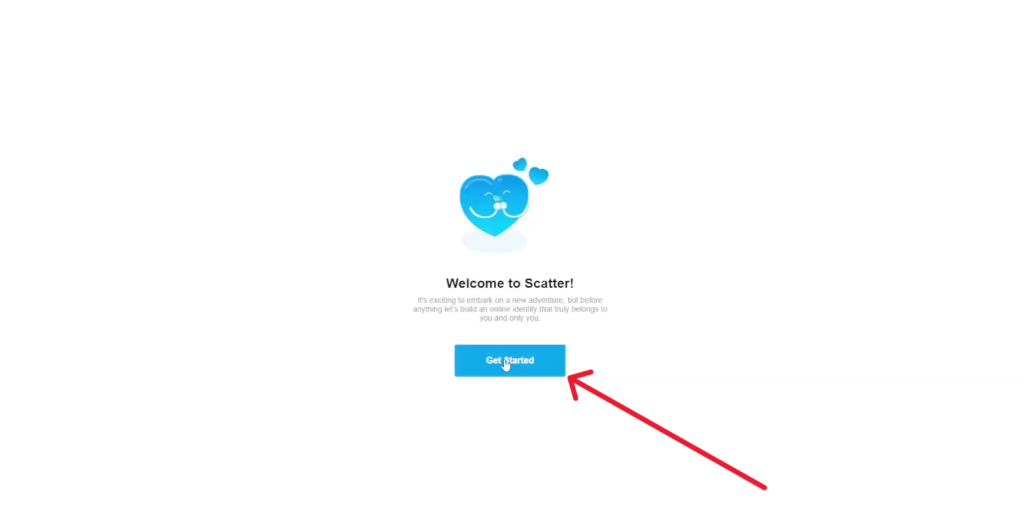
- Wait for your computer to display Welcome to Scatter!
- Click on Get Started
- Back up your secret phrase and name your account. (Keep in mind that the secret phrase you just backed up is provided by Scatter and it’s not related to your Ledger EOS account, so you can discard it if you want.)

- Open the EOS app on your Ledger device. Wait till your Ledger displays: The application is ready.
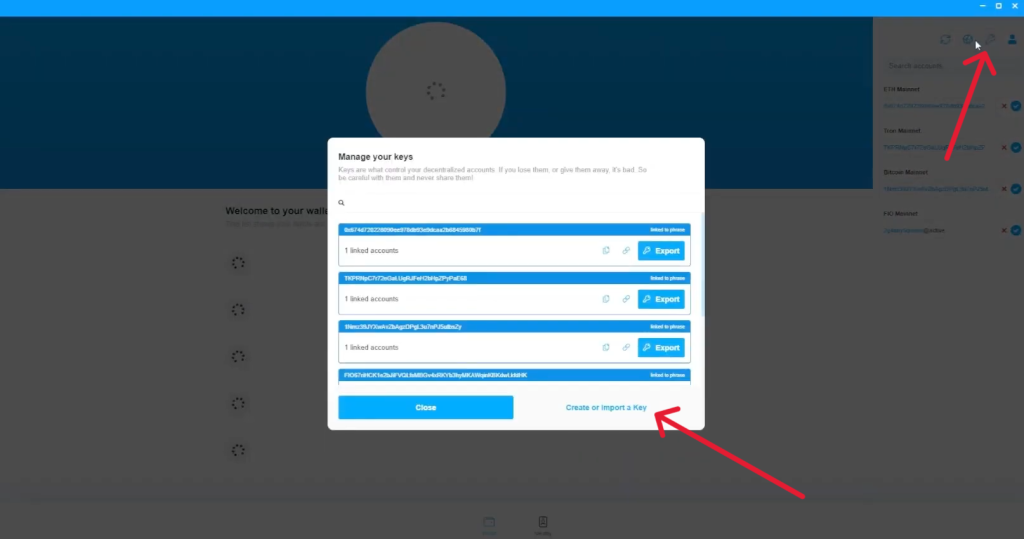
- On the Scatter EOS app dashboard screen, click on keys and select Create or import a Key.
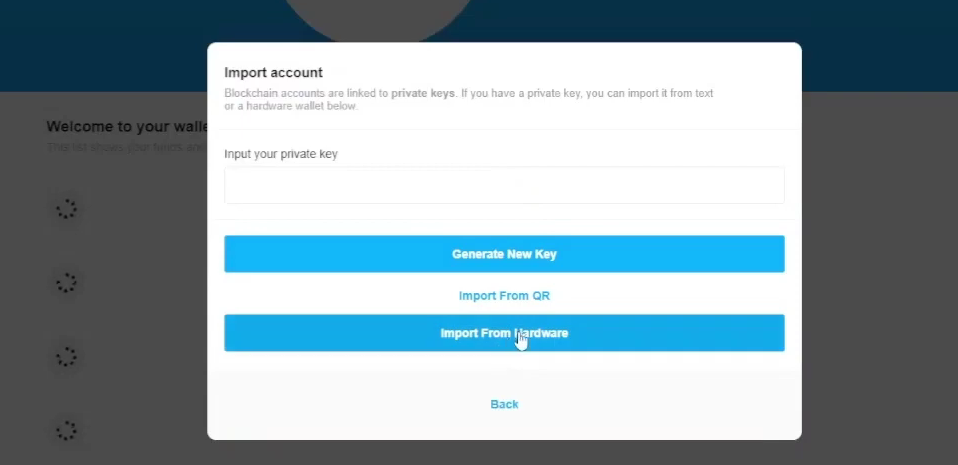
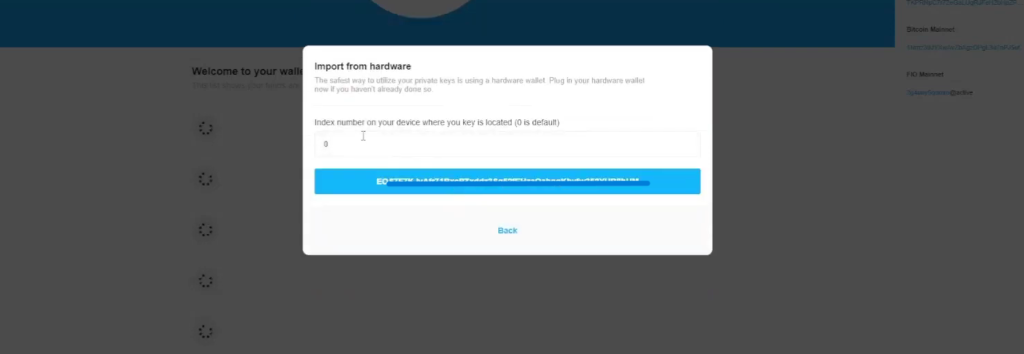
- Choose EOSIO as the blockchain and click on Import from Hardware.
- If it’s your first EOS account on Scatter EOS, Enter 0 as the index value and proceed.
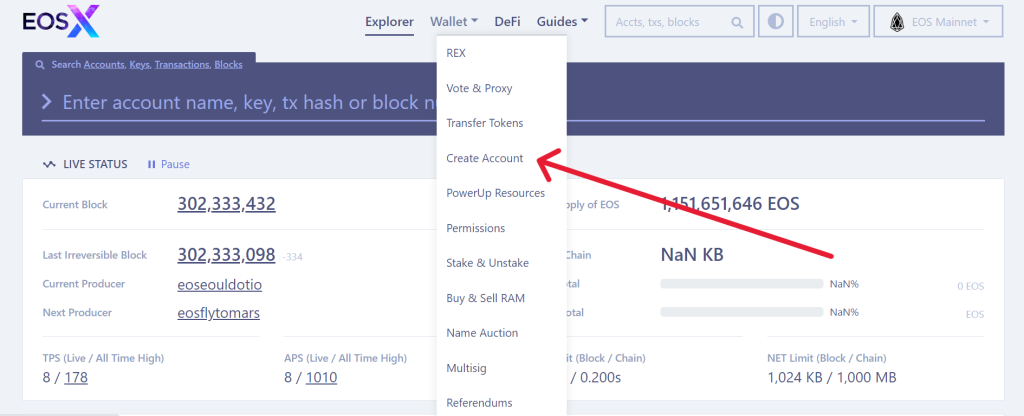
- Wait for your hardware account list to be displayed. Copy your public key. Open your browser and go to the EOSX website.

- On the EOSX website. Go to Wallet, and click on Create Account.
- Select Create account via exchange withdrawal.
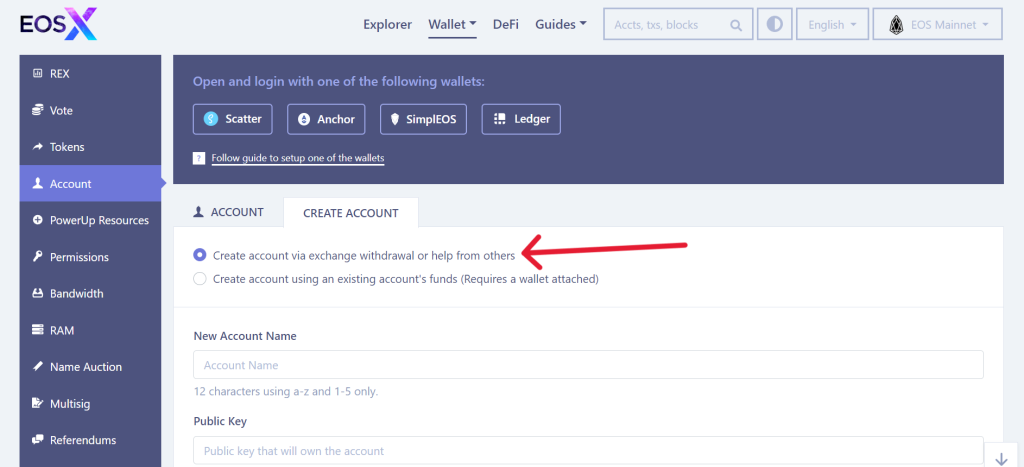
- Create a new account name and paste your public key from Scatter EOS into the Public key field then click Continue.
- Follow the instructions below the page to activate your EOS account. Send the exact amount of EOS required on the page to the Recipient account from an exchange such as (Crypto.com, Binance, or Kucoin).
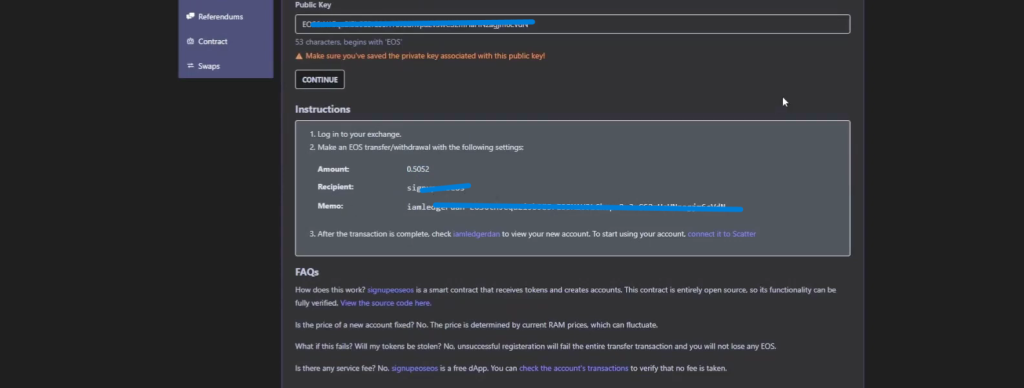
- Once you have successfully sent the EOS to the account as instructed, your account will be activated.
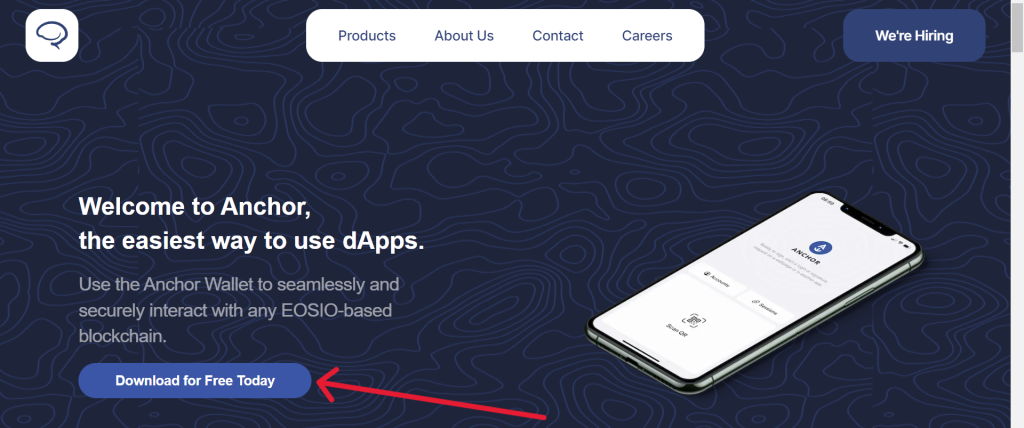
- Now go to the Greymass website. Locate the Anchor wallet app, download it, and install it.
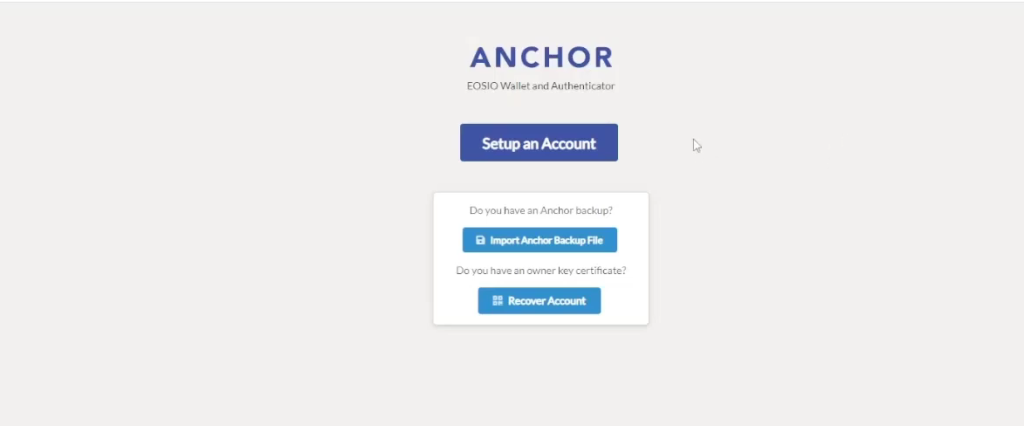
- Open the Anchor wallet app and click on Setup an Account.
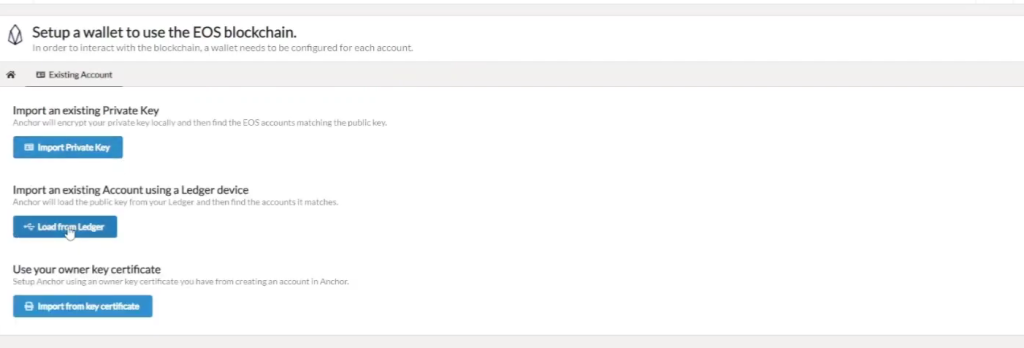
- Add a password, and choose EOS as the blockchain.

- Select to load from Ledger. Connect and unlock your Ledger device if prompted.
- From the list of accounts to import from your Ledger device, select the EOS account you have created and activated.
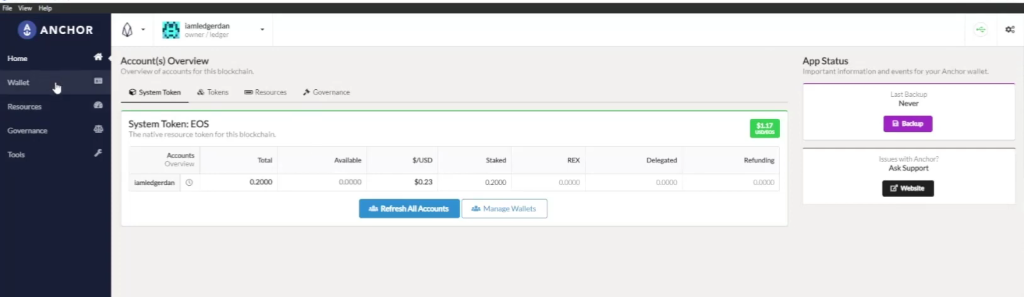
Now your EOS account will be displayed on your Anchor wallet. From there you can manage your EOS assets.