Connecting your Ledger hardware wallet (such as the Nano S Plus, Nano X, Flex, or Stax) to Ledger Live is a key step to managing your cryptocurrencies securely.
This process allows you to interact with your wallet’s private keys—stored offline on the device—through the Ledger Live app on your computer or mobile device.
Please download the last update of Ledger Live Application:
1. Ledger Live for Windows 10/11
2. Ledger Live for MAC
3. Ledger Live for Android
Below is a detailed guide on how to connect your Ledger hardware wallet to Ledger Live, including troubleshooting tips, as of February 21, 2025.
What You’ll Need
- A Ledger hardware wallet (initialized with a PIN and recovery phrase—see my previous response if you need setup help).
- Ledger Live installed on your device:
- Desktop: Windows 10+ (64-bit), macOS 11+, or Linux.
- Mobile: iOS 13+ or Android 8+.
- A USB cable (provided with your Ledger) or Bluetooth (for Nano X).
- An internet connection for Ledger Live.
Step-by-Step Guide to Connecting Your Ledger Hardware Wallet to Ledger Live
Option 1: Connecting via USB (Nano S Plus, Nano X, Flex, Stax)
- Launch Ledger Live
- Desktop: Open Ledger Live from your Start menu (Windows), Applications folder (Mac), or desktop shortcut.
- Ensure the app is updated to the latest version (check Settings > About).
- Prepare Your Ledger Device
- Plug your Ledger into your computer using the provided USB cable.
- The device should power on and display the Ledger logo or dashboard.
- Unlock it by entering your PIN:
- Nano S/X: Use the left/right buttons to select digits, press both to confirm.
- Flex/Stax: Use the touchscreen or buttons to input your PIN.
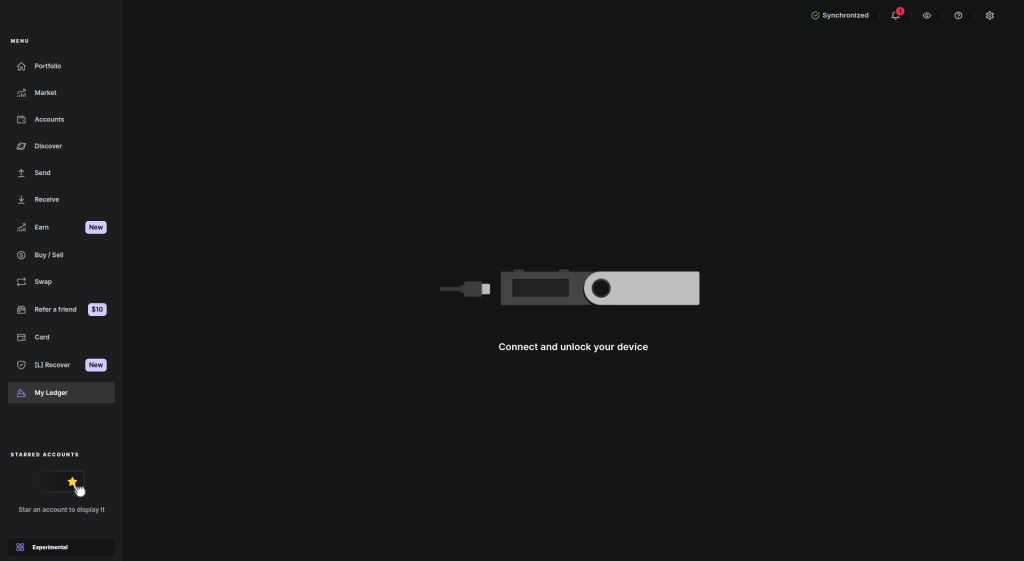
- Detect the Device in Ledger Live
- Ledger Live should automatically recognize your connected device.
- If this is your first connection, you may see a “Connect your Ledger” prompt. Click Continue.
- The app will display your device model (e.g., “Ledger Nano X”) and its status (e.g., “Ready”).
- Verify Connection
- Navigate to the Portfolio or Accounts tab in Ledger Live.
- Your existing accounts (if any) will sync, or you’ll be prompted to add new ones (see Step 6 below).
- If prompted, allow Ledger Live to access your device by confirming on the hardware (e.g., “Allow Ledger Manager”).
- Troubleshooting USB Issues
- Not Detected?
- Ensure the device is unlocked and not in sleep mode.
- Try a different USB port or cable (avoid USB hubs).
- Windows: Install Ledger USB drivers from ledger.com/support if needed.
- Mac: Grant USB permissions in System Settings > Privacy & Security.
- Restart Ledger Live or your computer if issues persist.
- Not Detected?
Option 2: Connecting via Bluetooth (Ledger Nano X Only)
- Launch Ledger Live
- Mobile: Open the Ledger Live app on your iOS or Android device.
- Desktop: Bluetooth is mobile-only; use USB for desktop.
- Enable Bluetooth on Your Phone
- Go to your phone’s Settings > Bluetooth and turn it on.
- Grant Ledger Live Bluetooth permissions if prompted.
- Prepare Your Nano X
- Press the buttons on your Nano X to wake it up.
- Unlock it with your PIN to access the dashboard.
- Ensure Bluetooth is enabled (visible as a blue pairing icon on the device).
- Pair the Nano X with Ledger Live
- In Ledger Live, go to Settings > Devices or follow the initial “Connect your Ledger” prompt.
- Select Ledger Nano X and choose Bluetooth.
- The app will scan for nearby devices. When your Nano X appears (e.g., “Nano X – [Your Name]”), tap it.
- A pairing code will display on both your phone and Nano X—verify they match, then confirm on the device (press both buttons).
- Verify Connection
- Once paired, Ledger Live will show your Nano X as connected.
- Go to Portfolio or Accounts to sync or manage your assets.
- The Bluetooth connection persists until you disable it or move out of range (re-pairing may be needed if disconnected).
- Troubleshooting Bluetooth Issues
- Not Pairing?
- Ensure the Nano X is within 10 meters and not blocked by interference (e.g., walls, other devices).
- Restart Bluetooth on both your phone and Nano X (toggle off/on in device settings).
- Slow Connection? Bluetooth can lag—use USB for faster transactions if available.
- Not Pairing?
Step 6: Add or Manage Accounts
- With your device connected:
- Go to the Accounts tab in Ledger Live.
- Click Add Account, select a cryptocurrency (e.g., Bitcoin, Ethereum), and follow prompts:
- Install the coin’s app on your Ledger via the Manager tab if not already present (approve on-device).
- Sync the account to display your balance.
- For transactions (send/receive), your Ledger must remain connected and unlocked to sign them.
Additional Tips
- Firmware Check: Upon connection, Ledger Live may prompt a firmware update (e.g., to version 2.2.0+ for Nano X). Go to Manager, unlock your device, and approve the update—keep your recovery phrase handy as a precaution.
- Multiple Devices: You can connect multiple Ledger devices to the same Ledger Live instance, but only one at a time. Switch by plugging in/unplugging or re-pairing via Bluetooth.
- Security Confirmation: Always verify addresses or transactions on your Ledger’s screen (not just Ledger Live) to ensure no tampering.
- Storage Limits: Nano S Plus has limited app space ( uninstall unused apps via Manager to free space); Nano X/Flex/Stax offer more capacity.
Common Scenarios
- First-Time Connection: If your device is new, follow my earlier “How to Set Up Ledger Live for the First Time” guide before connecting.
- Existing Wallet: If your Ledger was previously set up, connecting it to a new Ledger Live instance will sync your accounts automatically (no recovery phrase needed unless restoring).
- Disconnected During Use: Reconnect by unlocking and plugging in (USB) or re-pairing (Bluetooth)—Ledger Live will resume where you left off.
Conclusion
Connecting your Ledger hardware wallet to Ledger Live is simple via USB or Bluetooth, typically taking just a minute once your device is unlocked. USB offers a stable, universal option, while Bluetooth (Nano X) adds mobility for mobile users. After connecting, you’re ready to manage over 500 natively supported coins, stake assets, or explore NFTs—all secured by your Ledger’s offline keys.