Configuring Ledger Live to work with multiple Ledger hardware wallets (e.g., Nano S Plus, Nano X, Flex, or Stax) allows you to manage different cryptocurrency portfolios or use separate devices for distinct purposes (e.g., one for daily use, another for long-term storage). Ledger Live supports connecting multiple devices, though only one can be active at a time per instance of the app.

Please download the last update of Ledger Live Application:
1. Ledger Live for Windows 10/11
2. Ledger Live for MAC
3. Ledger Live for Android
Below is a step-by-step guide to configuring Ledger Live for multiple Ledger devices as of February 21, 2025, covering setup, management, and troubleshooting.
What You’ll Need
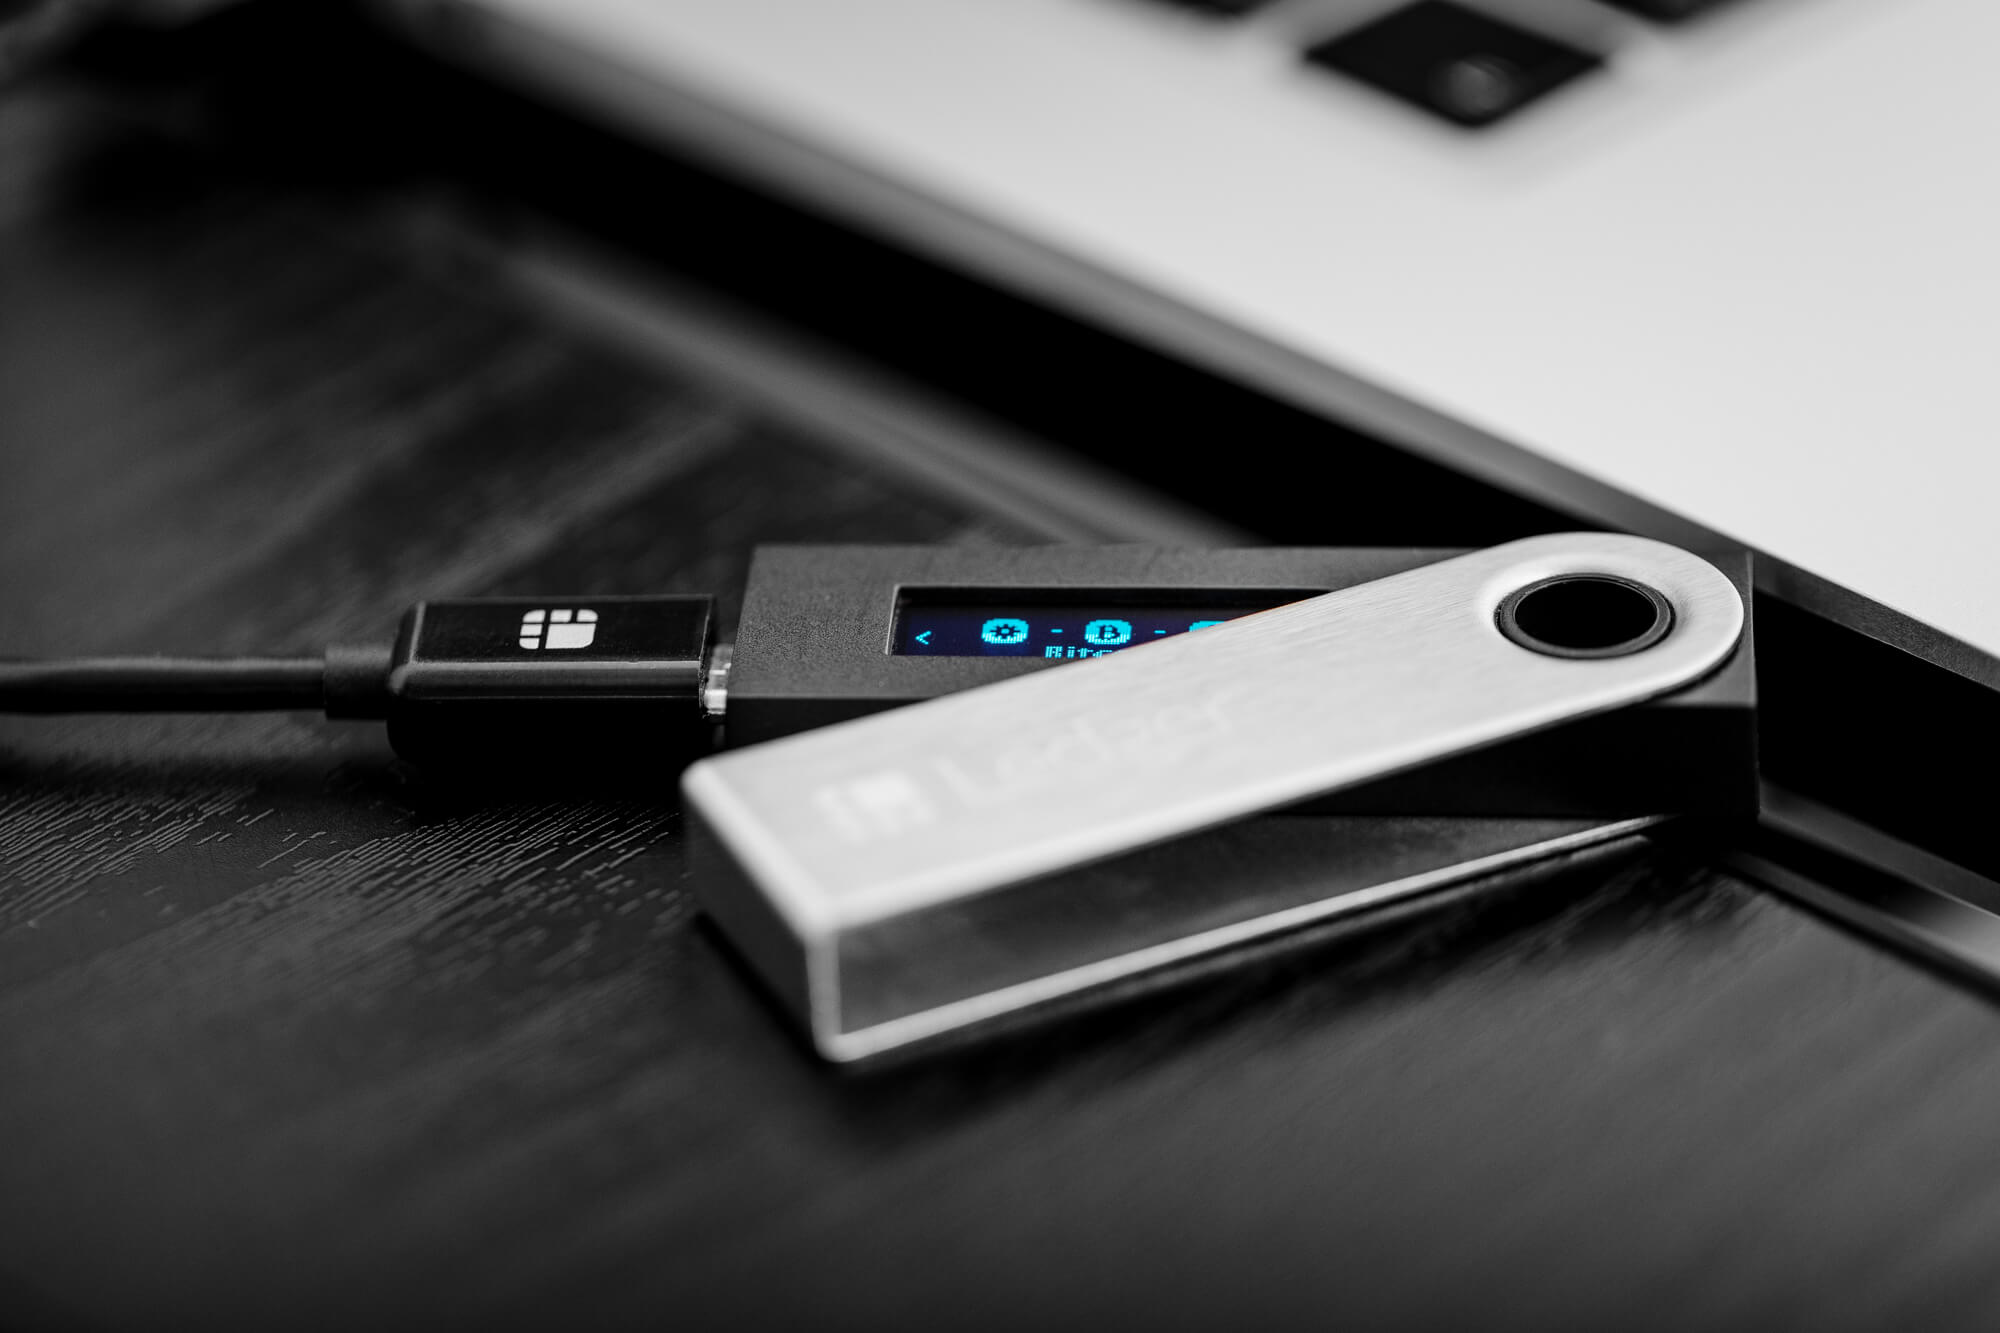
- Multiple Ledger hardware wallets (each initialized or ready to restore).
- Ledger Live installed on your computer (Windows 10+, macOS 11+, Linux) or mobile device (iOS 13+, Android 8+).
- USB cables for each device (or Bluetooth for Nano X).
- Recovery phrases for each Ledger (if already set up).
- An internet connection for syncing.
Key Concepts
- One Device at a Time: Ledger Live connects to only one Ledger device per session—you’ll switch between them manually.
- Unique Seeds: Each Ledger typically has its own recovery phrase (seed), meaning separate wallets unless you restore the same seed across devices.
- Account Management: Accounts added in Ledger Live are tied to the connected device’s seed—switching devices updates the displayed accounts.
Step-by-Step Guide to Configuring Ledger Live for Multiple Devices
Step 1: Set Up Your Ledger Devices
- Ensure each Ledger is initialized:
- New Device: Follow my earlier “How to Set Up Ledger Live for the First Time” guide to create a unique PIN and recovery phrase for each.
- Existing Device: If already set up, have the PIN and recovery phrase ready.
- Restored Device: Optionally, import the same recovery phrase across devices for redundancy (see “Importing Existing Wallets”).
- Example: You might have a Nano X for daily use and a Stax for cold storage, each with its own seed.
Step 2: Launch Ledger Live
- Desktop: Open Ledger Live from your Start menu (Windows), Applications folder (Mac), or desktop shortcut.
- Mobile: Tap the Ledger Live app on your iOS or Android device.
- Ensure the app is updated (Settings > About).
Step 3: Connect the First Ledger Device
- USB: Plug in your first Ledger (e.g., Nano X) via USB, unlock it with its PIN.
- Bluetooth: For Nano X on mobile, pair via Bluetooth (Settings > Bluetooth, confirm pairing code on-device).
- Ledger Live detects the device (e.g., “Ledger Nano X – Ready”).
- If it’s the first connection:
- Add accounts (e.g., Bitcoin, Ethereum) via Accounts > Add Account (see “Adding Your First Crypto Account”).
- Sync and name them (e.g., “Nano X – BTC”).
Step 4: Add Accounts for the First Device
- Install necessary apps on the Ledger via Manager (e.g., Bitcoin, Ethereum apps).
- Add and sync accounts in the Accounts tab—balances and transaction history appear in Portfolio.
- Disconnect the first device:
- USB: Unplug it.
- Bluetooth: Turn off Bluetooth or unpair in Ledger Live (Settings > Devices).
Step 5: Connect the Second Ledger Device
- USB: Plug in your second Ledger (e.g., Stax), unlock with its PIN.
- Bluetooth: Pair the second Nano X (if applicable) via mobile.
- Ledger Live switches to the new device automatically:
- The Portfolio and Accounts tabs update to reflect the second device’s seed.
- If no accounts are added yet:
- Go to Accounts > Add Account, select a cryptocurrency, and install its app on the second Ledger.
- Sync and name accounts (e.g., “Stax – ETH”).
Step 6: Switch Between Devices
- To toggle between Ledgers:
- USB: Unplug the current device, plug in the other, and unlock it. Ledger Live refreshes to show the new device’s accounts.
- Bluetooth: Disconnect the current Nano X (Settings > Devices > Forget), pair the other, and unlock.
- The app displays only the connected device’s accounts—accounts from disconnected devices remain in Ledger Live’s memory but show as “offline” until reconnected.
Step 7: Manage Multiple Portfolios
- Naming for Clarity: Label accounts distinctly (e.g., “Nano X – BTC Daily,” “Stax – BTC Savings”) to avoid confusion.
- Portfolio View: The Portfolio tab aggregates balances only for the currently connected device. To see all assets across devices, track manually or use a separate tool.
- App Sharing: Coin apps (e.g., Bitcoin) installed on one device don’t transfer—you’ll need to install them on each Ledger via Manager.
Step 8: Optional – Use the Same Seed Across Devices
- For redundancy (e.g., a backup Ledger):
- Reset the second device (Settings > Device > Reset All on-device).
- Restore it with the first device’s recovery phrase (see “Importing Existing Wallets”).
- Connect it to Ledger Live—accounts will mirror the first devices.
- Caution: This links all funds to one seed—losing the recovery phrase risks all assets.
Example Scenario
- Device 1: Nano X (Daily Use):
- Seed: Unique 24-word phrase.
- Accounts: BTC, ETH for trading.
- Connected via Bluetooth on mobile.
- Device 2: Stax (Cold Storage):
- Seed: Different 24-word phrase.
- Accounts: BTC, SOL for long-term holding.
- Connected via USB on desktop.
- Workflow:
- Connect Nano X, manage daily BTC/ETH.
- Disconnect Nano X, plug in Stax, switch to BTC/SOL cold storage.
Tips and Troubleshooting
- Storage Limits:
- Nano S Plus (~1.5 MB) holds fewer apps; Nano X/Flex/Stax have more space. Uninstall unused apps in Manager if full.
- Device Not Detected?
- Ensure it’s unlocked and try a different USB port/cable or re-pair Bluetooth.
- Accounts Not Switching?
- Restart Ledger Live after swapping devices to force a refresh.
- Firmware Consistency:
- Update all devices to the latest firmware (Manager > Firmware) for compatibility—e.g., 2.2.0+ for Nano X, 1.0.3+ for Stax.
- Multiple Instances: Running Ledger Live on separate computers/mobile devices avoids switching but requires manual account imports per instance.
Advanced Configuration
- Passphrase Feature: Add a passphrase (25th word) to a device’s seed (Settings > Advanced > Passphrase on-device) for a hidden wallet—useful for segregating funds on one device, though it’s per-device, not app-shared.
- Third-Party Wallets: For coins not natively supported (e.g., Monero), connect each Ledger to external wallets after adding accounts in Ledger Live.
Conclusion
Configuring Ledger Live for multiple Ledger devices is straightforward—connect, add accounts, and switch as needed. Each device maintains its own seed and accounts, offering flexibility for diverse use cases (e.g., hot vs. cold storage). While Ledger Live handles one device at a time, your portfolios stay organized within the app. For a unified view across all devices, consider exporting data to a spreadsheet or portfolio tracker.