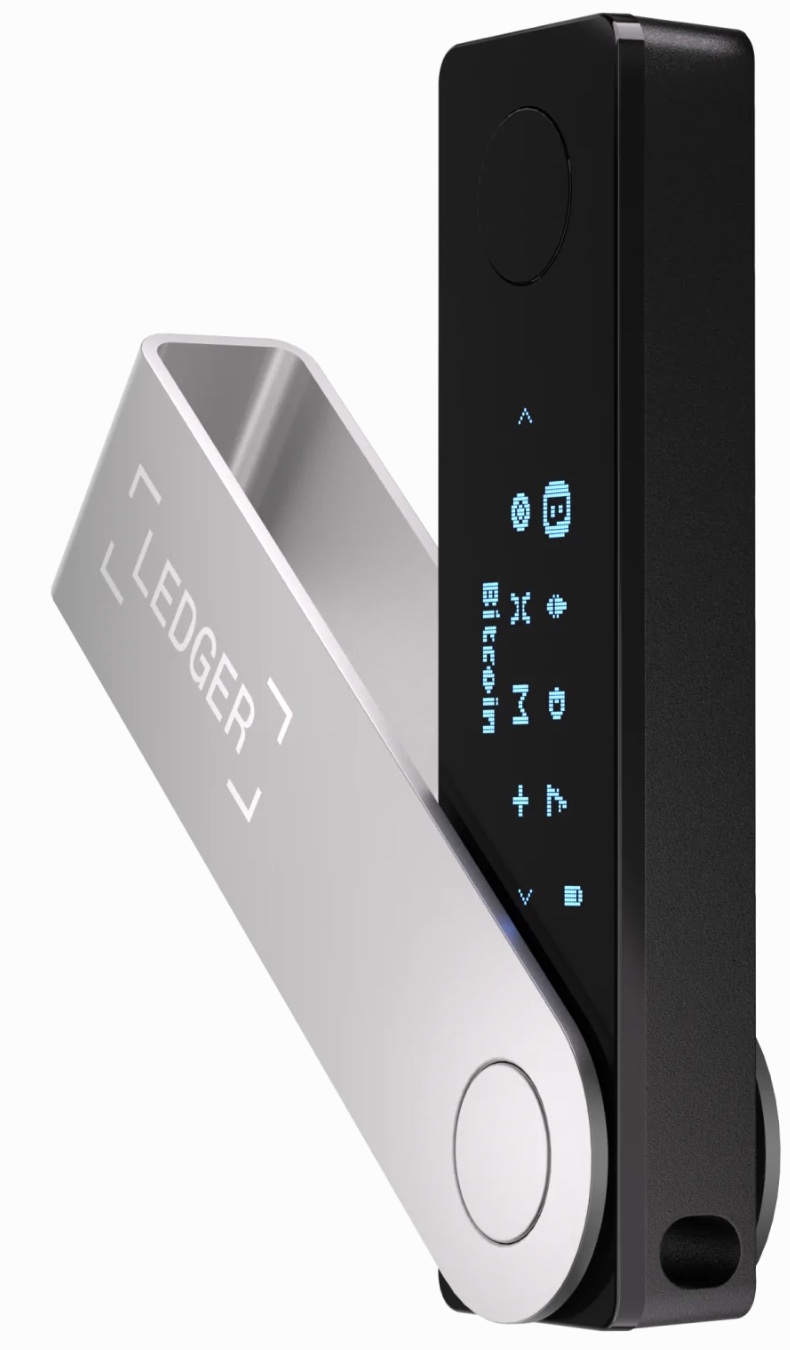
Introduction
Adding your first cryptocurrency account in Ledger Live is a crucial step toward secure, self-custodied crypto management. Whether you’re setting up Bitcoin, Ethereum, or another supported asset, this comprehensive guide will walk you through the entire process while explaining key security considerations.

Please download the last update of Ledger Live Application:
1. Ledger Live for Windows 10/11
2. Ledger Live for MAC
3. Ledger Live for Android
By following this tutorial, you’ll learn:
- ✅ How to properly add your first crypto account
- ✅ The difference between native and ERC-20 token accounts
- ✅ How to verify addresses on your Ledger device
- ✅ Troubleshooting common account addition issues
- ✅ Best practices for managing multiple accounts
1. Before You Begin: Prerequisites
Before adding your first account, ensure you have:
- Ledger Live installed (Download Here)
- A initialized Ledger device (Nano S, Nano X, or Nano S Plus)
- The relevant blockchain app installed (e.g., Bitcoin app for BTC)
- A stable internet connection
- Your recovery phrase (if restoring an existing wallet)
2. Step-by-Step: Adding Your First Crypto Account
Step 1: Open Ledger Live & Connect Your Device
- Launch Ledger Live on your computer or mobile device
- Connect your Ledger device via USB (or Bluetooth for Nano X)
- Enter your PIN to unlock the device
Step 2: Access the Account Addition Interface
- In Ledger Live, click “Add Account” (usually found in the left sidebar)
- You’ll see a list of supported cryptocurrencies
Step 3: Select Your Cryptocurrency
- Search for or scroll to find your desired cryptocurrency (e.g., Bitcoin)
- Click on the asset name to begin the addition process
Step 4: Install the Required Blockchain App (If Needed)
- If you haven’t installed the app yet:
- Ledger Live will prompt you to install it
- Go to “Manager” in Ledger Live
- Search for and install the required app (e.g., “Bitcoin”)
- Wait for installation to complete
Step 5: Verify Account Creation on Your Ledger Device
- Your Ledger device will display:
- The account being added
- A public key/address
- Carefully verify this information matches what’s shown in Ledger Live
- Approve the action by pressing both buttons on your device
Step 6: Name Your Account (Optional)
- You can assign a custom name (e.g., “My Bitcoin Savings”)
- This helps when managing multiple accounts for the same cryptocurrency
Step 7: Completion
- Click “Done” to finish the process
- Your new account now appears in your portfolio dashboard
3. Special Cases: Adding Different Crypto Types
Adding Ethereum and ERC-20 Tokens
- Install the Ethereum app via Manager
- Add an Ethereum account following the standard process
- For ERC-20 tokens (USDT, SHIB, etc.):
- They automatically appear under your Ethereum account
- No separate account needed
Adding Bitcoin Derivatives
- Bitcoin (BTC): Native account
- Bitcoin Cash (BCH): Requires separate BCH app and account
- Bitcoin SV (BSV): Not supported in Ledger Live (requires third-party wallet)
Adding Stablecoins
- USDT/USDC (ERC-20): Appear under Ethereum
- USDT (TRC-20): Requires Tron app and separate account
4. Security Best Practices When Adding Accounts
🔒 Always verify addresses on your Ledger device screen – protects against malware
🔒 Double-check the cryptocurrency name during account creation
🔒 Use unique account names for better organization
🔒 Regularly update your Ledger device firmware
🔒 Never share your 24-word recovery phrase
5. Troubleshooting Common Issues
| Issue | Solution |
| “Account discovery failed” | Update Ledger Live and device firmware |
| Cryptocurrency not listed | Check if it requires a third-party wallet |
| “Application not installed” | Install the required app via Manager |
| Balance not showing | Wait for sync or check transaction history |
| Device not recognized | Try a different USB cable/port |
6. Managing Multiple Accounts
Ledger Live allows you to:
- Create multiple accounts for the same cryptocurrency (useful for separating funds)
- Hide accounts without deleting them (right-click on account)
- View all transactions in the account history
- Export transaction history for tax purposes
7. Frequently Asked Questions (FAQ)
Q: Why do I need to verify addresses on my Ledger device?
A: This prevents malware from changing destination addresses in Ledger Live.
Q: Can I add the same account on multiple devices?
A: Yes, by using the same recovery phrase during setup.
Q: How many accounts can I add?
A: Virtually unlimited, but Nano S has limited app storage (delete unused apps).
Q: Why isn’t my balance showing immediately?
A: Ledger Live needs to sync with the blockchain. Wait a few minutes.
8. What’s Next After Adding Your First Account?
Now that you’ve added your first account, you can:
- Receive cryptocurrency to your new address
- Send funds securely
- Explore staking options (for supported coins)
- Connect to DeFi platforms using WalletConnect
- Add more accounts for different cryptocurrencies
9. Conclusion
You’ve now successfully added your first cryptocurrency account in Ledger Live! This fundamental skill enables you to:
✔ Securely store your digital assets
✔ Track your portfolio in one place
✔ Prepare for active crypto management
Remember that your Ledger device is the key to your crypto security – always keep it safe and never share your recovery phrase.
For additional help, visit Ledger Support.
By mastering this process, you’ve taken a crucial step toward true financial sovereignty in the crypto world. 🚀