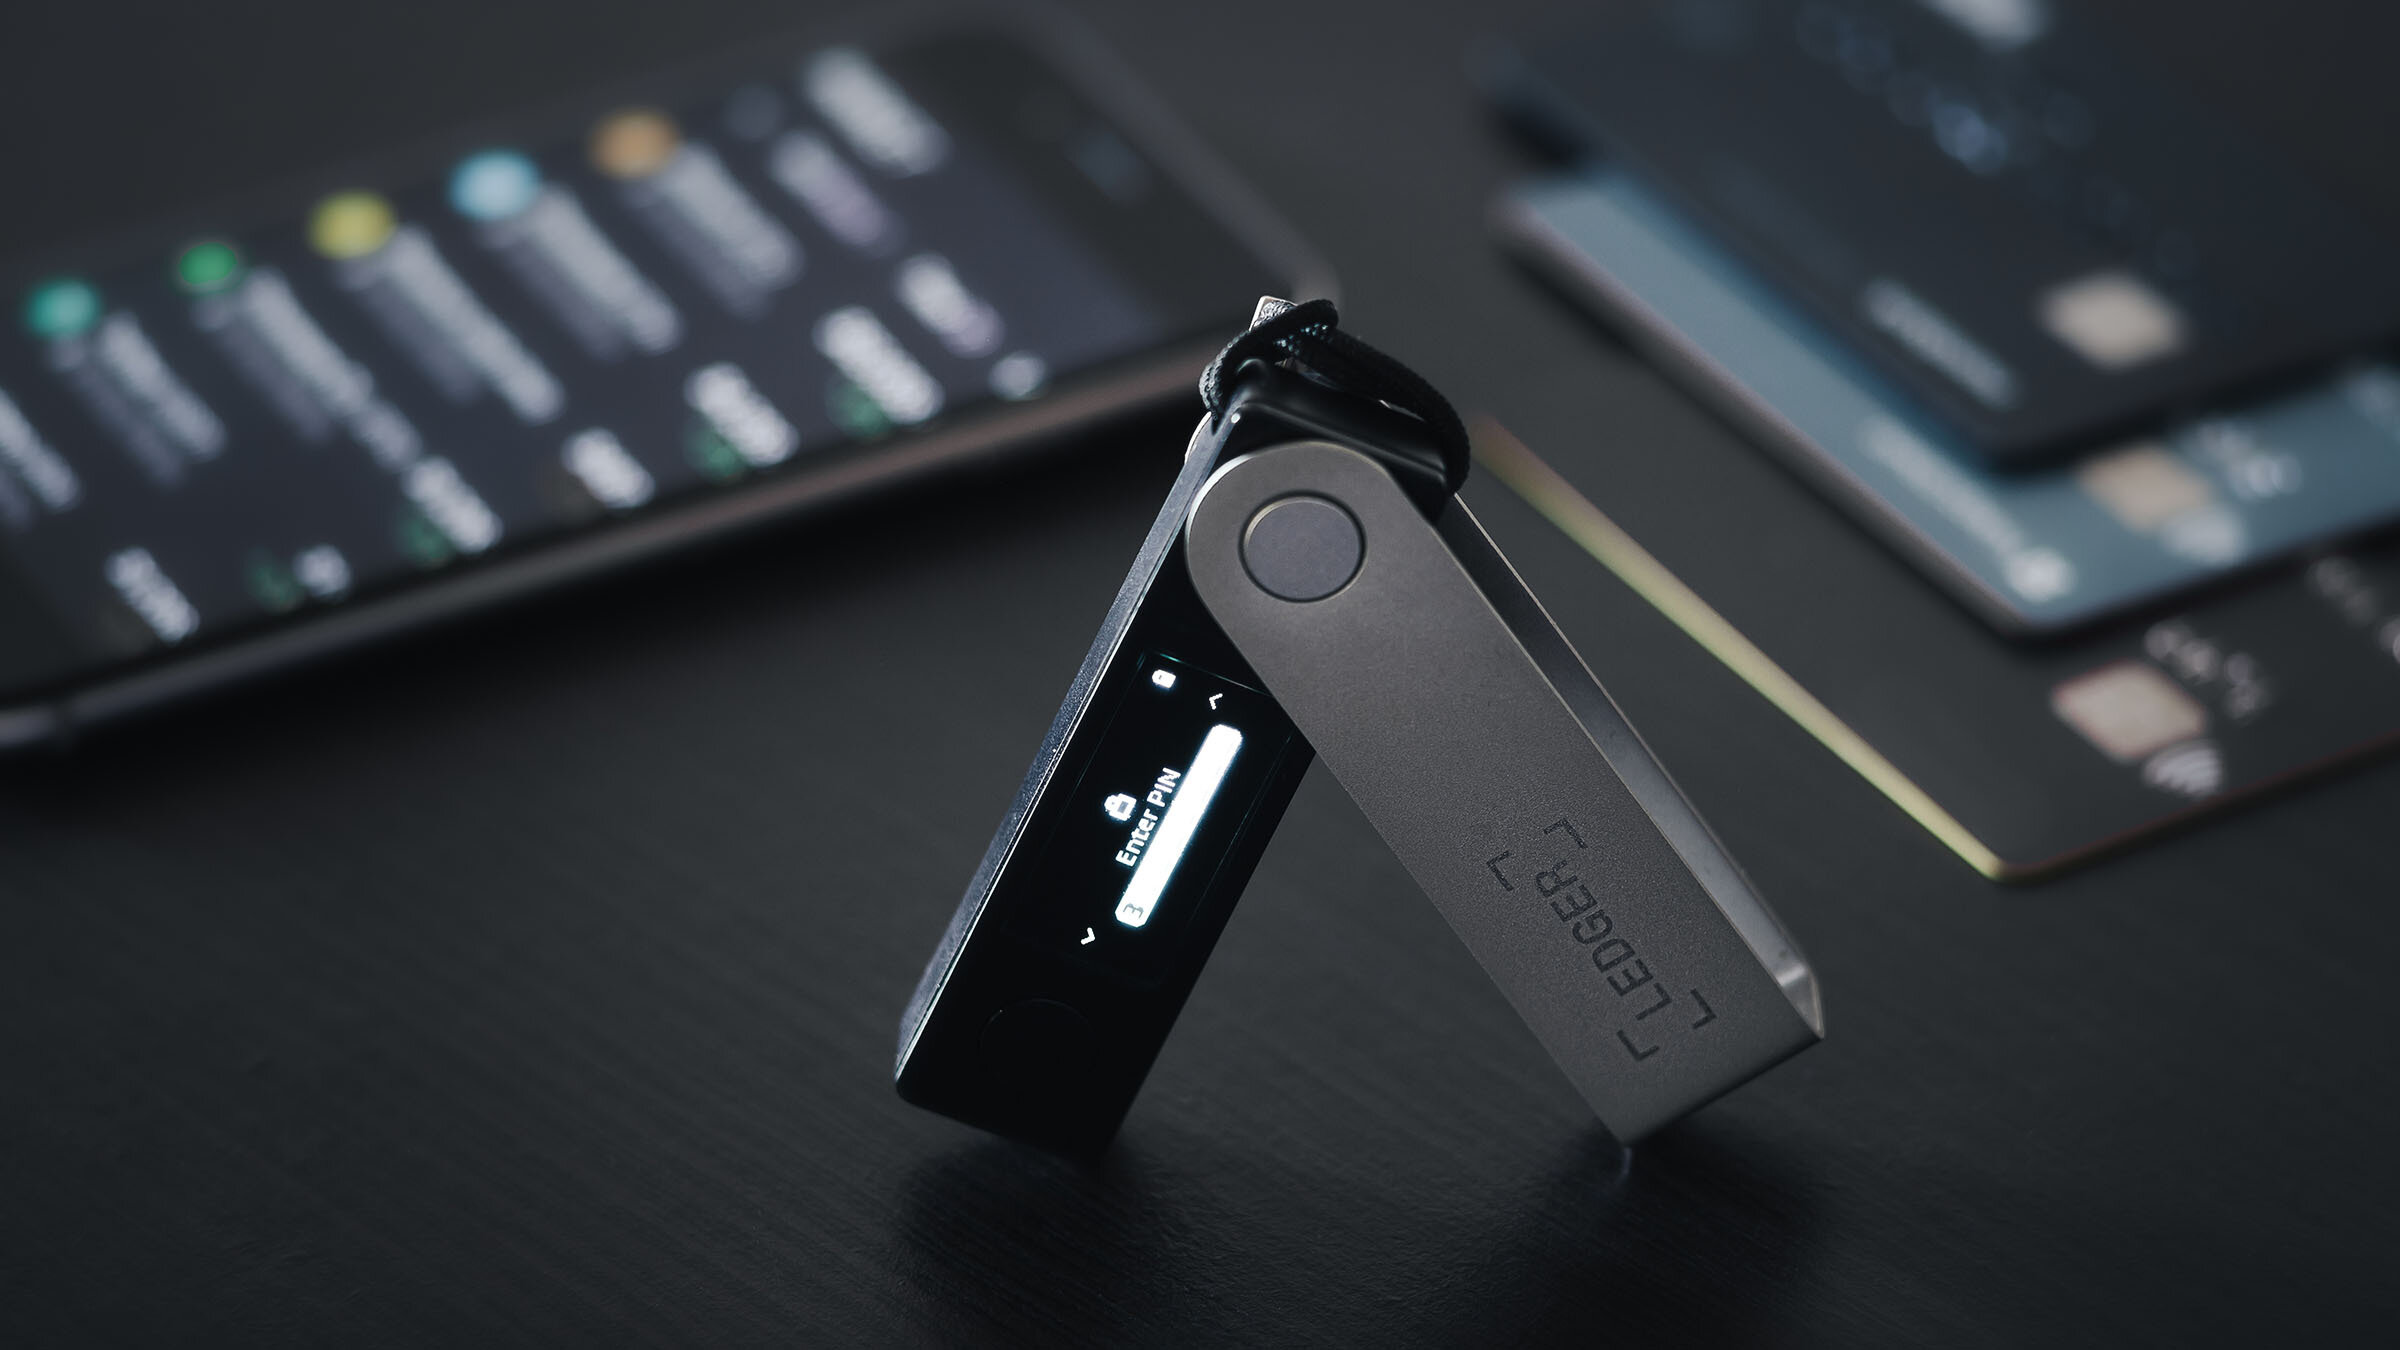
Adding your first cryptocurrency account in Ledger Live is a key step to start managing your assets securely with your Ledger hardware wallet (Nano S Plus, Nano X, Flex, or Stax).
This process links a specific blockchain account (e.g., Bitcoin, Ethereum) to Ledger Live, allowing you to view balances, send/receive funds, and more—all while keeping your private keys safe on the hardware device.
Please download the last update of Ledger Live Application:
1. Ledger Live for Windows 10/11
2. Ledger Live for MAC
3. Ledger Live for Android
Below is a step-by-step guide to adding your first crypto account in Ledger Live as of February 21, 2025, assuming your Ledger is already set up and connected.
What You’ll Need
- A Ledger hardware wallet initialized with a PIN and recovery phrase.
- Ledger Live installed and running on your computer (Windows 10+, macOS 11+, Linux) or mobile device (iOS 13+, Android 8+).
- Your Ledger connected to Ledger Live via USB (all models) or Bluetooth (Nano X only)—see my previous response for connection steps.
- An internet connection for syncing blockchain data.
Step-by-Step Guide to Adding Your First Crypto Account
Step 1: Launch Ledger Live and Connect Your Device
- Desktop: Open Ledger Live and connect your Ledger via USB (unlock with your PIN).
- Mobile: Open the app and pair your Nano X via Bluetooth (or use USB if supported).
- Ensure Ledger Live recognizes your device (e.g., “Ledger Nano X – Ready” appears).
Step 2: Navigate to the Accounts Section
- In Ledger Live, locate the sidebar on the left.
- Click or tap Accounts (icon looks like a stack of coins or a list).
- You’ll see an overview of existing accounts (empty if this is your first time) and an option to add a new one.
Step 3: Start Adding an Account
- Click the Add Account button (usually a “+” icon or labeled clearly at the top-right).
- A dropdown menu or search bar will appear listing supported cryptocurrencies.
Step 4: Select Your Cryptocurrency
- Choose the cryptocurrency for your first account:
- Examples: Bitcoin (BTC), Ethereum (ETH), Solana (SOL), Ripple (XRP), etc.
- Type the name in the search bar (e.g., “Bitcoin”) or scroll through the list.
- Click your chosen coin and then Continue or Next.
- Note: Ledger Live natively supports over 500 coins (see my earlier response for a full list). For others, you’ll need third-party wallets.
Step 5: Install the Crypto App on Your Ledger (If Needed)
- Ledger Live may prompt you to install the corresponding app on your hardware wallet:
- If the app is already installed, skip to Step 6.
- If not:
- Ledger Live redirects you to the Manager tab.
- Ensure your Ledger is connected and unlocked.
- Find the app (e.g., “Bitcoin” or “Ethereum”) in the Manager’s app catalog.
- Click Install next to it.
- On your Ledger, approve the installation:
- Nano S/X: Press both buttons to “Allow Ledger Manager” and confirm.
- Flex/Stax: Tap “Approve” on the touchscreen.
- Wait for the app to download and install (a progress bar shows in Ledger Live).
- Storage Note: Nano S Plus has limited space (1.5 MB); uninstall unused apps via Manager if it’s full. Nano X/Flex/Stax have more capacity.
Step 6: Sync Your Account
- Once the app is installed (or if it was already present):
- Return to the Add Account screen (Ledger Live may auto-redirect you).
- Click Add Account or Continue again.
- Ledger Live will:
- Communicate with your Ledger to generate or retrieve a public address for the selected cryptocurrency.
- Scan the blockchain to check for existing funds or transaction history (requires internet).
- On your Ledger:
- Open the installed app (e.g., “Bitcoin”):
- Nano S/X: Navigate with buttons and press both to select.
- Flex/Stax: Tap the app icon.
- Confirm the account sync if prompted (e.g., “Allow Ledger Live to access this app”).
- Open the installed app (e.g., “Bitcoin”):
Step 7: Name Your Account
- After syncing, Ledger Live will display your account’s balance (0 if new) and ask you to name it:
- Default is something like “Bitcoin 1” or “Ethereum 1.”
- Customize it (e.g., “BTC Savings” or “ETH Main”) for clarity if you plan to add multiple accounts.
- Click Add to Portfolio or Save.
Step 8: Verify the Account
- Your new account now appears in the Accounts tab and Portfolio overview.
- Check the balance and public address:
- Go to Receive in Ledger Live, select your account, and verify the address matches what’s displayed on your Ledger’s screen (critical for security).
- If the balance is 0, deposit funds by sending crypto to this address from another wallet or exchange.
Step 9: Explore Account Features
- With your account added, you can:
- Receive: Generate a deposit address (confirm on-device).
- Send: Transfer crypto out (sign on-device).
- Stake: For supported coins like ETH or SOL (under Earn).
- Track: Monitor balance and history in Portfolio.
Example: Adding a Bitcoin Account
- Open Ledger Live, connect your Nano X via USB.
- Go to Accounts > Add Account.
- Search “Bitcoin,” select it, click Continue.
- In Manager, install the Bitcoin app (approve on Nano X).
- Back in Add Account, sync the account (open Bitcoin app on Nano X, confirm).
- Name it “My BTC,” click Add to Portfolio.
- See it listed with a 0 BTC balance—ready for use!
Tips and Troubleshooting
- App Not Installing?
- Check device storage (uninstall unused apps in Manager).
- Ensure firmware is updated (Manager > Firmware).
- Sync Taking Too Long?
- Initial blockchain scans vary (Bitcoin may take minutes; Ethereum is faster). Check your internet speed.
- “Device Not Found”?
- Reconnect your Ledger, unlock it, and ensure it’s not in sleep mode.
- Multiple Accounts: Add more accounts for the same coin (e.g., “Bitcoin 2”) to segregate funds—each gets a unique address.
Conclusion
Adding your first crypto account in Ledger Live takes about 5–10 minutes, depending on app installation and blockchain syncing. Once added, you’re set to manage that asset securely, with your private keys protected offline by your Ledger. You can repeat this process for other cryptocurrencies (over 500 are natively supported).