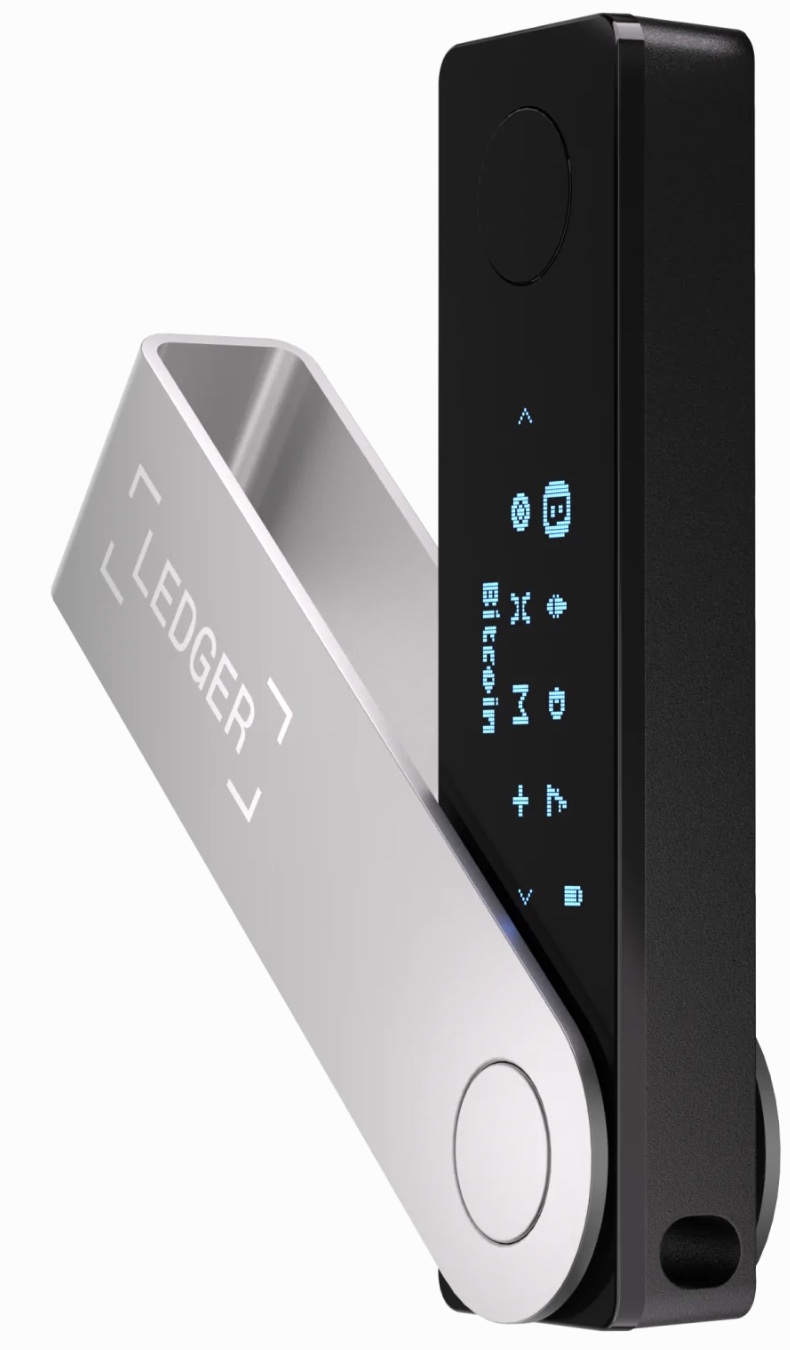
Ledger Live, the companion software for Ledger hardware wallets, is a versatile tool that allows users to manage their cryptocurrency assets securely and efficiently. One of its lesser-discussed but highly practical features is the ability to configure and use multiple Ledger devices—such as the Ledger Nano S, Nano S Plus, or Nano X—within a single Ledger Live instance. This functionality is invaluable for users who own multiple devices for redundancy, separation of funds, or convenience across different locations.

In this comprehensive article, we’ll explore why you might want to use multiple Ledger devices, how to configure Ledger Live to support them, and best practices to ensure a smooth and secure experience.
Please download the last update of Ledger Live Application:
1. Ledger Live for Windows 10/11
2. Ledger Live for MAC
3. Ledger Live for Android
Why Use Multiple Ledger Devices with Ledger Live?
Before delving into the configuration process, it’s worth understanding the motivations behind using multiple Ledger devices:
- Redundancy and Backup: Owning multiple Ledger devices provides a safeguard against loss, theft, or hardware failure. If one device is compromised or misplaced, you can still access your funds using another device with the same seed phrase.
- Separation of Funds: Some users prefer to segregate their cryptocurrency holdings—for example, keeping personal funds on one device and business or investment funds on another. This can enhance organization and security.
- Convenience Across Locations: If you travel frequently or work from multiple locations (e.g., home and office), having a Ledger device at each site eliminates the need to carry one everywhere.
- Different Use Cases: You might use a Ledger Nano S for long-term storage (cold storage) and a Ledger Nano X for active trading or staking, thanks to its Bluetooth connectivity.
- Shared Access: In rare cases, multiple trusted individuals (e.g., family members or business partners) might each need a device tied to the same wallet for shared management.
Ledger Live’s ability to handle multiple devices makes these scenarios practical while maintaining the high security standards Ledger is known for.
Understanding Ledger Live and Device Management
Ledger Live is designed to interact with Ledger hardware wallets, which store private keys offline. Each Ledger device can be initialized with a unique seed phrase (a 24-word recovery phrase by default) or restored using an existing one. When you connect a Ledger device to Ledger Live, the software reads the public keys derived from the device’s seed phrase to display your accounts and balances. Importantly, Ledger Live can switch between devices seamlessly, allowing you to manage multiple wallets without needing separate installations of the app.
There are two primary approaches to using multiple Ledger devices with Ledger Live:
- Same Seed Phrase Across Devices: All devices share the same recovery phrase, meaning they control the same wallet and accounts.
- Different Seed Phrases: Each device has its own unique seed phrase, resulting in entirely separate wallets.
We’ll cover how to configure Ledger Live for both scenarios below.
Prerequisites
To get started, ensure you have the following:
- Multiple Ledger Devices: Ledger Nano S, Nano S Plus, Nano X, or a combination thereof.
- Ledger Live Installed: Download the latest version from ledger.com and install it on your desktop (Windows, macOS, Linux) or mobile device.
- Firmware Updated: Ensure all Ledger devices are running the latest firmware to avoid compatibility issues.
- Secure Environment: Perform setup and configuration in a private, offline setting to protect your seed phrases.
Configuring Ledger Live for Multiple Devices with the Same Seed Phrase
This approach is ideal for redundancy or convenience, as all devices access the same wallet.
Step 1: Initialize the First Device
- Connect your first Ledger device to your computer or mobile device.
- Open Ledger Live and follow the prompts to set up the device as new (generating a 24-word seed phrase) or restore it with an existing phrase.
- Write down the seed phrase and store it securely offline. This phrase will be used for all devices in this setup.
Step 2: Add Accounts in Ledger Live
- In Ledger Live, go to the “Accounts” tab and click “Add Account.”
- Select the cryptocurrencies you want to manage (e.g., Bitcoin, Ethereum) and follow the prompts to create accounts linked to the device’s seed phrase.
- Ledger Live will sync with the blockchain to display your balances.
Step 3: Initialize Additional Devices
- Connect your second Ledger device to Ledger Live.
- Instead of creating a new wallet, choose “Restore from recovery phrase” during setup.
- Enter the same 24-word seed phrase from the first device. Verify each word carefully on the device’s screen.
- Once restored, the second device will generate the same private and public keys as the first, giving it access to the same wallet.
Step 4: Switch Between Devices in Ledger Live
- Ledger Live automatically detects the connected Ledger device. To switch devices, simply unplug the current one and connect the other.
- The accounts and balances tied to the shared seed phrase will remain consistent across devices—no additional configuration is needed.
Step 5: Test Functionality
- Send a small test transaction (e.g., 0.001 BTC) to an address from one device and verify it appears when using the other device in Ledger Live.
Configuring Ledger Live for Multiple Devices with Different Seed Phrases
This approach is best for managing separate wallets, such as for personal and business use.
Step 1: Set Up Each Device Independently
- Connect your first Ledger device and initialize it as a new wallet in Ledger Live. Record the unique 24-word seed phrase securely.
- Repeat this process for each additional device, generating a distinct seed phrase for each. Never reuse a seed phrase across devices in this scenario.
Step 2: Add Accounts for Each Device
- With the first device connected, go to “Accounts” in Ledger Live and add accounts for the cryptocurrencies you want to manage with that device’s wallet.
- Disconnect the first device, connect the second, and repeat the process. Ledger Live will recognize the new device and prompt you to add accounts tied to its unique seed phrase.
Step 3: Manage Multiple Wallets
- Ledger Live displays accounts based on the currently connected device. To switch wallets, disconnect the current device and plug in another.
- Each device’s accounts are kept separate, reflecting the distinct seed phrases. You’ll see different balances and transaction histories depending on which device is active.
Step 4: Label Devices for Clarity
- To avoid confusion, physically label each Ledger device (e.g., “Personal,” “Business”) or note their serial numbers alongside their seed phrases in your secure storage.
Step 5: Verify Separation
- Send a small amount of cryptocurrency to an address from one device’s wallet and confirm it doesn’t appear in the other device’s accounts in Ledger Live.
Advanced Tips for Managing Multiple Devices
- Use Passphrases for Extra Flexibility: Ledger devices support an optional passphrase (sometimes called a “25th word”). By adding a unique passphrase to a shared seed phrase, you can create hidden wallets on the same device. Configure this in Ledger Live under “Experimental Features” > “Manage Passphrase.”
- Sync Mobile and Desktop: Ledger Live on mobile can also switch between devices via USB (Nano S) or Bluetooth (Nano X), syncing accounts with the desktop app if the same seed phrase is used.
- Monitor Storage Limits: Ledger Nano S devices have limited app storage. If managing multiple coins across devices, prioritize which apps (e.g., Bitcoin, Ethereum) to install on each.
Best Practices for Security and Usability
- Secure Seed Phrases: Store each seed phrase in a separate, offline location (e.g., a safe or metal backup like a Billfodl). Never store them digitally.
- Regular Updates: Keep Ledger Live and device firmware updated to ensure compatibility and security patches.
- Test Recovery: Periodically test restoring a seed phrase on a spare device to confirm your backups work.
- Avoid Confusion: Clearly document which device corresponds to which wallet, especially if using different seed phrases.
- PIN Protection: Set a unique PIN for each device to prevent unauthorized access if one is lost or stolen.
Troubleshooting Common Issues
- Device Not Detected: Ensure the correct USB port or Bluetooth pairing is used, and restart Ledger Live if needed.
- Accounts Missing: Verify the connected device matches the seed phrase for the expected accounts. Re-add accounts manually if necessary.
- Firmware Mismatch: Update all devices to the same firmware version via Ledger Live’s “Manager” tab.
Conclusion
Configuring Ledger Live for multiple Ledger devices offers unparalleled flexibility for cryptocurrency management, whether you’re seeking redundancy with a shared seed phrase or separation with distinct wallets. By following the steps outlined above, you can tailor your setup to your specific needs while leveraging Ledger’s industry-leading security. Whether you’re a casual user with a backup device or a power user juggling multiple wallets, Ledger Live’s intuitive design makes the process straightforward. With proper planning and security measures, you’ll have a robust system to manage your crypto assets confidently across all your Ledger devices.