To use manage Tron (TRX) and TRC10/TRC20 tokens with Ledger Live, you’ll need to install the Tron app on your Ledger hardware.

Please download the last update of Ledger Live Application:
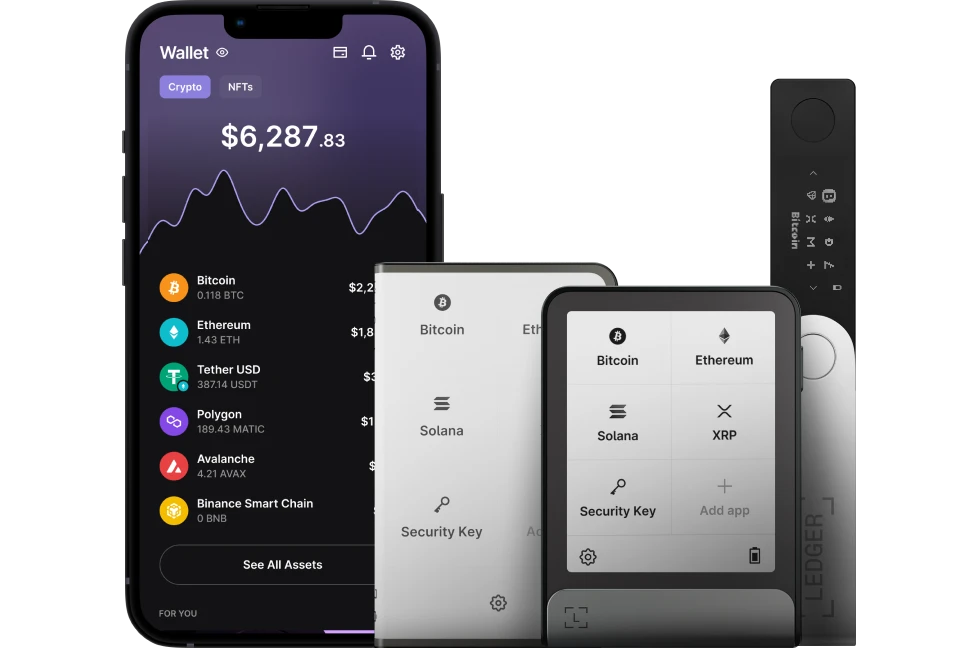
1. Ledger Live for Windows 10/11
2. Ledger Live for MAC
3. Ledger Live for Android
Before you start
- Connecet your Ledger device to Ledger Live.
- Update the firmware on your Ledger device.
- Keep in mind that you’ll need add 0.1 TRX to activate your new Tron (TRX) account.
Install the Tron app

- Open Ledger Live.
- Go to My Ledger in Ledger Live.
- Connect and unlock your device.
- If asked, allow My Ledger to access your device.
- Find Tron in the app catalog.
- Click on the Install button of the app.
- Your device will display Processing…
- The app will be installed.
Add a Tron Account

- Open Ledger Live.
- Go to the left panel and click on Accounts.
- Click on the Add Account button.
- Click on the box to activate the drop-down list to choose the crypto asset (Tron (TRX)) of the account you want to add and click on Continue.
- Connect and unlock your device, and open the Tron (TRX) app, then click on Continue. Ledger Live will look for existing accounts in the blockchain and display them one by one.
- Different sections can appear: under the select existing accounts section are accounts that already have blockchain transactions. To add this account(s) add a checkmark to them and choose a name.
However, under the new account section, you can add a new account by adding a checkmark. Keep in mind that this is not possible when the last created account of that crypto asset has not received a transaction yet.
- Click on Continue. Your Tron (TRX) account(s) will be added to the Portfolio.
Now you have successfully set up a Tron wallet with Ledger and can manage all of your Tron (TRX) and TRC10/TRC20 tokens with Ledger Live.